1. To leave the device in service while installing a fan assembly, verify that the other fan assemblies (the
ones already installed) have been powered on for at least four seconds and has a steady green LED.
2. Using a Phillips screwdriver, unscrew the captive screw of the ller panel that is located in the empty
fan assembly slot.
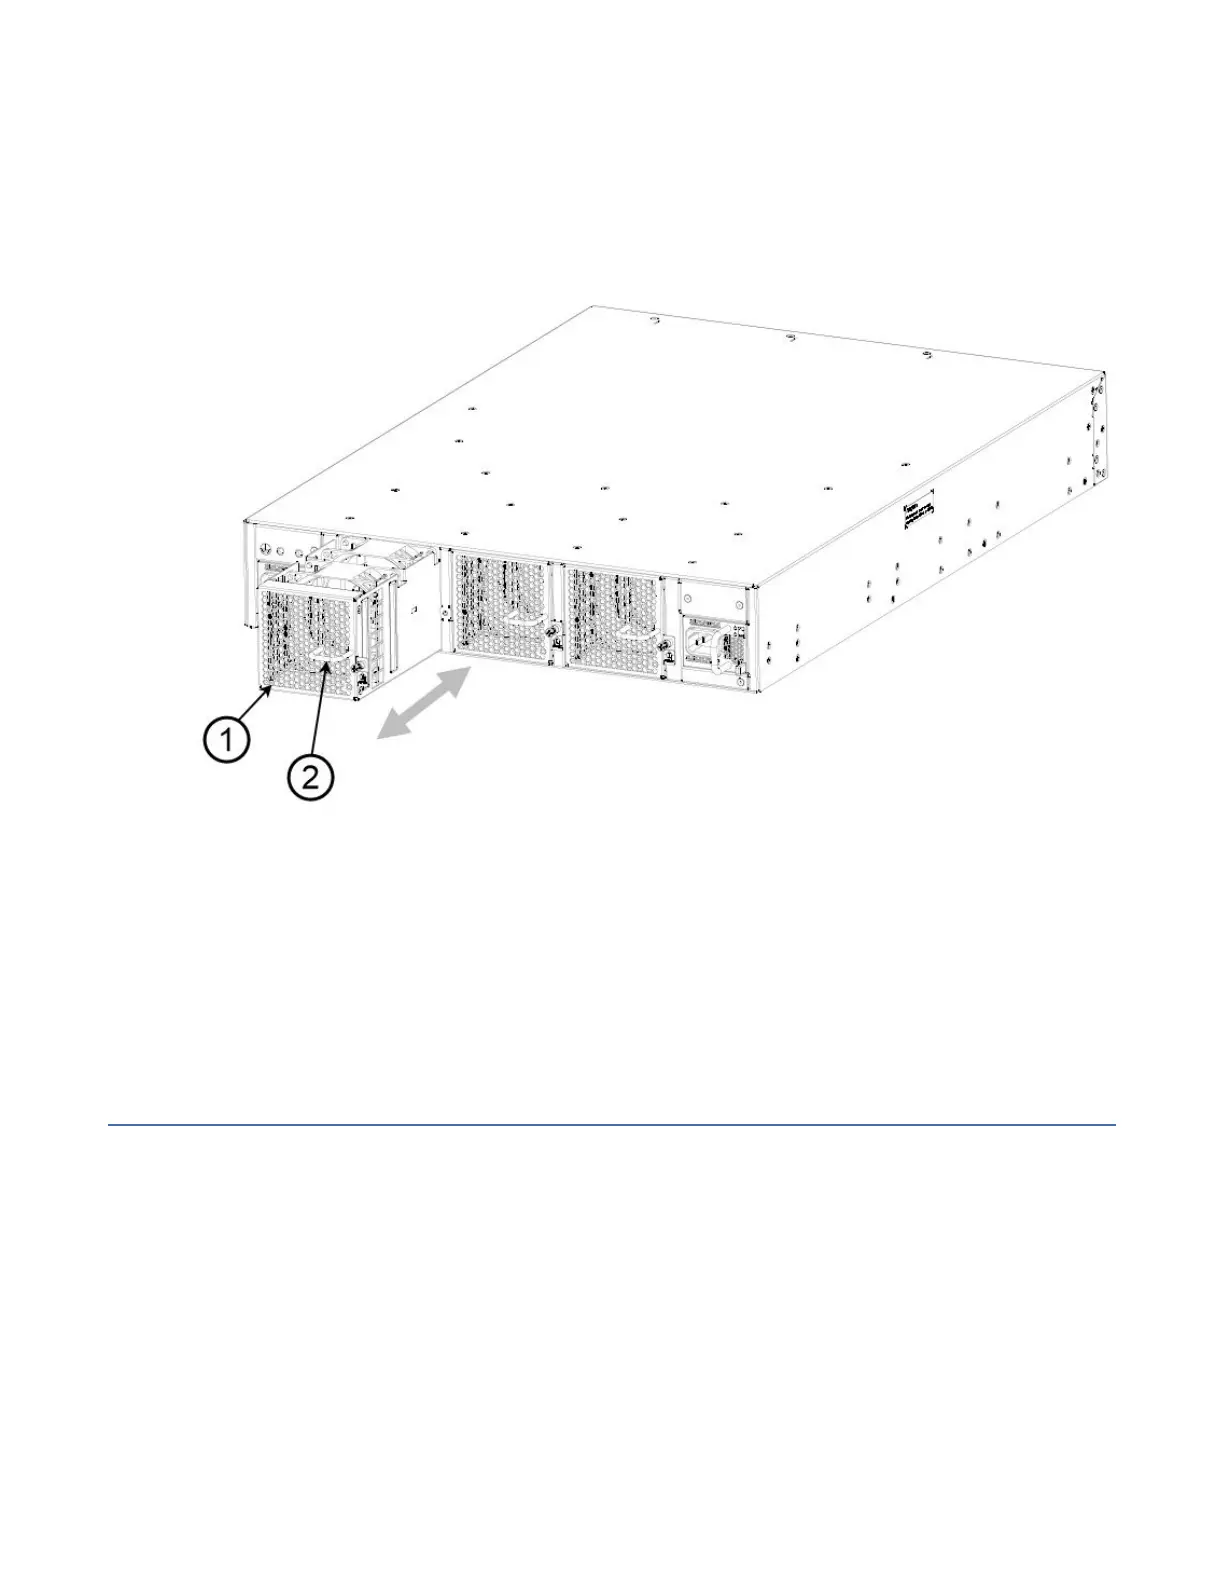
3. Orient the new fan assembly with the captive screw on the right, as shown in the gure.
Do not force the installation. If the fan assembly does not slide in easily, ensure that it is correctly
oriented before continuing.
Figure 40. Inserting a fan assembly
1. Fan Assembly Unit
2. Fan Assembly Handle
4. Gently push the fan assembly into the chassis until it is rmly seated.
5. Using the Phillips screwdriver, secure the fan assembly to the chassis by tightening the captive screw.
6. Verify that the LED on the new fan assembly displays a steady green light while the device is operating.
7. Optional: Enter fanshow to display the fan assembly status. The fan assembly status can also be
viewed using Web Tools.
Verifying the operation of the power supply and fan assemblies
You can use the following commands to verify that the power supply and fan assemblies are operational:
• errDump
• fanShow
• psShow
• sensorShow
• switchShow
• tempShow
Refer to the Fabric OS Command Reference for output examples and descriptions.
Chapter 8. Fan Assemblies
65
 Loading...


