~
8.
Set
addre11 key 10 on, 9 and
11
off;
pre11
ENTER.
9.
Set
iaddre11
key
11
on, 9 and
10
off;
pre11
ENTER.
10.
Pre11
START.
11.
Pre11
START.
12.
Set
addre11 keys 10 and
11
on,
9 off;
pre11
ENTER.
13.
Set
addre11 key 10 on, 9 and
11
off;
prea
ENTER.
14. Set
all
addrea
keys off; press
ENTER.
15.
Pre11
START.
16.
Pre11
START.
ROS
Channel
Mm!!.
....!!m.!....
Irpt,
CC1,
CS
Jrpt, CC1
AA7
AC2
Irpt, CC1,
AO
AB4
03C
Irpt, CCJ.,
A1
Irpt, cc2, cs
hlstructiou Scan
The
interface
portion
of
the
interrupt
routine
is
now
complete.
Continue
single
cycle
to
observe
CSW
store,
exchange of PSW, and
return
to
I-fetch.
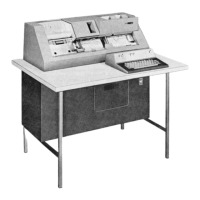
1052 ADAPTER/PRINTER-KEYBOARD
Singleshot Adjustment
1.
Turn
off
motor
switch (located under
type-
writer);
press
not
ready
key on
typewriter
console.
2.
Enter
ROS
address
200 in the
data
keys;
set
ROS
repeat
switch
on;
press
start
pushbutton. The
IAR
should be
rippling.
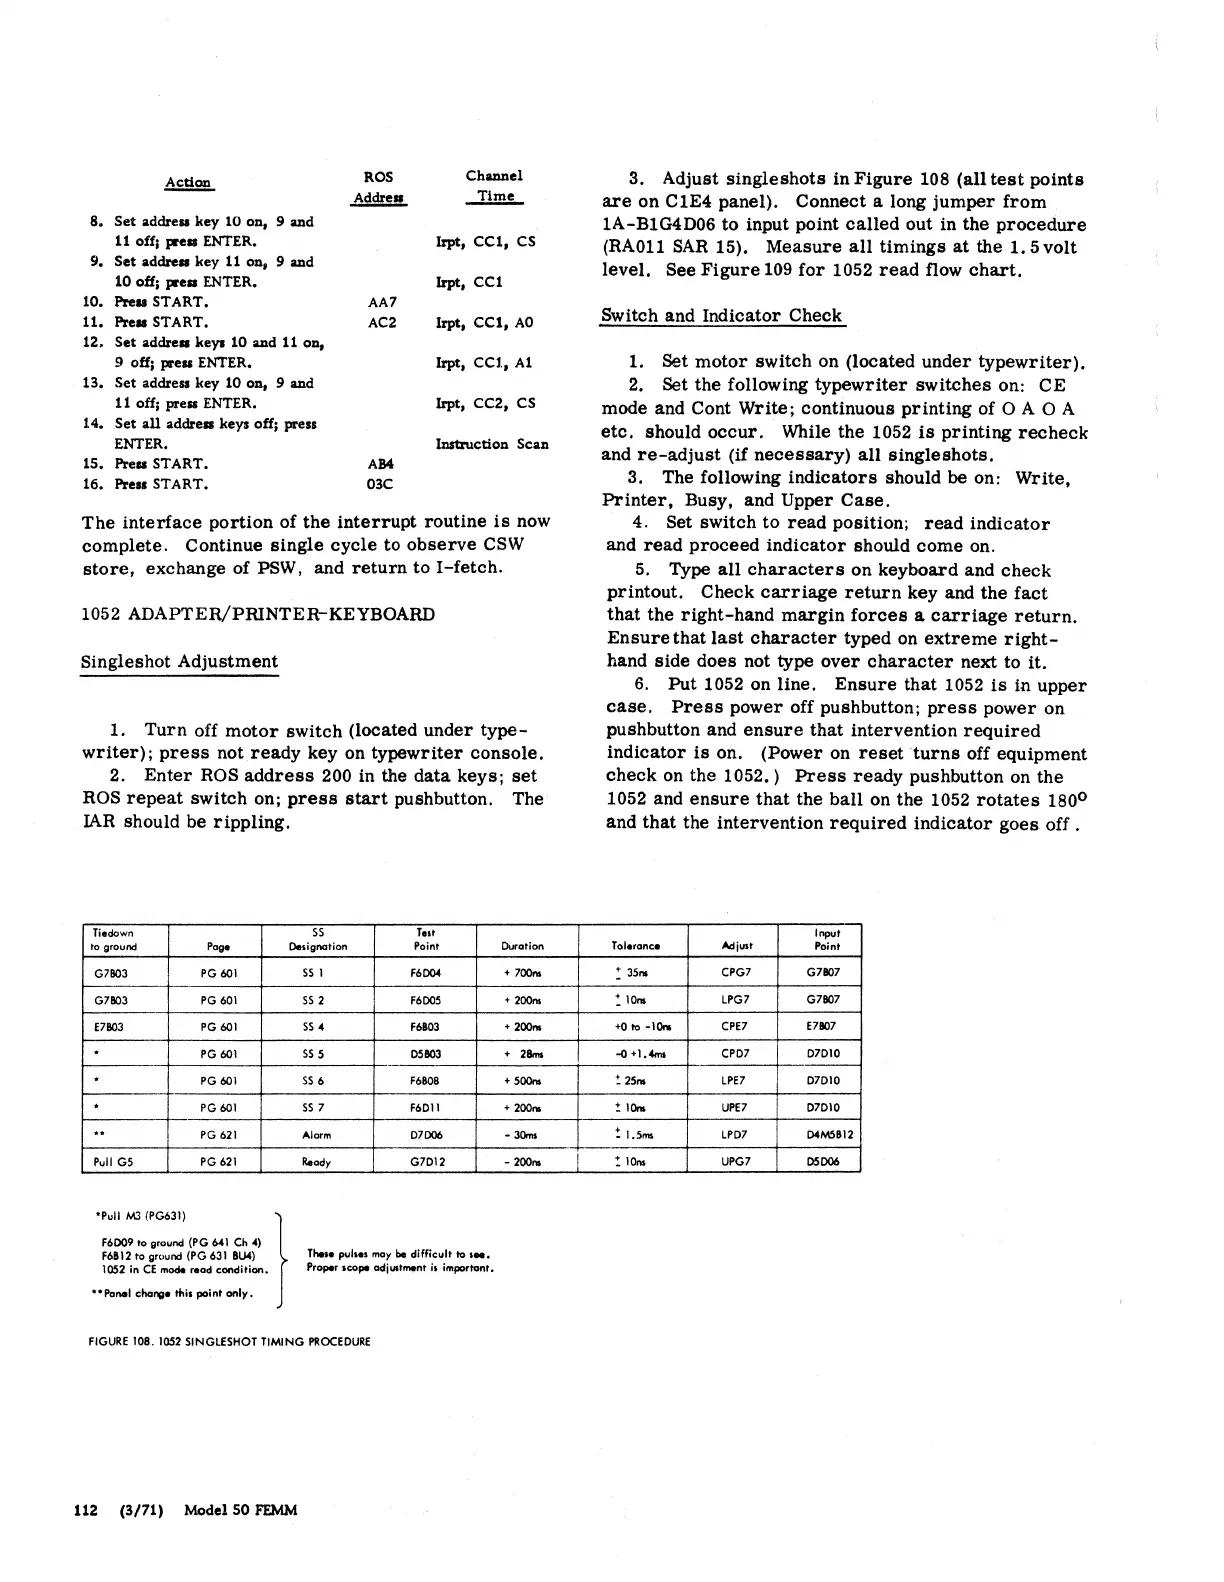
Tiedown
SS
Te1t
to ground
Pogo
Oedgnation Point
Duration
G7803 PG
601
SS
1
f6004
+ 700...
G7803 PG
601
SS
2 F6005
+ 200...
E7803
PG
601
SS
4
F6803
+ 200...
.
PG
601
SS
5 05803
+
28ms
.
PG
601
SS
6
F6B08
+ 500...
.
PG601
SS
7
F6D11
+ 200
..
..
PG 621 Alarm
07006
-
30ms
Pull GS
PG
621
Ready
G7012
-
200ns
'Pull
M3
(PG631) }
F6D09
ta
ground (PG 641 Ch 4)
F6812 to ground (PG 631 8U4) Thoto
pul-
may
bed. lfficult
to
100.
1052
in
CE
mode read condition. Proper scope adjlAtrnent
i1
important.
**Panel
chare•
this point only.
FIGURE
108. 1052 SINGLESHOT TIMING
PROCEDURE
112
(3/71)
Model
SO
FEMM
-·~
3. Adjust
singleshots
in
Figure
108 (all
test
points
are
on
C1E4 panel). Connect a long
jumper
from
1A-B1G4D06 to input point
called
out in the
procedure
(RAOll
SAR
15).
Measure
all
timings
at
the
1.
5volt
level. See
Figure
109
for
1052
read
flow
chart.
Switch and Indicator Check
1. Set
motor
switch on (located
under
typewriter).
2. Set the following
typewriter
switches on:
CE
mode and Cont Write; continuous
printing
of 0
AO
A
etc.
should
occur.
While the 1052
is
printing
recheck
and
re-adjust
(if
necessary)
all
singleshots.
3. The following
indicators
should
be
on: Write,
Printer,
Busy, and Upper
Case.
4. Set switch
to
read
position;
read
indicator
and
read
proceed
indicator
should
come
on.
5.
Type
all
characters
on keyboard and
check
printout.
Check
carriage
return
key and
the
fact
that
the
right-hand
margin
forces
a
carriage
return.
Ensure
that
last
character
typed on
extreme
right-
hand
side
does
not type
over
character
next to it.
6.
Put
1052 on line,
Ensure
that
1052
is
in
upper
case,
Press
power off pushbutton;
press
power
on
pushbutton and
ensure
that
intervention
required
indicator
is
on. (Power on
reset
turns
off equipment
check
on the 1052.)
Press
ready
pushbutton on the
1052 and
ensure
that
the
ball
on the 1052
rotates
180°
and
that
the intervention
required
indicator
goes. off .
loput
Tolerance
Adjust
Point
: 35ns
CPG7
G7807
:
10ns
LPG7 G7807
~to
-10..
CPE7
E7807
-0
+1.4ms CPD7
07010
!
25,.
LPE7
D7D10
! 10...
Ul'E7
07010
~
1.5rM
LPD7
04M5812
!
10..
UPG7
05006
 Loading...