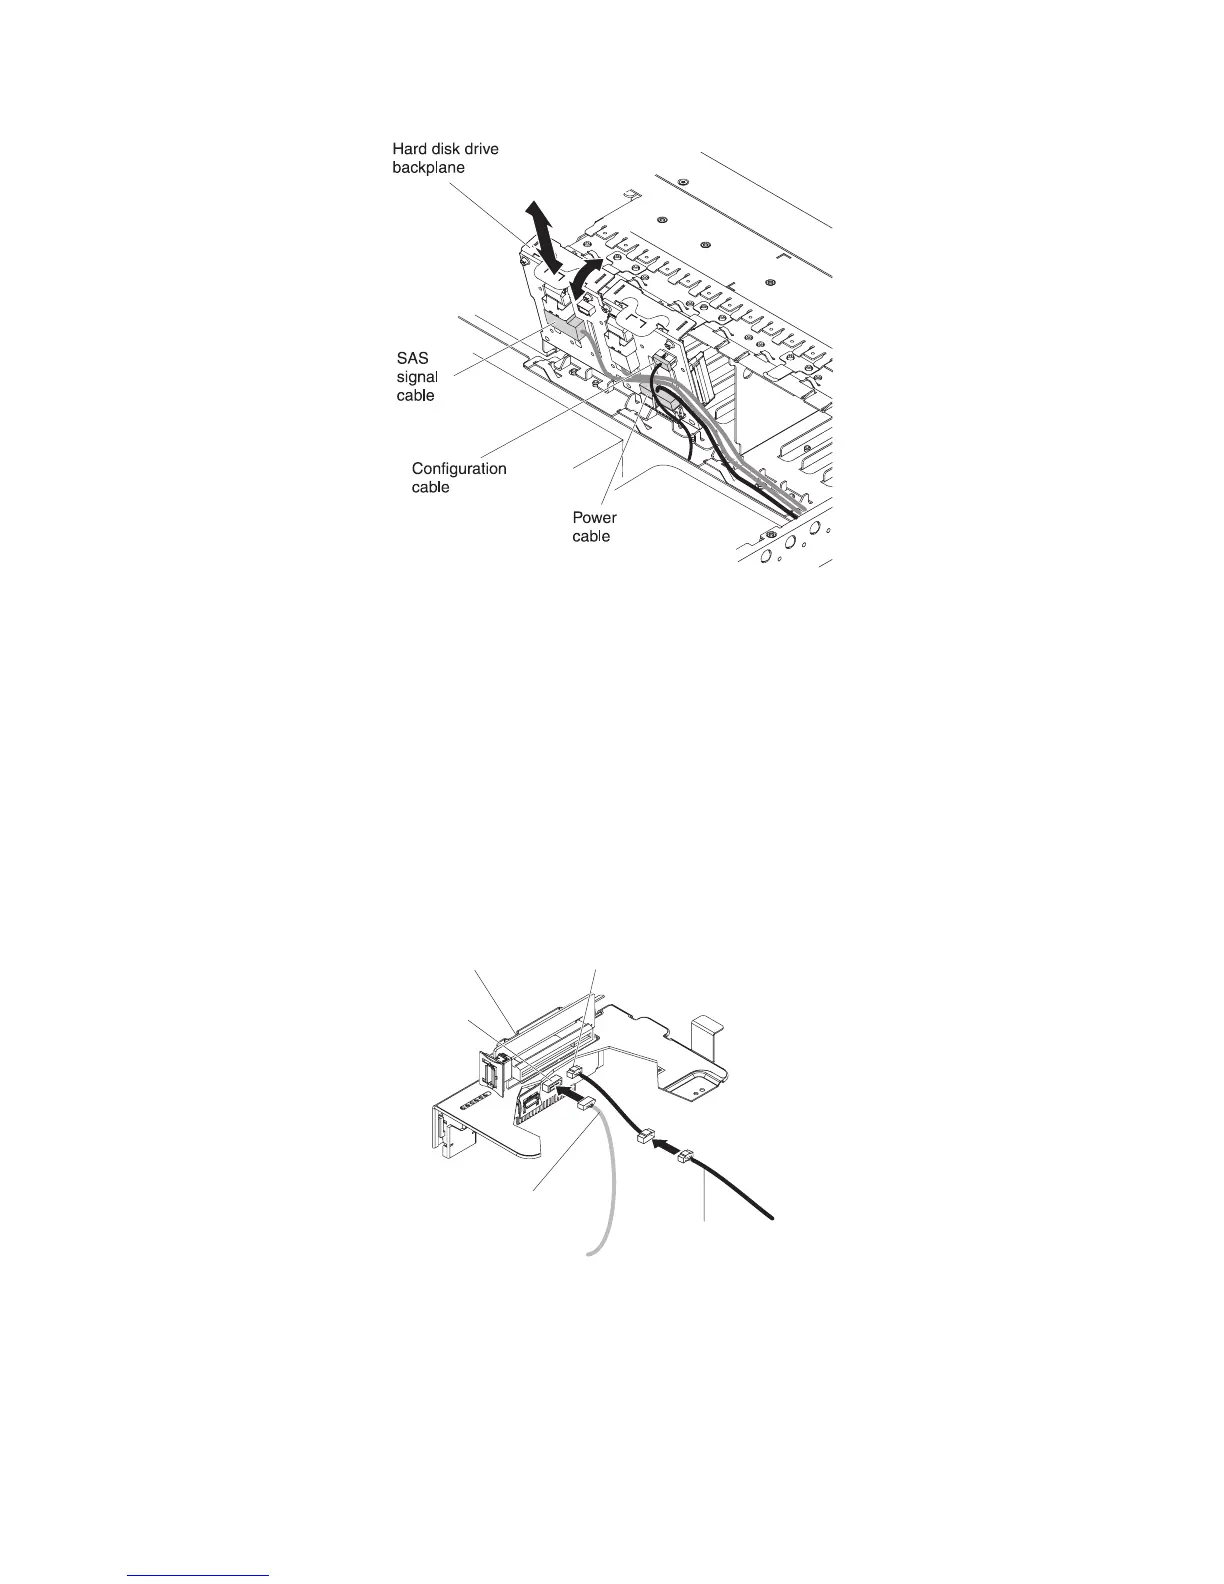
a. Align the backplane with the backplane slot in the chassis and the small
slots on top of the hard disk drive cage.
b. Lower the backplane into the slots on the chassis.
c. Rotate the top of the backplane until the front tab clicks into place into the
latches on the chassis.
d. Insert the hard disk drives or the filler panels the rest of the way into the
hard disk drive bays.
11. Make sure that the tape cables are connected securely to the following
connectors on the SAS riser-card:
v Tape power cable: tape power connector
v Tape signal cable that came with the tape drive: SATA tape signal connector
(SATA drive only) or USB tape connector (USB drive only)
The following illustration shows how to connect the SATA tape drive cables.
SAS riser card Tape drive power
SATA tape
signal
SATA tape
drive signal
cable
Tape drive
power cable
The following illustration shows how to connect the USB tape drive cables.
Chapter 2. Installing optional devices 95
 Loading...


