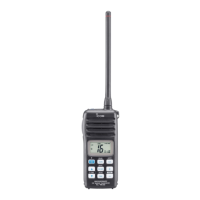
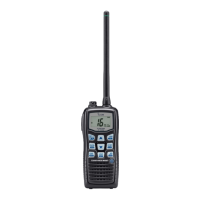
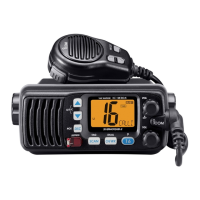
25
9
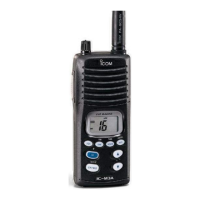
OPTIONAL SPEAKER-MICROPHONE
1
2
3
4
5
6
7
8
9
10
11
12
13
14
15
16
■ HM-165 descriptions
NEVER immerse the connector in water. If the connector
becomes wet, be sure to dry it BEFORE attaching it to the
transceiver.
NOTE: The microphone is located at the top of the
speaker-microphone, as shown in the diagram above. To
maximize the readability of your transmitted signal (voice),
hold the microphone approx. 5 to 10 cm from your mouth,
and speak in a normal voice level.
■ Attachment
Turn power OFF before attaching the speaker-microphone.
Then, insert the speaker-microphone's connector onto the
[SP MIC] connector and carefully screw it tight, as shown in
the diagram below. Be careful not to cross-thread the con-
nection.
IMPORTANT:
KEEP the transceiver’s [SP MIC] cap at-
tached when the speaker-microphone is not in use. If the
cap is not attached,
water will get into the transceiver.
More-
over, the terminals (pins) will become rusty, or the trans-
ceiver
will function
abnormally if the connector gets wet.
PTT switch
Transmits during push.
Receives during release.
Microphone
Speaker
Alligator type clip
To attach the speaker-microphone
to your shirt or collar, etc.
Tu rn the transceiver power OFF
when connecting the HM-165.
CAUTION: Attach the speaker-microphone’s
connector securely to prevent accidental
loss, or water intrusion in the connector.
Detaching:
Rotate the [SP MIC] cap counter-
clockwise (q), then detach it (w).
Attaching:
Attach the [SP MIC] cap (q), then
rotate it clockwise completely (w).
q
w
q
w