8
4
RECEIVE AND TRANSMIT
■ Basic voice receive and transmit
➀ Check the following in advance:
➥ Microphone is connected.
➥ [SPEAKER] switch is turned off.
➥ [SQL] switch is turned off.
➥ [CLARITY] control is set to the center position.
➥ Memory mode is selected.
• Push [CH/FREQ] to select memory mode, if neces-
sary.
➁ Select the desired channel to be received with the
[GROUP] and [CHANNEL] selectors.
• When receiving a signal, the S-meter shows the signal
strength.
➂ Adjust [VOLUME] to the desired audio level when
receiving a signal.
➃ Push [MODE] to select the desired operating mode,
if the received signal is in a different mode.
➄ Push [TUNE] to tune the antenna tuner, if con-
nected.
• This operation is not necessary when “automatic tuning”
is selected in set mode (p. 11).
➅ To transmit on the channel, push and hold the PTT
switch on the microphone.
•“TUNE” flashes for 1 to 2 sec. for the first transmission
on a channel when an antenna tuner is connected.
➆ After the flashing stops, speak into the microphone
at your normal voice level.
• The RF meter shows the output power according to your
voice level.
➇ Release the PTT switch to return to receive.
■ Functions for transmit
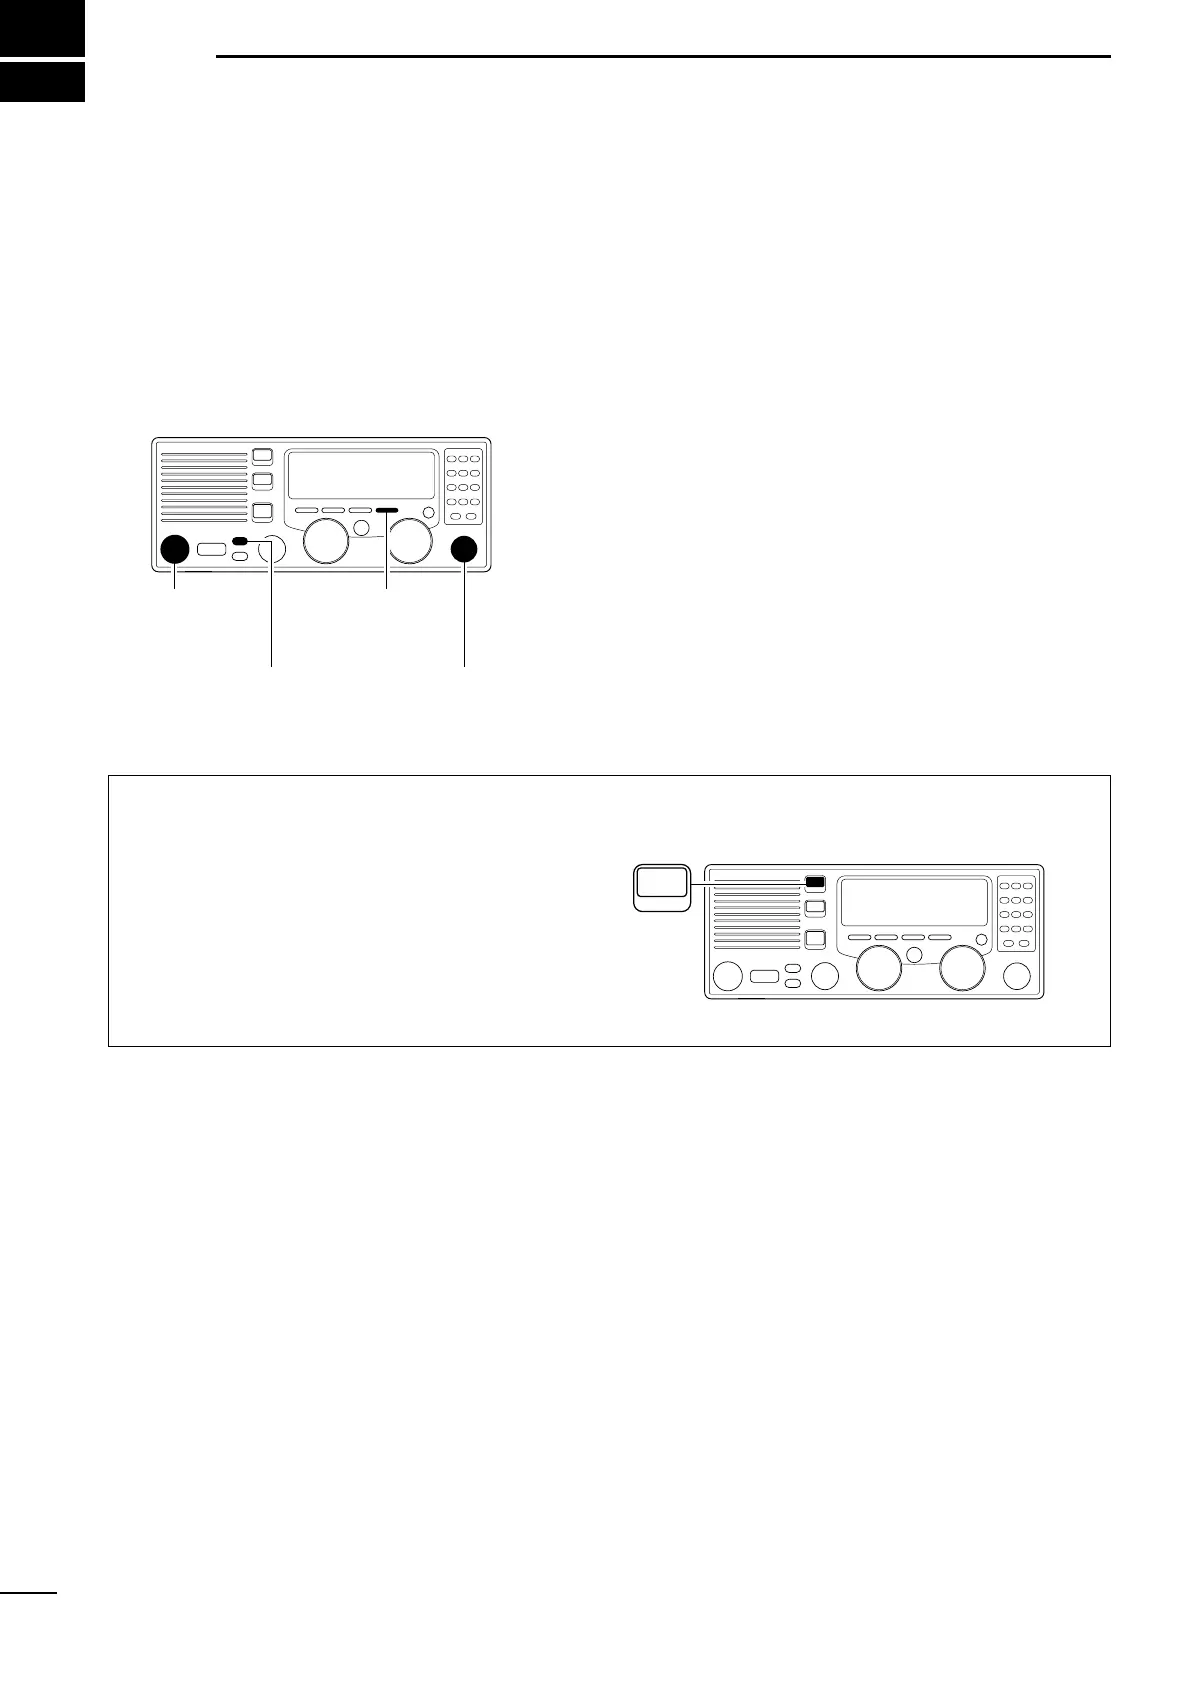
D Transmit frequency check
When “DUP” appears on the display such as for a
ship-to-shore channel, the transmit frequency differs
from the receive frequency.
In such cases, the transmit frequency should be mon-
itored before transmitting to prevent interference to
other stations.
Push and hold [TX FREQ] to monitor the transmit fre-
quency.
• The display shows the transmit frequency.