39
BOILER FRONT PANEL REMOVAL / REPLACEMENT
REMOVAL
1. Loosen the two screws retaining the front panel.
2. Pull the two spring clips down to disengage and pull panel
forward and upward and remove.
REPLACEMENT
3. Hook the panel onto the top retaining clips.
4. Push the panel until the 2 bottom spring clips engage
ensuring the 4 control knobs line up with the holes in the
front panel.
5. Re-tighten the two retaining screws.
40
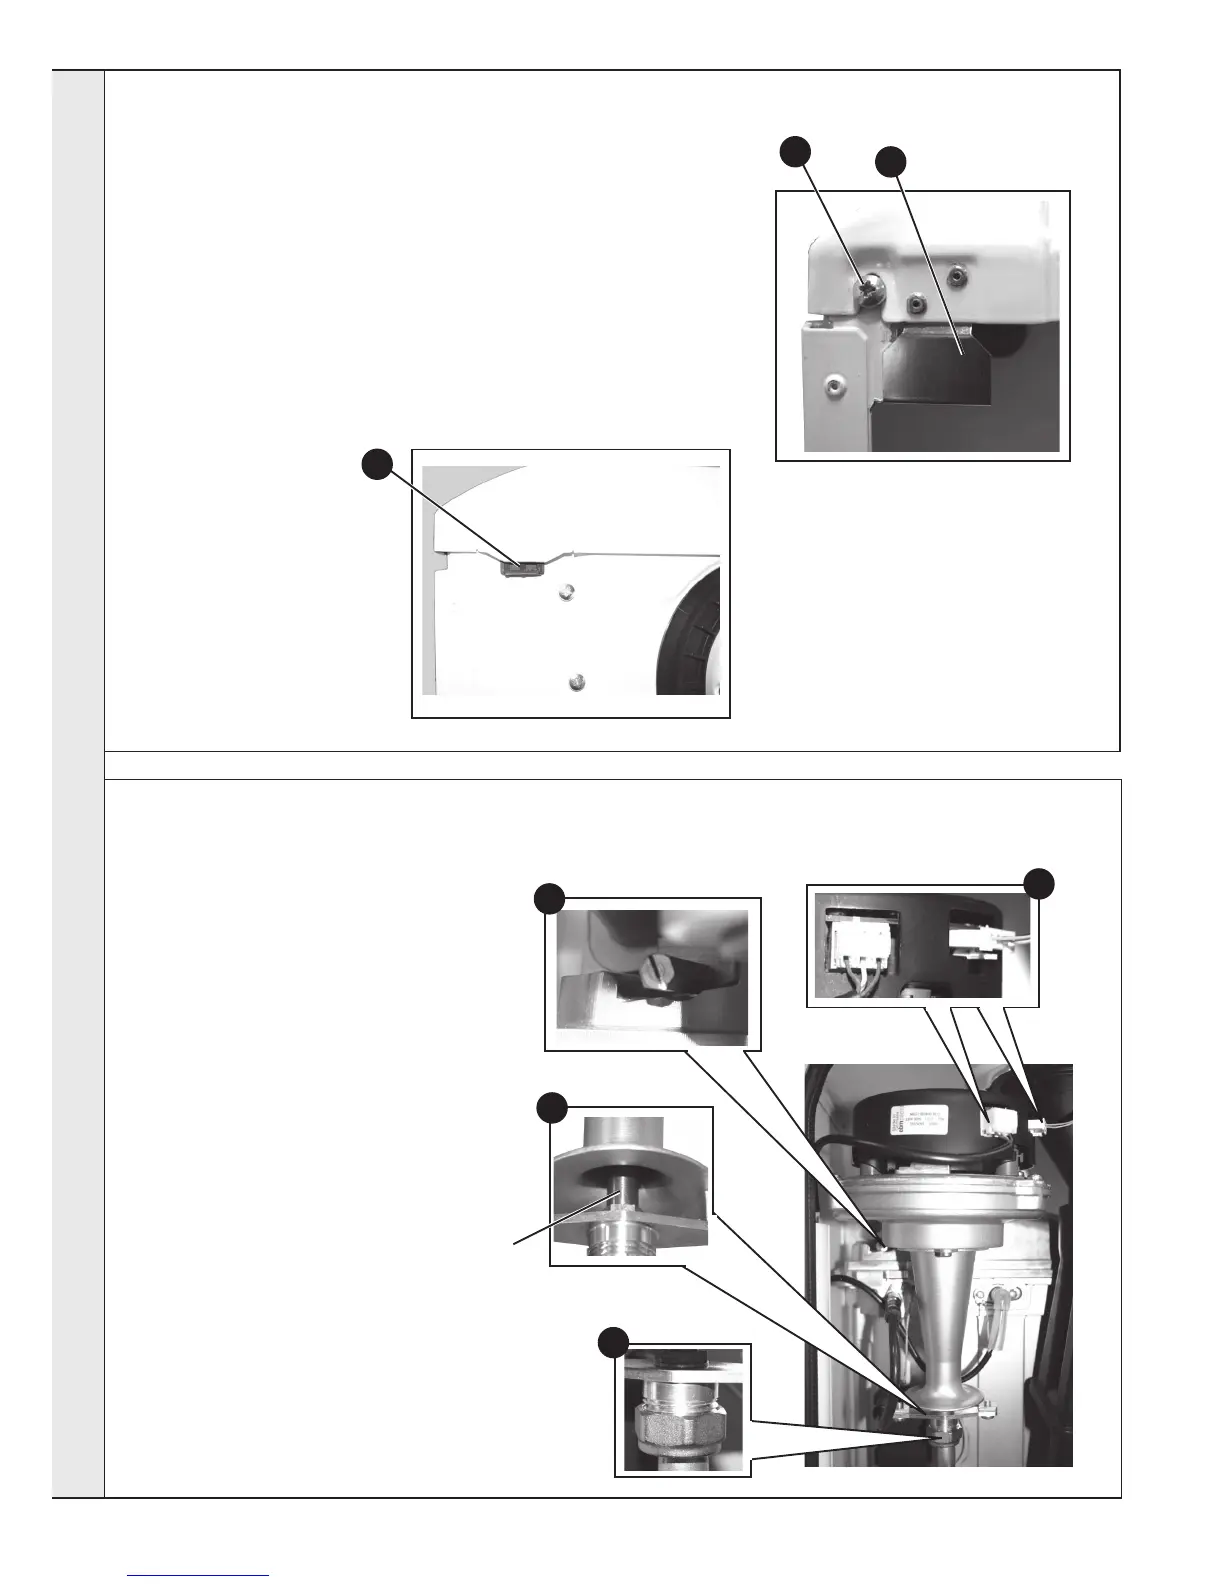
FAN AND VENTURI ASSEMBLY REMOVAL AND CLEANING
1. Disconnect the electrical leads from the fan.
2. Undo the gas pipe union connection to the
injector housing.
3. Remove the extended nut on the fan
mounting bracket.
4. Lift off fan and venturi assembly.
5. Inspect the injector for blockage or damage.
6. Inspect fan outlet sealing gasket and
replace if necessary.
view from top of boiler
view from bottom of boiler
1
2
3
1
2
3
5
Injector
SERVICING