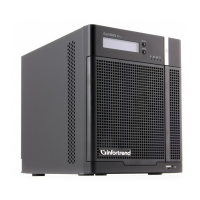
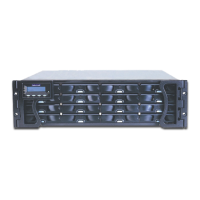
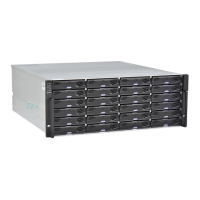
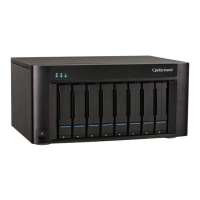
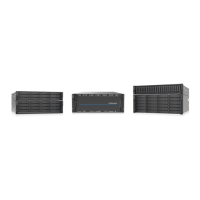
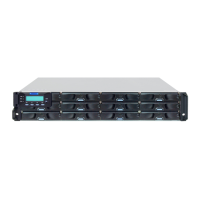
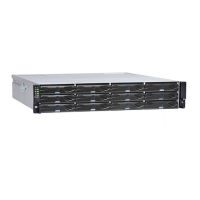
EonNAS Pro Series Hardware Manual
Installing Hard Drive into the Drive Tray
1. Open the front panel of the system.
2. Press the release button (indicated by the blue arrow) on the bezel, the bezel
panel should open automatically and gently pull out the hard drive tray.
3. Place the hard drive into the drive tray. Make sure the hard drive’s interface
connector is facing the open side of the drive tray and its label side facing up.
Adjust the drive’s location until the mounting holes in the drive tray are aligned
with those on the hard drive. Secure the drive with four (4) supplied flat head
screws.
27
 Loading...
