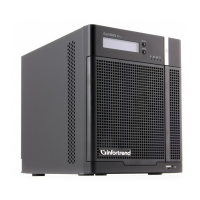
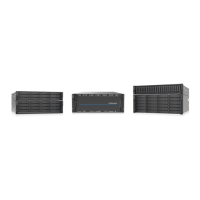
EonNAS Pro Series Hardware Manual
TCP/IP – LAN1 / LAN2 Menu
From the Main Menu, press the “SELECT” button to reach the TCP/IP menu and press
the “ENTER” button to go into the TCP/IP sub-menu (LAN 1 example is shown below).
SELECT
ENTE R
92.168.000.032
SELECT
ENTER
SELECT
ENTE R
Main menu
Pool
SELECT
ENTE R
Main menu
System
SELECT
ENTE R
Main menu
Shutdown
SELECT
ENTE R
Main menu
Reboot
SELECT
ENTE R
Main menu
[Go back]
SELECT
ENTER
Main menu
Hard disk
SELECT
ENTER
Main menu
Network
SELECT
ENTER
EonNAS_Pro_xxx
xxx.xxx.xxx.xxx
Setting IP addresses
Press the “ENTER” button to enter the sub-menu (LAN1 – IP) from “TCP / IP – LAN1”
to configure an IP address and an underline cursor appears (eg. 1
92.168.000.032).
With the underline cursor beneath the number you wish to modify, press the “SELECT”
button and the digit will change incrementally. Once you have set the desired number,
press the “ENTER” button and the cursor will move onto the next digit (eg.
19
2.168.000.032). The rest of the IP addresses are configured likewise.
Note:
The specific LAN 0, LAN1, Gateway and DNS settings can also be configured in the
web interface. Please refer to the Web-Interface Manual for details.
38
 Loading...