13
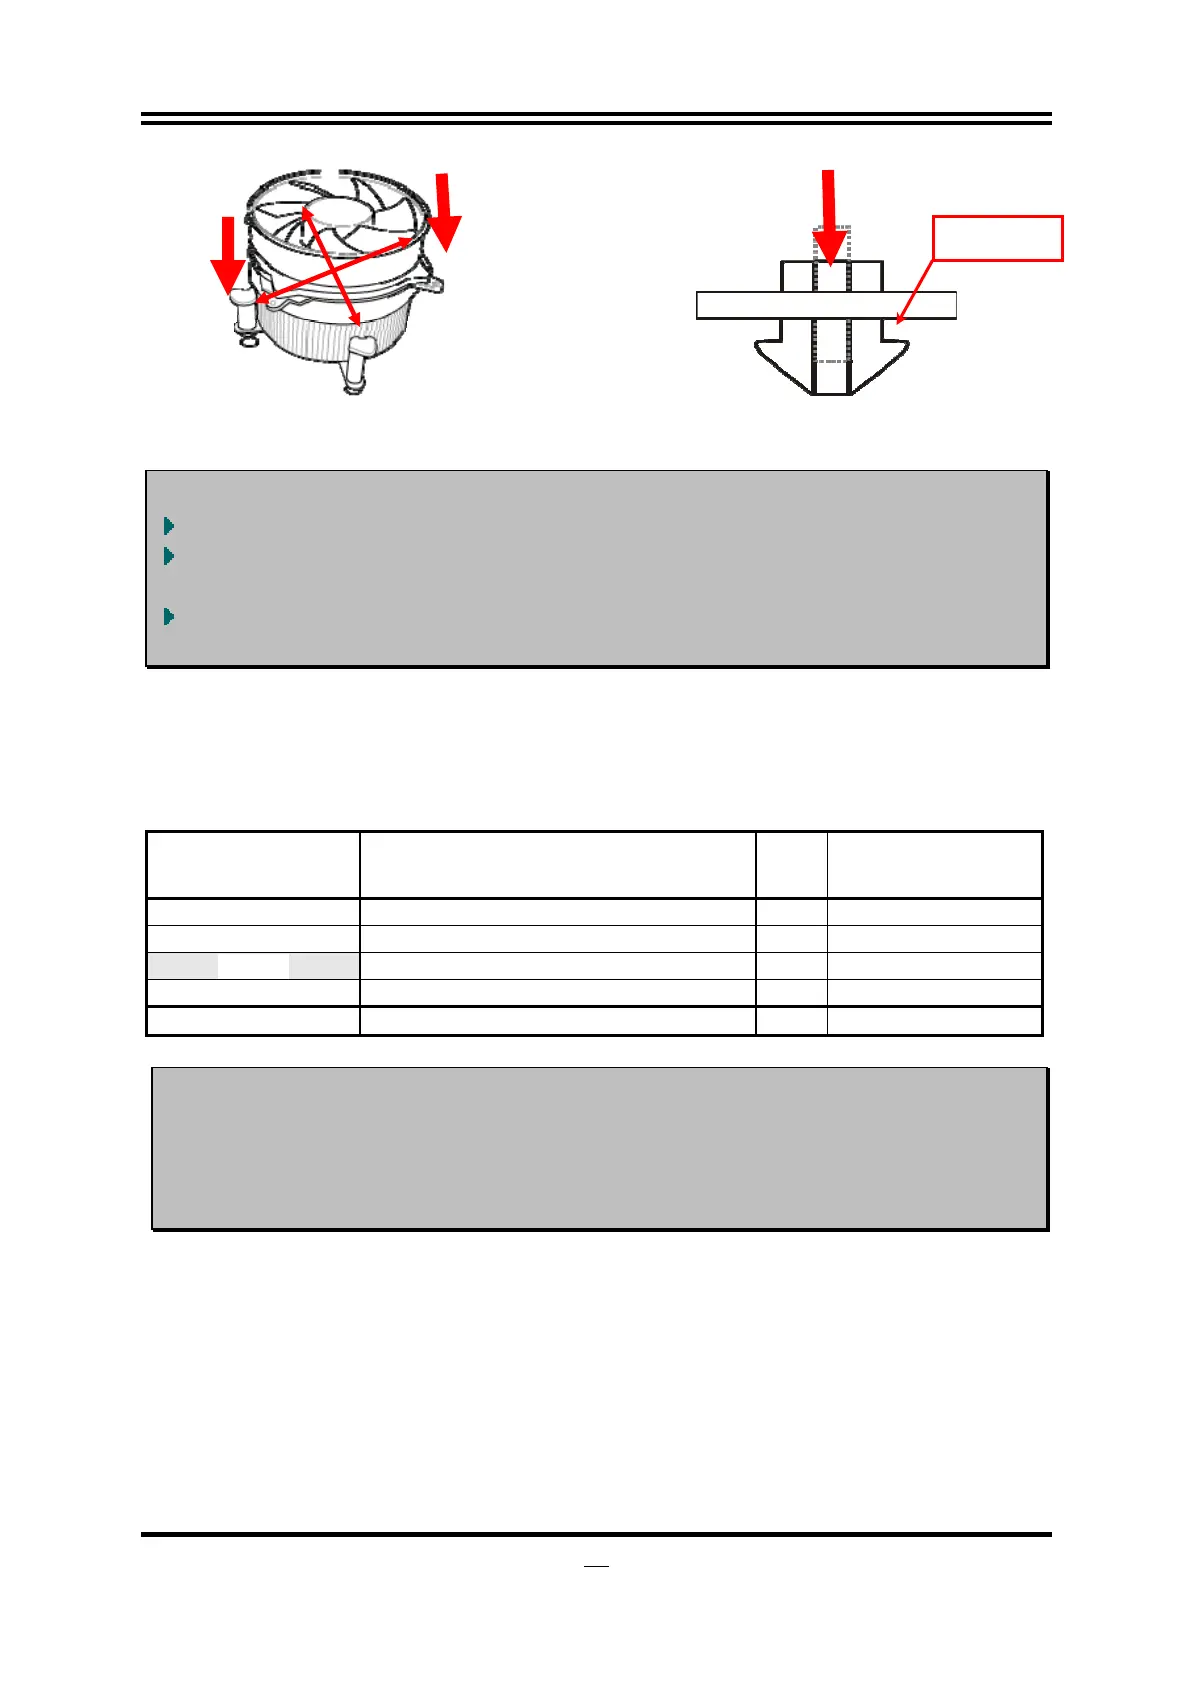
3. Press down two fasteners down in the
oblique crossing direction as shown above.
4. Turn over the motherboard carefully to
make sure the fastener insert in the right
direction.
Notice
:
Please apply thermal interface material to the CPU HIS surface;
The heat sink and installation steps are for reference use only; Installation
steps might differ depending on different heat sink models;
Please use Intel original heat sink for better heat dissipation or other heat sinks
that has pass Intel certification.
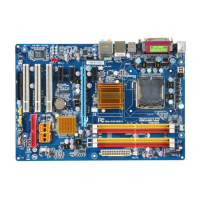
2-4 Install Memory
This motherboard provides four 240-pin DDR III DUAL INLINE MEMORY MODULES
(DIMM) socket for DDR III memory expansion available to maximum memory volume
of 16GB DDRIII SDRAM.
Valid Memory Configurations
Bank 240-Pin DIMM PCS Maximum
Capacity
DIMM1 DDR III 1066/ DDR III1333 X1 4GB
DIMM2 DDR III 1066/ DDR III1333 X1 4GB
DIMM3 DDR III 1066/ DDR III1333 X1 4GB
DIMM4 DDR III 1066/ DDR III1333 X1 4GB
Total System Memory (Max16GB) 4 16GB
Dual channel Limited!
1. Dual channel function only supports when 2 DIMM Modules plug in either both DIMM1
& DIMM3, or four DIMM Modules plug in DIMM1~DIMM4.
2. Memory modules for dual channel function must be the same type, same size, same
frequency for dual channel function.
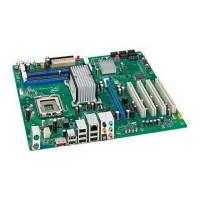
Install DDR SDRAM modules to your motherboard is not difficult, you can refer to
figure below to see how to install DDRIII 1066/DDRIII 1333 SDRAM module.
Motherboard