Installing and Replacing Motherboard Components
24
CAUTION
To avoid bending or breaking pins, use caution when removing or installing a jumper.
To set the processor speed, follow these steps:
1. Observe the precautions in “Before You Begin” (see page 19).
2. Turn off all peripheral devices connected to the computer. Turn off the computer.
3. Remove the computer cover.
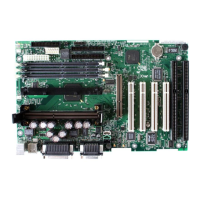
4. Find the configuration jumper block (see Figure 7).
5. Place the jumper on pins 2-3 as shown below.
1
3
J8A1
OM07071
6. Replace the cover, turn on the computer, and allow it to boot.
7. The computer starts the Setup program. Setup displays the Maintenance menu.
8. Use the arrow keys to select the Processor Speed feature and press <Enter>. Setup displays a
popup screen with the available processor speeds.
9. Use the arrow keys to select the processor speed. For example, select 266 for a 266 MHz
Pentium II processor. Press <Enter> to confirm the speed. This Maintenance menu reappears
again.
10. Press <F10> to save the current values and exit Setup.
11. Turn off the computer.
12. Remove the computer cover.
13. To restore normal operation, place the jumper on pins 1-2 as shown below.
1
3
J8A1
OM07072
14. Replace the cover and turn on the computer.
15. Verify the processor speed during POST.
 Loading...