Installing 12V DC/Battery Connection
1. Be sure to leave an additional 18” of harness length so the tester can be pulled out via the slide-
out base without damaging the 12V input harness.
2. Locate the supplied 2-prong connector and install the wire harness to identified + and -
connections. It is recommended to apply some dielectric grease to both the assembled terminals
and mating plug sides prior to use.
3. Plug the connector into the 2-pole socket located on the back, right side of the tester. The door
incorporates a key-lock position to prevent the connector from disconnecting. Push the connector
in firmly to engage the lock.
4. To power on the tester, press the power switch to the ON position.
NOTE: The Alpha MUTT
®
is designed to have a constant 12V DC power supply from the vehicle’s
battery system. The tester already incorporates onboard fuse protection, so no additional fusing is
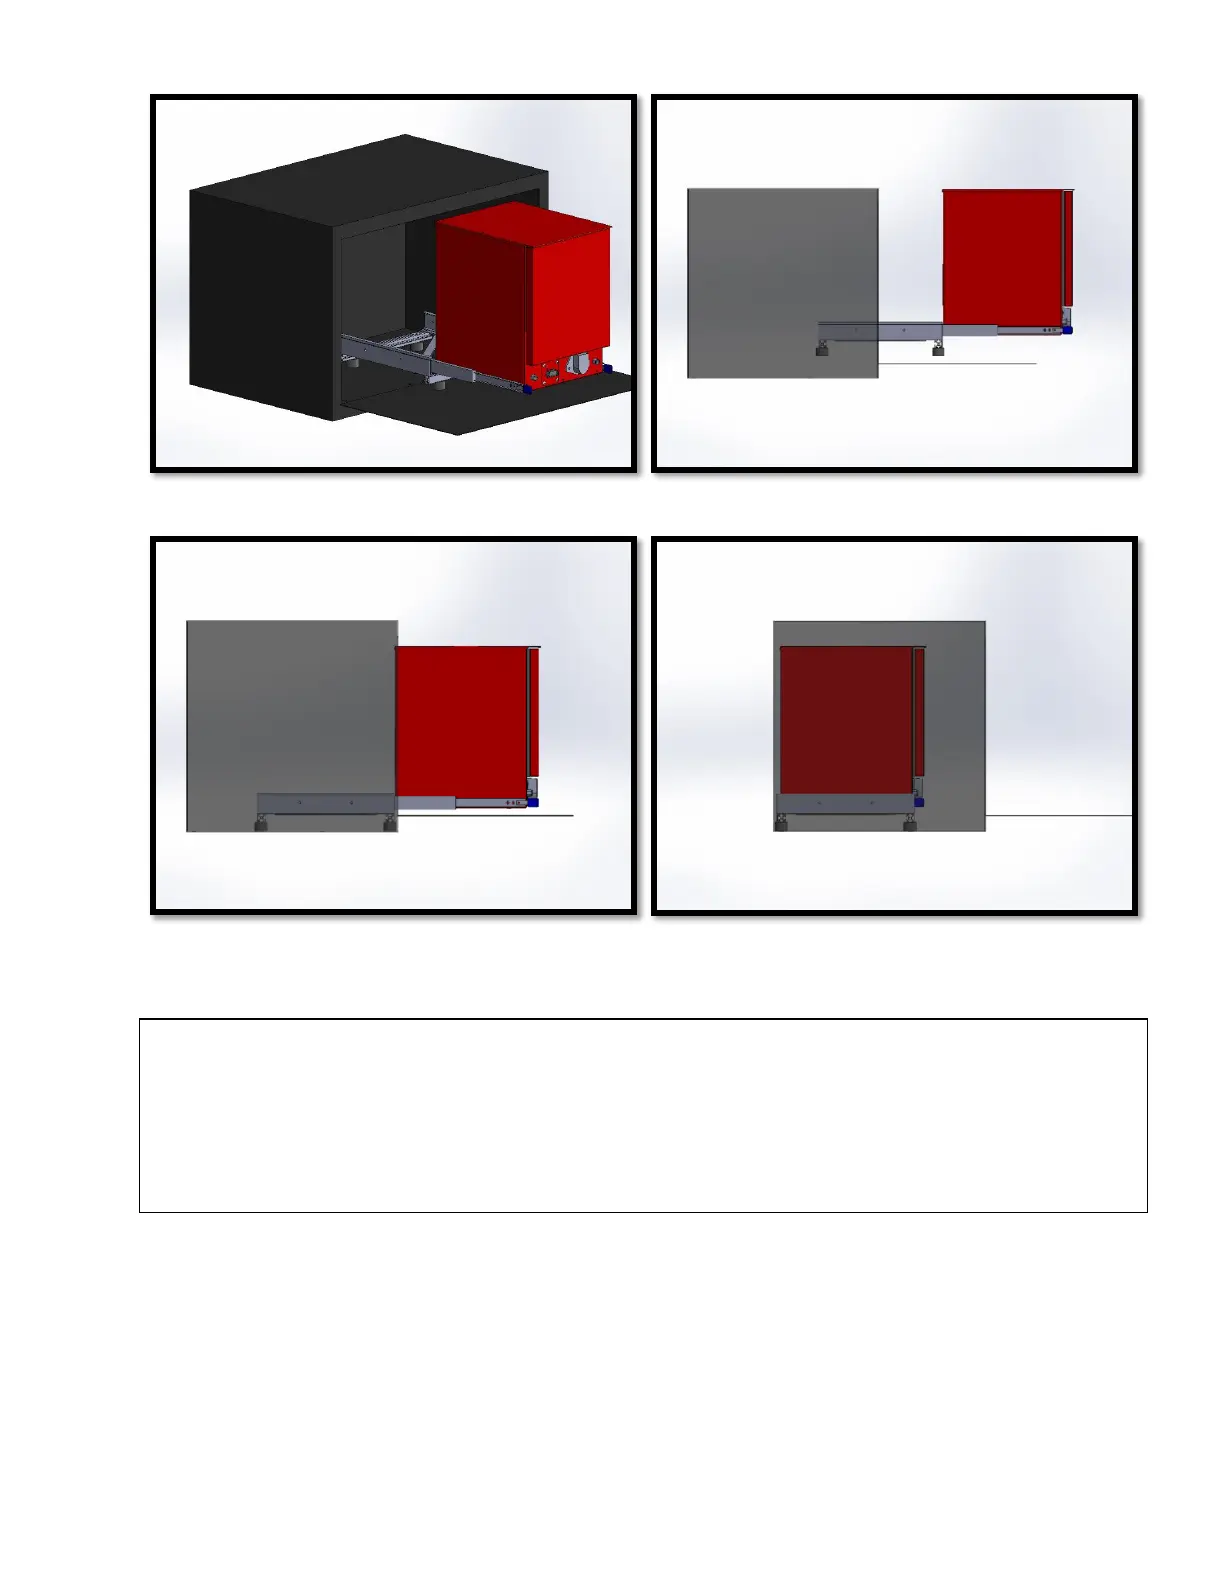
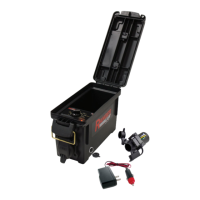
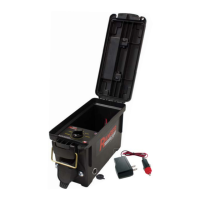
required. This operation can be performed in two ways. The Primary method is to leave the tester
attached to the base, utilizing the extended position. The Alternate method involves completely
removing the base from the tester by pulling up on the two blue handles and sliding the tester out
completely. HOWEVER, this is NOT the recommended method, as reinstalling the tester onto the
base must be done with care to prevent damage to the base components.