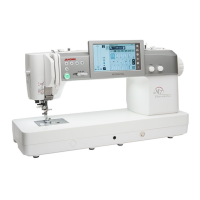
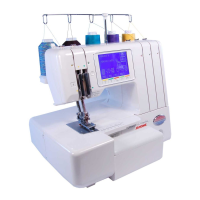
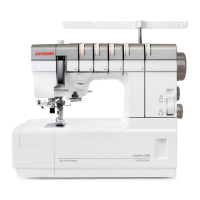
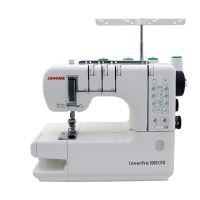
q
w
r
28
Fabric Thread Needle
Fine
Lawn
Georgette
Tricot
Organza
Crepe
Cotton #80-100
Synthetic
#80-100
Blue tip needle
Universal needle
#9/65-11/75
Medium
Sheeting
Jersey
Broadcloth
Fleece
Cotton #50-80
Synthetic
#50-80
Red tip needle
Purple tip needle
Universal needle
#11/75-14/90
Heavy
weight
Denim
Tweed
Coating
uiting
Cotton #40-50
Synthetic
#40-50
Red tip needle
Purple tip needle
Universal needle
#14/90-16/100
Fabric and Needle Chart
•
For general sewing, use a red tip needle.
•
Fine threads and needles should be used for sewing
fine arics
•
In general, use the same thread for both needle and
bobbin.
•
Use a ue tip neede or seing fine arics stretch
fabrics, tricot and buttonholes to prevent skipped
stitches.
•
Use a purpe tip neede or seing nits ree uiting
and across the hem to prevent skipped stitches.
•
Use a staiier or interacing or stretch or fine arics
to prevent seam puckering.
•
Always test the thread and needle size on a small
piece of the same fabric you will use for actual sewing.
NOTE:
1 x twin needle, 2 x blue tip needle (#11/75), 1 x red tip
needle (#14/90) and 1 x purple tip needle (#14/90) are
included in the needle case (Part No. 859856005).
Optic Magnifier
Use the magnifier to get a arger ie o the neede area
Attaching the magnier
od the no ith our fingers and insert the pin into the
hole in the bottom of the face plate.
ush the magnifier up unti it snaps to fit
Adjust the ange to get the est ie
q
Pin
w
Hole
Removing the magnier
the magnifier is not in use turn it to the et out o sight
or pull it down to remove.
CAUTION:
• o not use or eae the magnifier in direct sunight
as it ma cause a fire or urn
• o not oo at the sun through the magnifier as it
can damage your eyes.
• Do not hit or exert excessive force on the optic
magnifier as this ma cause damage hen it is
attached.
• o not attach the optic magnifier hen seing in
embroidery mode.
Replacing the magnier
To remove the lens, push or pull the lever to the opposite
side to draw the pin out of the lens.
Remove the lens from the metal.
To attach the lens, insert it into the metal part as illustrated.
ush or pu the eer to the opposite side to fi the ens
igher numers indicate stronger magnification
q
Lever
w
Lens
e
Metal part
r
Number
q
w
e
r
r
w
e

 Loading...
