43
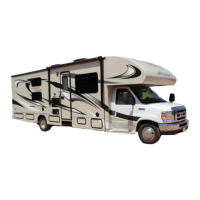
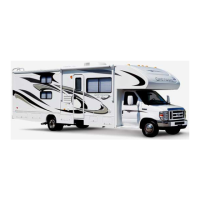
After adjusting the front driver’s seat, adjust the outside rearview mirrors to your driving
preference. Have someone help you adjust the mirrors in the desired direction for maximum
rear visibility before driving. During travel, vibration may loosen the tting holding the
mirror(s), causing them to change position. As part of your regular motor home maintenance,
check and adjust the mirrors to the desired position.
You can adjust the power remote mirrors when the ignition key is in the ON position.
1. Move the control knob to the side you want to adjust.
2. Press the control arrows in the direction you want the mirror to move.
3. Return the control knob to the center to lock the mirror(s) into place.
The power remote mirrors also contain heating elements to defog or de-ice the mirrored
glass if needed. To activate this feature, use the “Mirror Heat” control located on the driver’s
side console next to the mirror control.
Rear Vision Camera
The rear vision monitor gives a limited televised view of what is behind your motor home.
The rear vision camera will aid you in backing up the motor home, and can be used for a
greater eld of vision when driving in heavy trac.
Your RV may also be equipped with side view cameras mounted on each side of the RV
(facing rearward) to give you views down each side of the motor home. Check the outside
rear view mirrors when driving and backing for a more complete eld of vision.
The monitor is operational whenever the engine is running. To use the monitor, ip the
switch from standby to ON (the monitor will also work when with the motor home is in
“reverse” and the monitor in standby). Make sure you turn the monitor to standby while
driving to avoid being distracted.
Never operate the rear vision monitor in the ON position for extended periods of time as this
may result in an “image burn” on the monitor.
For detailed operating and safety information, refer to the manufacturers user guide.
. When
backing up, proceed cautiously and be prepared to stop.
Campsite Hook-Up
Refer to Electrical Systems section before connecting the shore line power cord (when
using full hook-up) OR before starting the generator (if so equipped) or operating the
vehicle on 12-volt power when dry camping.
Refer to Fuel & LP System section before using the LP system. Open the LP gas tank
valve (if so equipped) slowly. There may be air in the lines and ve to thirty seconds
of time is needed to bleed air before LP vapor lls the lines.
Refer to Plumbing Systems section before connecting the fresh water supply or turning
ON the water pump or water heater.