71
Use this procedure when there is loss of power or electrical problem with the system.
1. Remove the touchpad (Fig 4) from the wall.
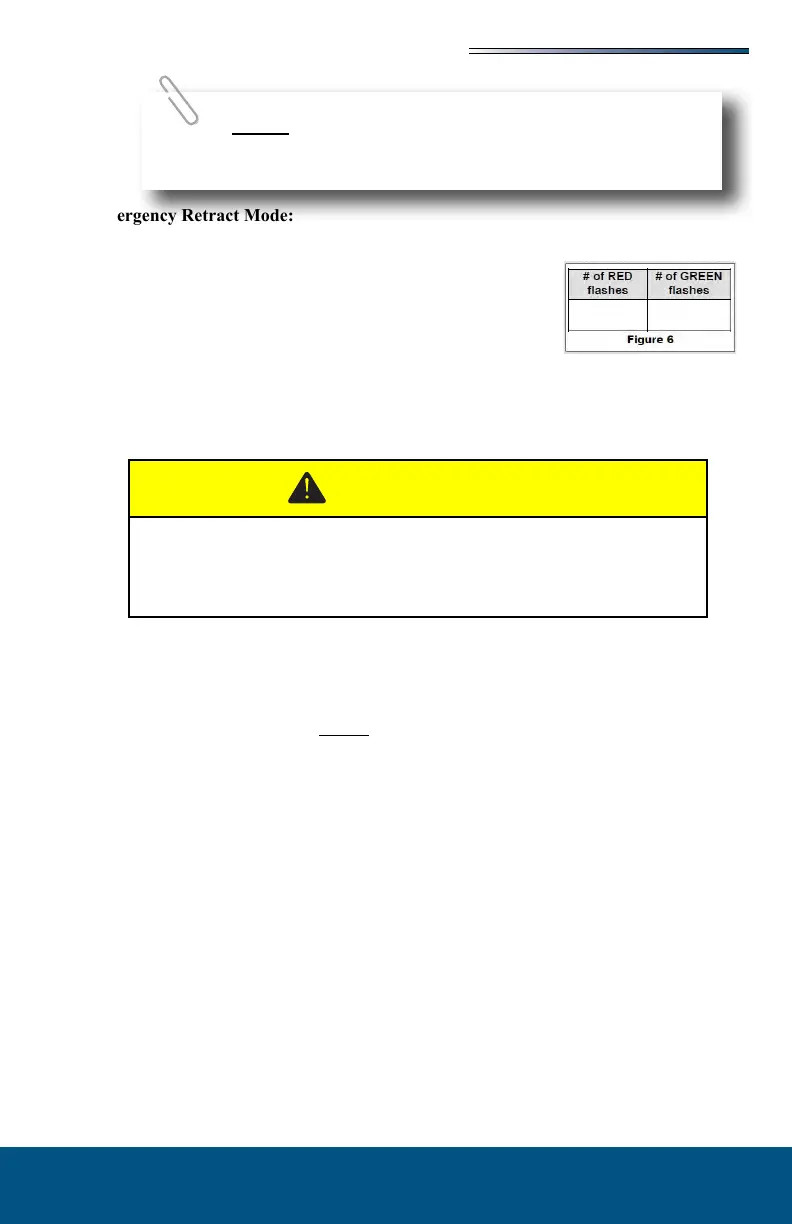
2. Prior to clearing the MAJOR fault, record the number of
RED & GREEN ashes observed on the touchpad (Fig 6).
This information will help your dealer/service center in
troubleshooting the slideout system.
3. Press and hold the SET STOPS/CLEAR FAULTS button on
the back of the touchpad for ve (5) seconds (Fig 2). Both RED & GREEN LEDs will
be on solid while pressing this button. After 5 seconds, the GREEN LED will begin
ashing and the RED LED will remain solid on.
4. The unit is now ready to retract the room. Press and hold the ROOM SLIDEOUT
MOTOR buttons 1 and 2 on the back of the touchpad (Fig 3).
Press the IN button on the front of the wall touchpad until the room is fully retracted. If one
side of the room needs to retract further in order to get a good seal, press and hold the motor
button (Fig 3) corresponding to the motor you want to move. Press the IN button on
the front of the touchpad to retract the room the remainder of the way.
5. Re-install the wall touchpad.
6. Take the unit to an OEM certied dealer for repairs.
If the power is lost to the slideout motor(s) or the override mode above will not work, the
room may be manually retracted using a ratchet and socket attached to the end of the coupler
(Fig 11).
1. Gain access to the VERTICAL CHANNEL assembly from inside or outside of the
coach (whichever is more convenient). Remove the trim and ange pieces on the
slideout room box.
2. If applicable, remove the top screw from the bulb seal at the top of the VERTICAL
CHANNEL (Fig 8).
3. Pull down the bulb seal and remove the motor cover (Fig 9). The motor seal may stick
to the bulb seal.
4. Using a pick tool, remove the end of the retaining spring from the motor spring clip
(Fig 10A). If not equipped with a retaining spring, loosen the motor retaining screw
(Fig 10B).
5. Unplug the motor from the harness and remove the motor by lifting it up and out.