7 - 6
Dismantling (continued)
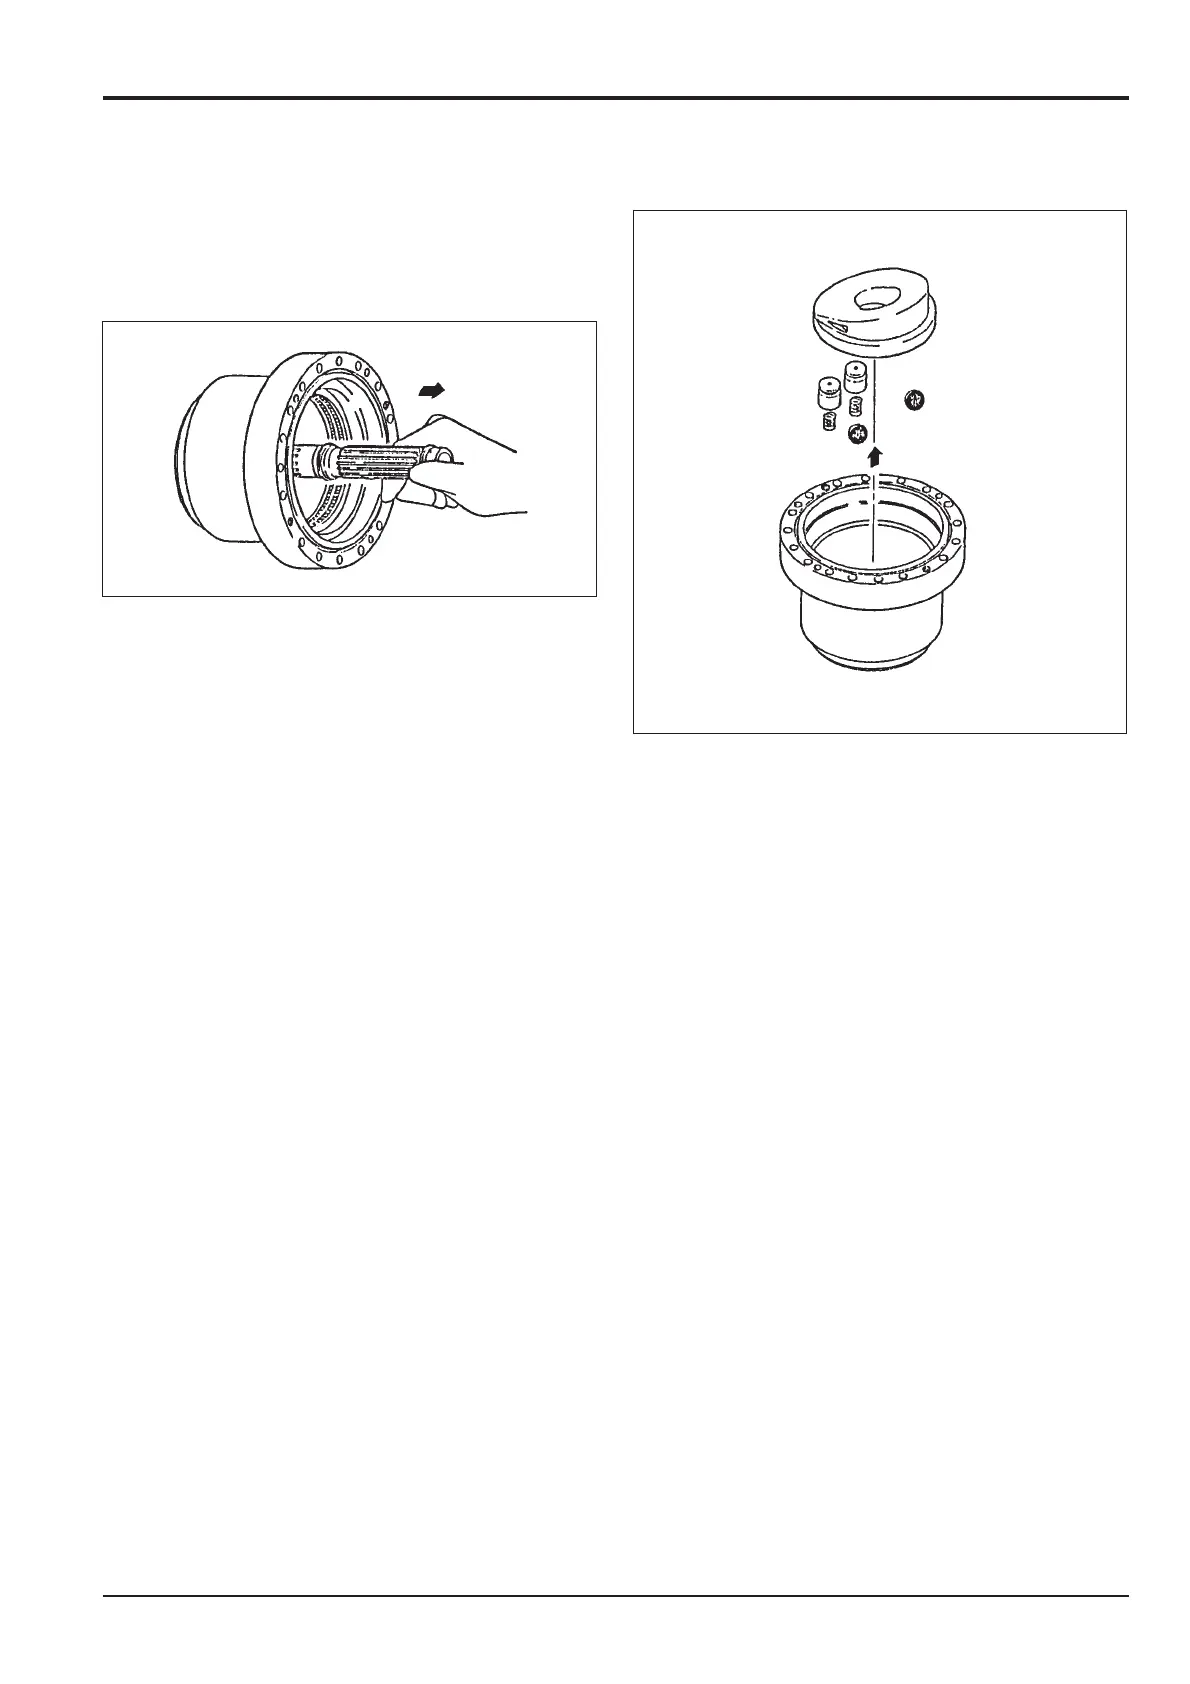
14. Remove the (3) shaft from the (1) case and
remove the (9) swash plate, (11) piston, (40)
spring and (10) steel ball from the (1) case.
15. Plunger disassembly
Push through a
ø10 mm bar in the (2-2) plunger ø11
mm hole and fix with a vice then loosen the (2-2-4) plug.
Note: Unless absolutely necessary, do not disassemble.
When fixing with a vice, use a copper plate so as not to
damage the plunger sliding area.
16. Remove the (2-2-3) spring and (2-2-2) check valve.
17. Cap disassembly
Remove the (2-6-2) piston and (2-6-3) spring from
the (2-6-1) cap.
Note: Do not disassemble the piston unless necessary.
The disassembly is now complete.
Section F
Transmission
9803/6400
Section F
7 - 6
Issue 2*
Motor
*
*

 Loading...


