Repeat A- is displayed on the LCD display (#2).
2. Press REPEAT A-B BUTTON (#8) at the point where you want to stop playing repeatedly.
Repeat A-B is displayed on the display (#2). and the specified section (point A to point B)
is played back repeatedly.
3. Tap the STOP BUTTON (#4) to clear the A-B repeat playback setting and stop
playback.
ANTI-SHOCK PROTECTION
This player incorporates an electronic anti-skip circuit to prevent interruption of the sound
output when the unit is subjecting to shock, vibration or rolling during CD playback. The antis-
shock system will automatically activate when a disc is playing, the ESP indicator will appear
on the LCD DISPLAY (#2).
Once anti-skip buffer is full, it will give you approximately 60 seconds of protection against
interruption of sound output. If the player is subjected to shock or rolling for longer than the
buffer memory, some interruption of sound output will occur. This is normal and to be
expected and the sound will resume once the player has stabilized from the shock or rolling
disturbance.
Note: The anti-skip function provides for continues sound output when the unit is subjected
to shock or vibration. It will not compensate for errors arising from the use of defective,
scratched or dirty discs.
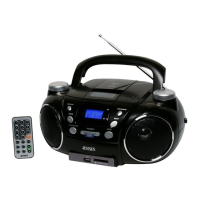
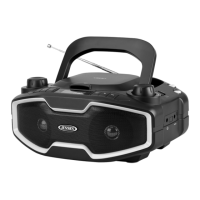
RADIO OPERATION
1. Tap ON/OFF BUTTON (#5) to turn on the unit.
2. Press and hold the MODE BUTTON (#4) to enter FM mode when the unit is at CD mode,
the FM radio frequency appear on the LCD DISPLAY (#2).
3. To manually tune to a specific radio station, tap the TU- or TU+ BUTTON (#1 or #6)
repeatedly. Use the manual tuning method to tune in weaker stations that are bypassed
during Automatic Tuning.
4. To automatically tune to the next available radio station, press and hold the TU- or TU+
BUTTON (#1 or #6) for 1-2 seconds until frequency readout on the display begins to scan
and then release the button. The tuner will stop scanning when it receives the next
broadcasting station of adequate signal strength.
5. Press the volume control VOLUME +/– BUTTON (#12/#13) to the desired volume level.
TIPS FOR BEST RECEPTION
The cord of the earbuds acts as an antenna for the radio and must be fully extended for best
reception.
PRESET RADIO STATIONS
1. Tap ON/OFF BUTTON (#5) to turn on the unit.
2. Press and hold the MODE BUTTON (#4) to enter FM mode when the unit is at CD mode,
the FM radio frequency appear on the LCD DISPLAY (#2).
3. Tune to the desired radio station either by “manually” or “automatically” tuning method.
4. Tap the PROGRAM/PLAY MODE BUTTON (#4), the preset memory number flash on the
LCD DISPLAY (#2). (Note: P01 will blink in the display if you are programming preset for
first time).
 Loading...