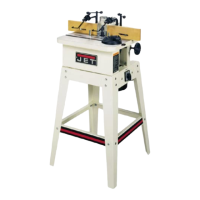
ASSEMBLING
MOTOR
AND
MOUNTING
PLATE
TO
SHAPER
1.
Attach motor and mounting plate assembly
to the rear of shaper using hex bolts and
washers
previously installed on motor plate.
Sec
figure 5.
ASSEMBLING
BELT
AND
ADJUSTING
BELT
TENSION
1.
Slip
belt
onto
both spindle and motor
pulleys.
2.
Loosen two large hex bolts (A).
See
figure 6.
3.
Pull
motor out to tension belt.
4.
Tighten bolts (A).
ASSEMBLING
BELT
COVER
TO
STAND
1.
Attach belt cover (A) to shaper
with
two
hex
head bolts and washers. See figure 7.
ASSEMBLING
SWITCH
TO
STAND
WARNING!
All
adjustments to machine must be made with
power off and disconnected from the power
source.
Failure
to comply may result in serious
injury!
1.
Remove selector knob, faceplate, and
backing
plate from the
switch
assembly.
See
figure 8.
2.
Push
switch
through opening in stand from
the back and fasten from front
with
mounting plate and four screws. See
figure
9.
3.
Snap on cover plate, slide selector knob
onto,switch
shaft, and secure
with
screw.
See
figure 10.
Fig.
5
Fig.
6
Fig.
7
—3—
Fig.
8

 Loading...