10
7.5 Mounting to bench or stand
The scroll saw should be
installed upon a sturdy, flat surface with all four
legs contacting the surface. Do NOT install with
saw partially hanging over edge of table or
workbench.
If scroll saw will not be bolted down to a surface,
install the four foot pads to reduce vibration. See
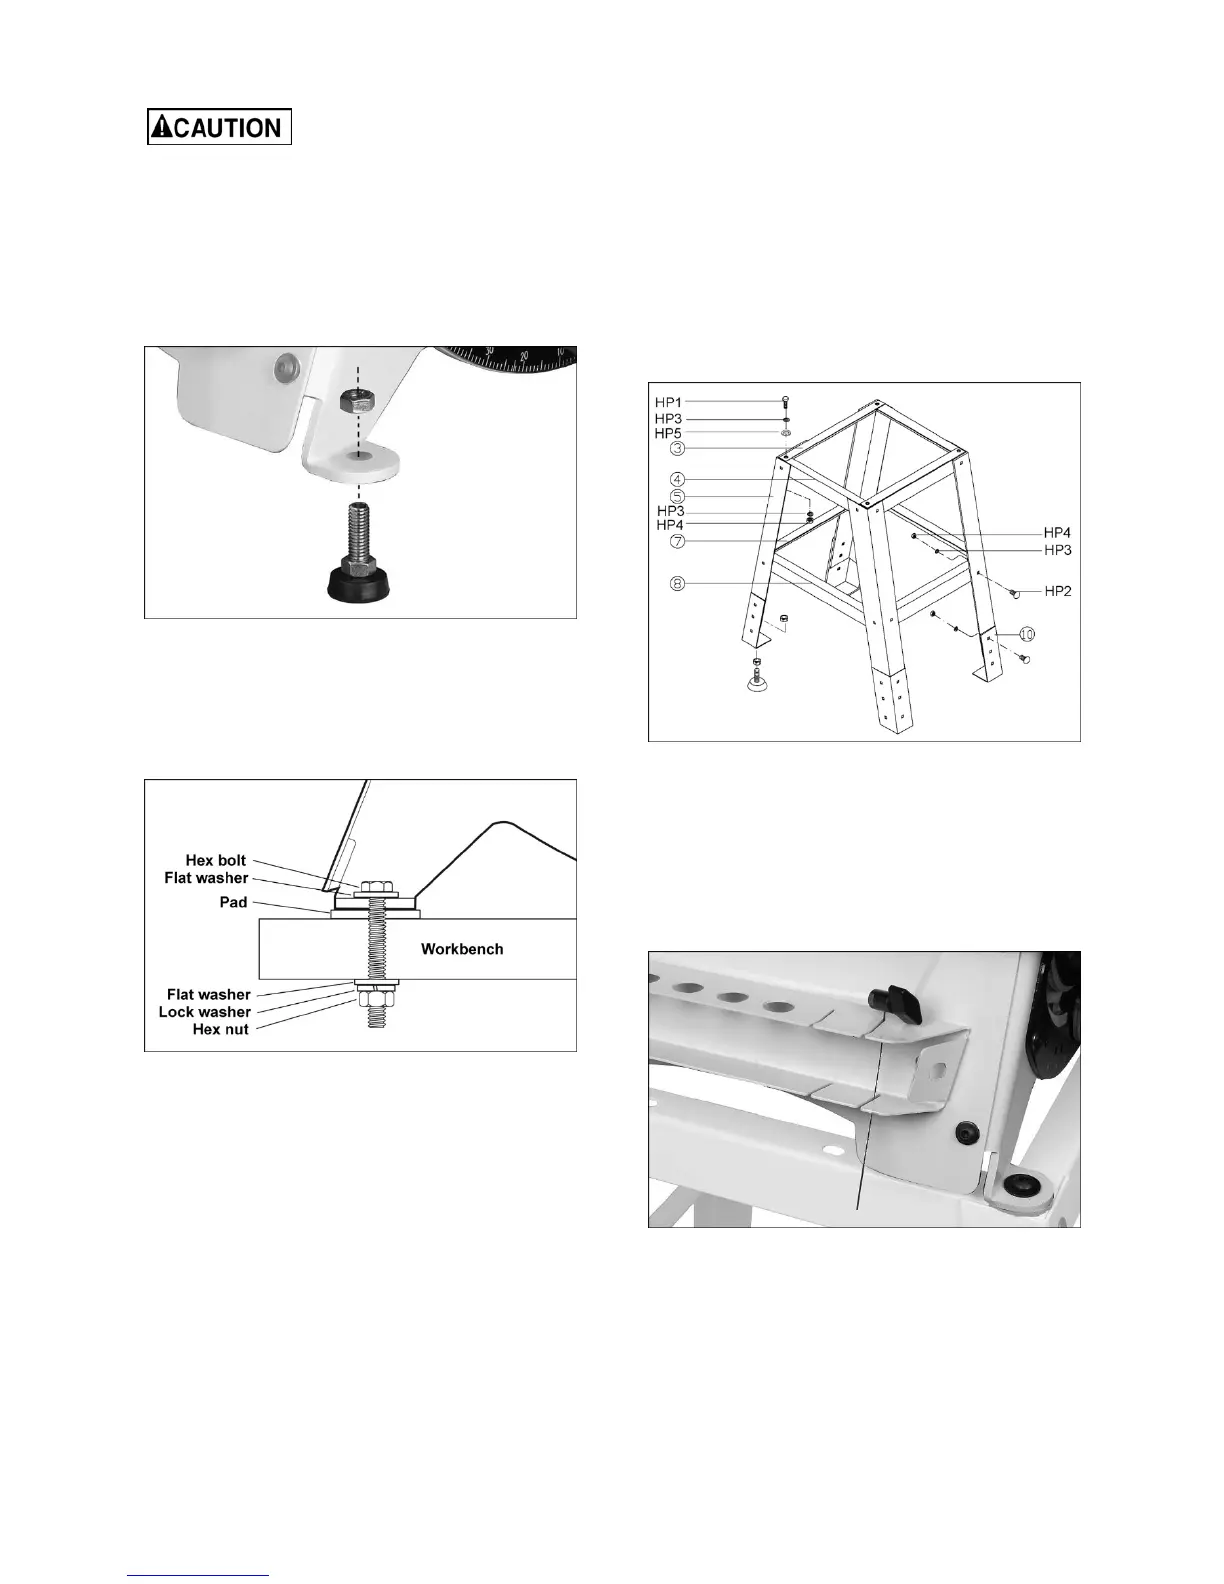
Figure 8. Lower hex nut may be adjusted for height.
Tighten top hex nut down against saw foot.
Figure 8: leveling foot
The preferred method is to mount the saw directly to
a solid workbench or table, or to the optional JET
stand. If mounting to a workbench, use a pad
(provided rubber washers) between saw and bench
to minimize vibration. See Figure 9.
Figure 9: bench mounting (fasteners not included)
If a non-permanent method is preferred, an
alternative is to fasten the saw to a thick plywood
board (minimum 3/4-inch), then attach the board to
a table using clamps.
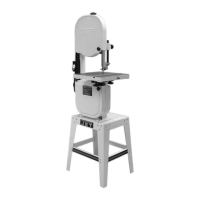
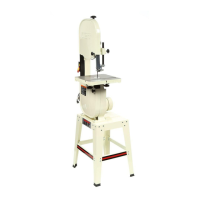
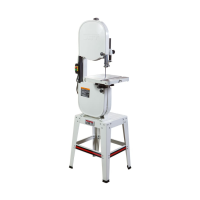
7.6 Assembling stand (optional)
1. Assemble stand pieces, referring to Figure 10.
(Refer to exploded view, sect. 15.4.1, if further
clarification is needed.) Only hand-tighten all
fasteners at this time.
NOTE: One end of each leg (#5) forms a slight
“V” shape – this end goes at the top. The bottom
edge of the leg forms a straight line.
2. The leg extensions (#10, Figure 10) can be
adjusted for height.
3. If stand will not be bolted to the floor, install the
leveling feet (shown in Figure 8) that were
included with the scroll saw, onto the bottoms of
the stand leg extensions (Figure 10).
4. Position stand upright on level floor. Push down
on stand assembly to settle it on floor, then fully
tighten all fasteners with 12mm wrench.
5. Some scrollers prefer to tilt the saw toward them
for convenience. If this is desired, adjust only
the two front leg extensions.
6. Mount scroll saw to stand, using fasteners
shown (also identified in Figure 5).
Figure 10: stand assembly (optional accessory)
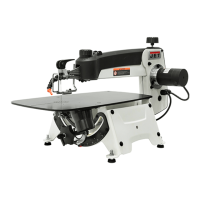
7.7 Blade storage
The blade rack (Figure 11) can be mounted to either
side of the scroll saw. It contains holes for storage
of blades inside “test tubes” (not provided).
Additionally, four slots provide storage for blades
pre-inserted into a blade holder.
Figure 11: blade storage
7.8 Foot pedal
Connect plug from scroll saw into receptacle on
back of foot pedal. Then plug foot pedal into power
source. (If not using foot pedal, plug saw directly into
power source; the on/off switch is then pressed to
start and stop the saw.)