Figure 8-8
Figure 8-9
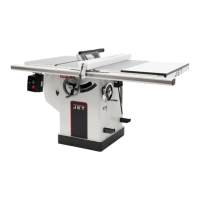
Length stops should not be used on the free end of
the workpiece in the cutoff area.
Do not crosscut workpieces shorter than 6"
(150mm). Before starting a cut, be sure the miter
gauge is securely clamped at the desired angle.
Hold the workpiece firmly against the table and
back against the miter gauge. Always use the saw
guard and riving knife and make sure the riving
knife is properly aligned.
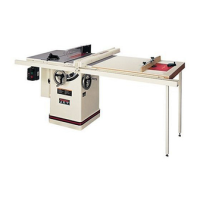
For 90-degree crosscutting, most operators prefer
to use the left-hand miter gauge slot. When using it
in this position, hold the workpiece against the
gauge with the left hand and use the right hand to
advance the workpiece. When using the right hand
slot for miter and compound crosscutting so that
the blade tilts away from the gauge, the hand
positions are reversed.
When using the miter gauge, the workpiece must
be held firmly and advanced smoothly at a slow
rate. If the workpiece is not held firmly, it can
vibrate causing it to bind on the blade and dull the
saw teeth.
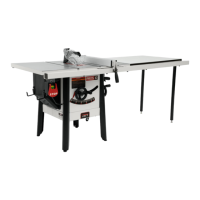
To improve the effectiveness of the miter gauge in
crosscutting, some users mount an auxiliary
wooden extension face (A, Figure 8-10) with a
glued-on strip of sandpaper (B) to the miter gauge.
Provide auxiliary support for any workpiece
extending beyond the table top with a tendency to
sag and lift up off the table.
Have the blade extend about 1/8" (3.175mm)
above the top of the workpiece. Exposing the blade
above this point can be hazardous.
Figure 8-10
9.5 Bevel and miter operations
Bevel cut – A bevel cut is a special type of
operation where the saw blade is tilted at an angle
less than 90 degrees to the table top (Figure 8-11).
Operations are performed in the same manner as
ripping or crosscutting, except the fence or miter
gauge should be used on the right-hand side of the
blade to provide added safety in avoiding a binding
action between blade and table top. When beveling
with the miter gauge, the workpiece must be held
firmly to prevent creeping.
Figure 8-11
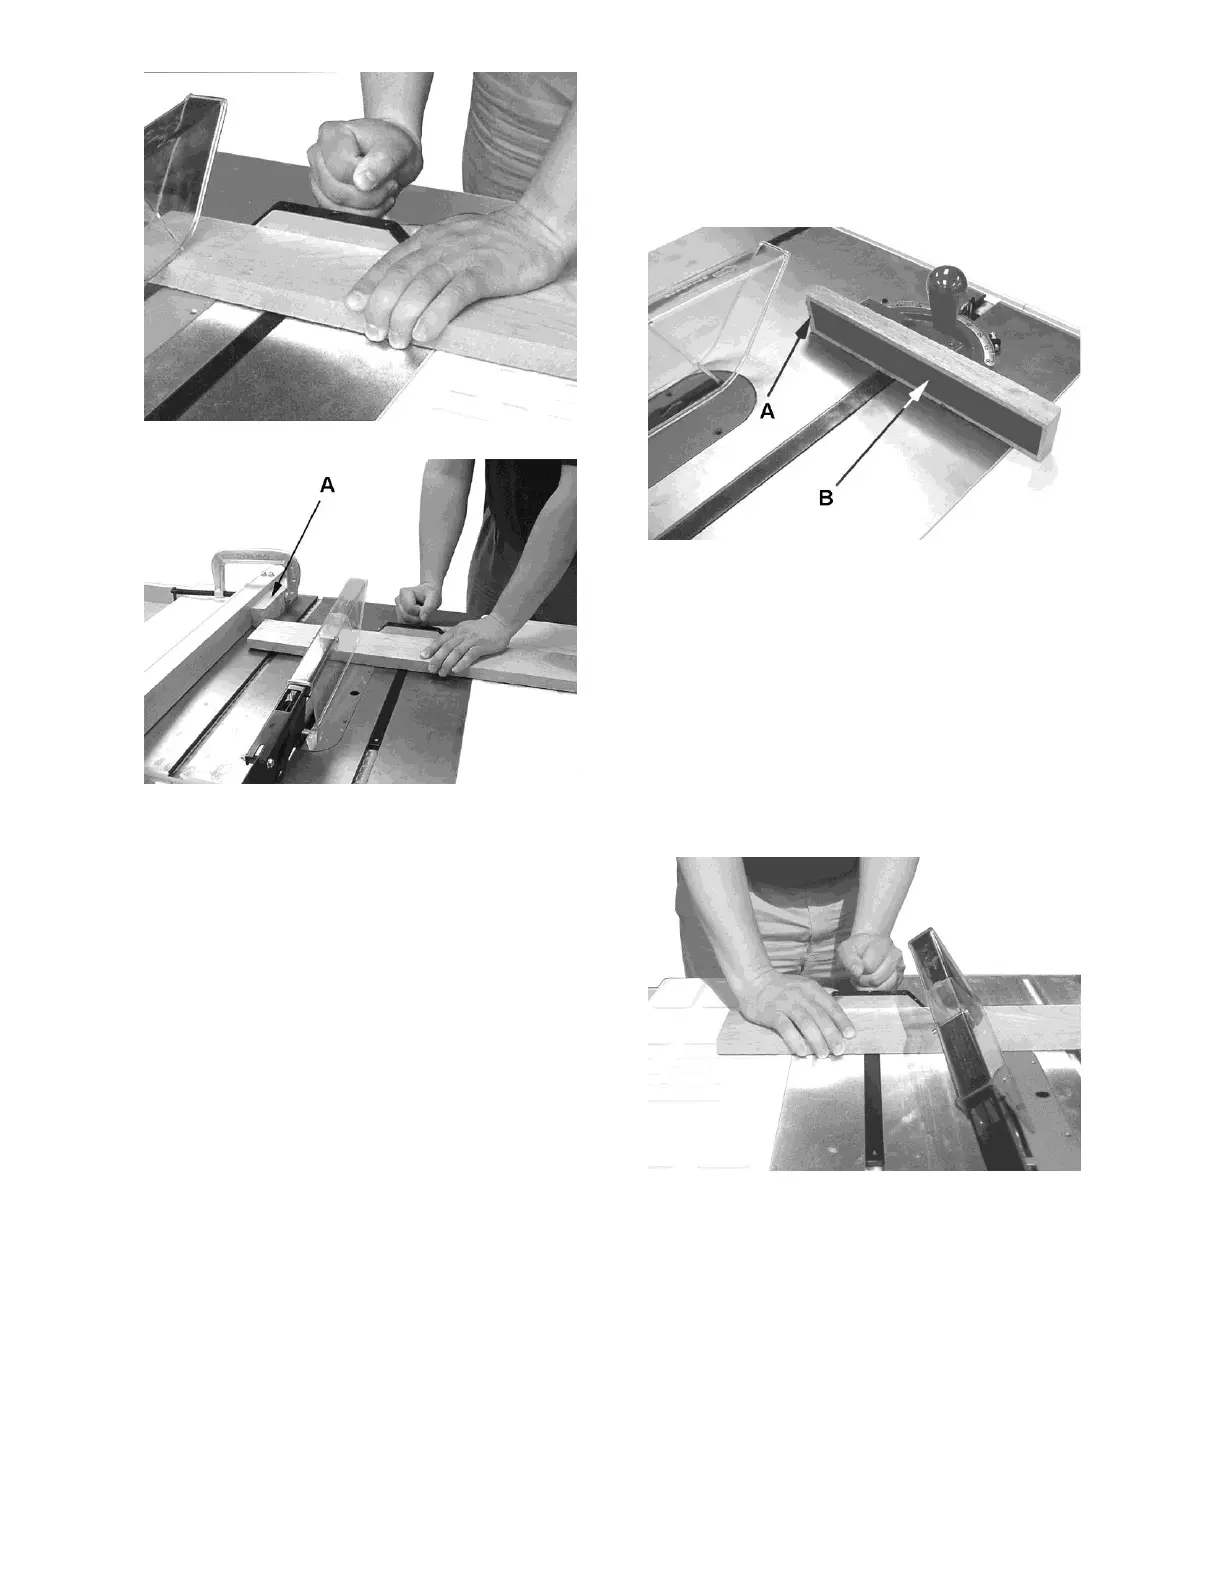
Mitering – Crosscuts made at an angle to the edge
of the workpiece are called miters (Figure 8-12).
Set the miter gauge at the required angle, lock the
miter gauge, and make the cut the same as a
normal crosscut except the workpiece must be held
extra firmly to prevent creeping.
Note: When making compound miters (with blade
tilted) use the miter gauge in the right hand slot to
provide more hand clearance and safety.
 Loading...