Do you have a question about the JUKI HZL-X Series and is the answer not in the manual?
Covers power, dimensions, weight, revolution control, stop position, zigzag width, and feed amount.
Details pattern selection, threading, lock stitch, buttonholing, memory, and helpful messages.
Steps for removing top, face, and throat plate covers.
Procedures for removing spool and bottom covers of the free arm.
Procedures for removing bed, upper arm, and face plate covers.
Procedures for removing the front and rear panels of the sewing machine.
Sets the correct vertical position of the needle bar for sewing.
Ensures the needle enters the throat plate slot correctly in the center position.
Adjusts the height of the feed dog relative to the throat plate.
Adjusts the timing belt for proper synchronization of machine parts.
Synchronizes the needle and feed dog movement for correct stitch formation.
Ensures correct alignment of the needle and hook for stitch formation.
Sets the optimal clearance between the needle and hook blade.
Adjusts the hook rotation stopper plate for proper bobbin case engagement.
Sets the correct tension for the bobbin thread using a tension gauge.
Adjusts thread tension release plate and pretension disk opening amounts (6-10-1, 6-10-2).
Sets the correct tension for the needle thread using the adjustment dial.
Positions the needle threading hook correctly relative to the needle eye.
Sets the proper height for the auxiliary hook for thread guiding.
Adjusts the opening amount of the auxiliary hook for thread handling.
Sets the correct height of the presser bar for proper feeding.
Adjusts the motor belt tension and deflection for optimal power transmission.
Covers adjustments for the automatic thread trimming mechanism.
Adjusts the stitch length for lengthwise feed control.
Adjusts the knee lifting wire for proper presser foot lifting height.
Covers adjustments for the auto-lifter cam lever, position sensor, and presser foot height.
Covers adjustments for the straight stitch slide plate position and its sensor PCB.
Accesses and describes various service mode functions and settings.
| Brand | JUKI |
|---|---|
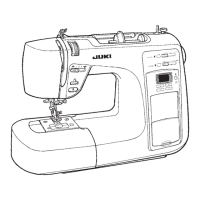
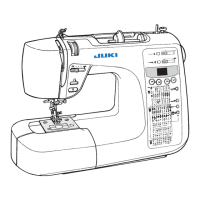
| Model | HZL-X Series |
| Category | Sewing Machine |
| Language | English |