Sewing test
After threading make a trial run. Always use a double layer of fabric to check
the stitch formation and thread tension properly.
• Switch the machine on (“ I “).).
• Set all tensions to 4.
• Stitch length, differential, cutting width.
• Lower the knife.
• Lower the upper presser foot.
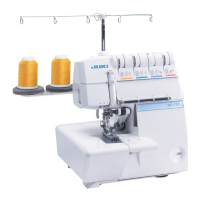
• Raise the front of the presser foot slightly with your thumb and position the
fabric under the foot just up to the knife. Sew.
• At the end of the seam continue sewing a 5 - 6 cm (2 - 2 1/2’’) long thread
chain (A).
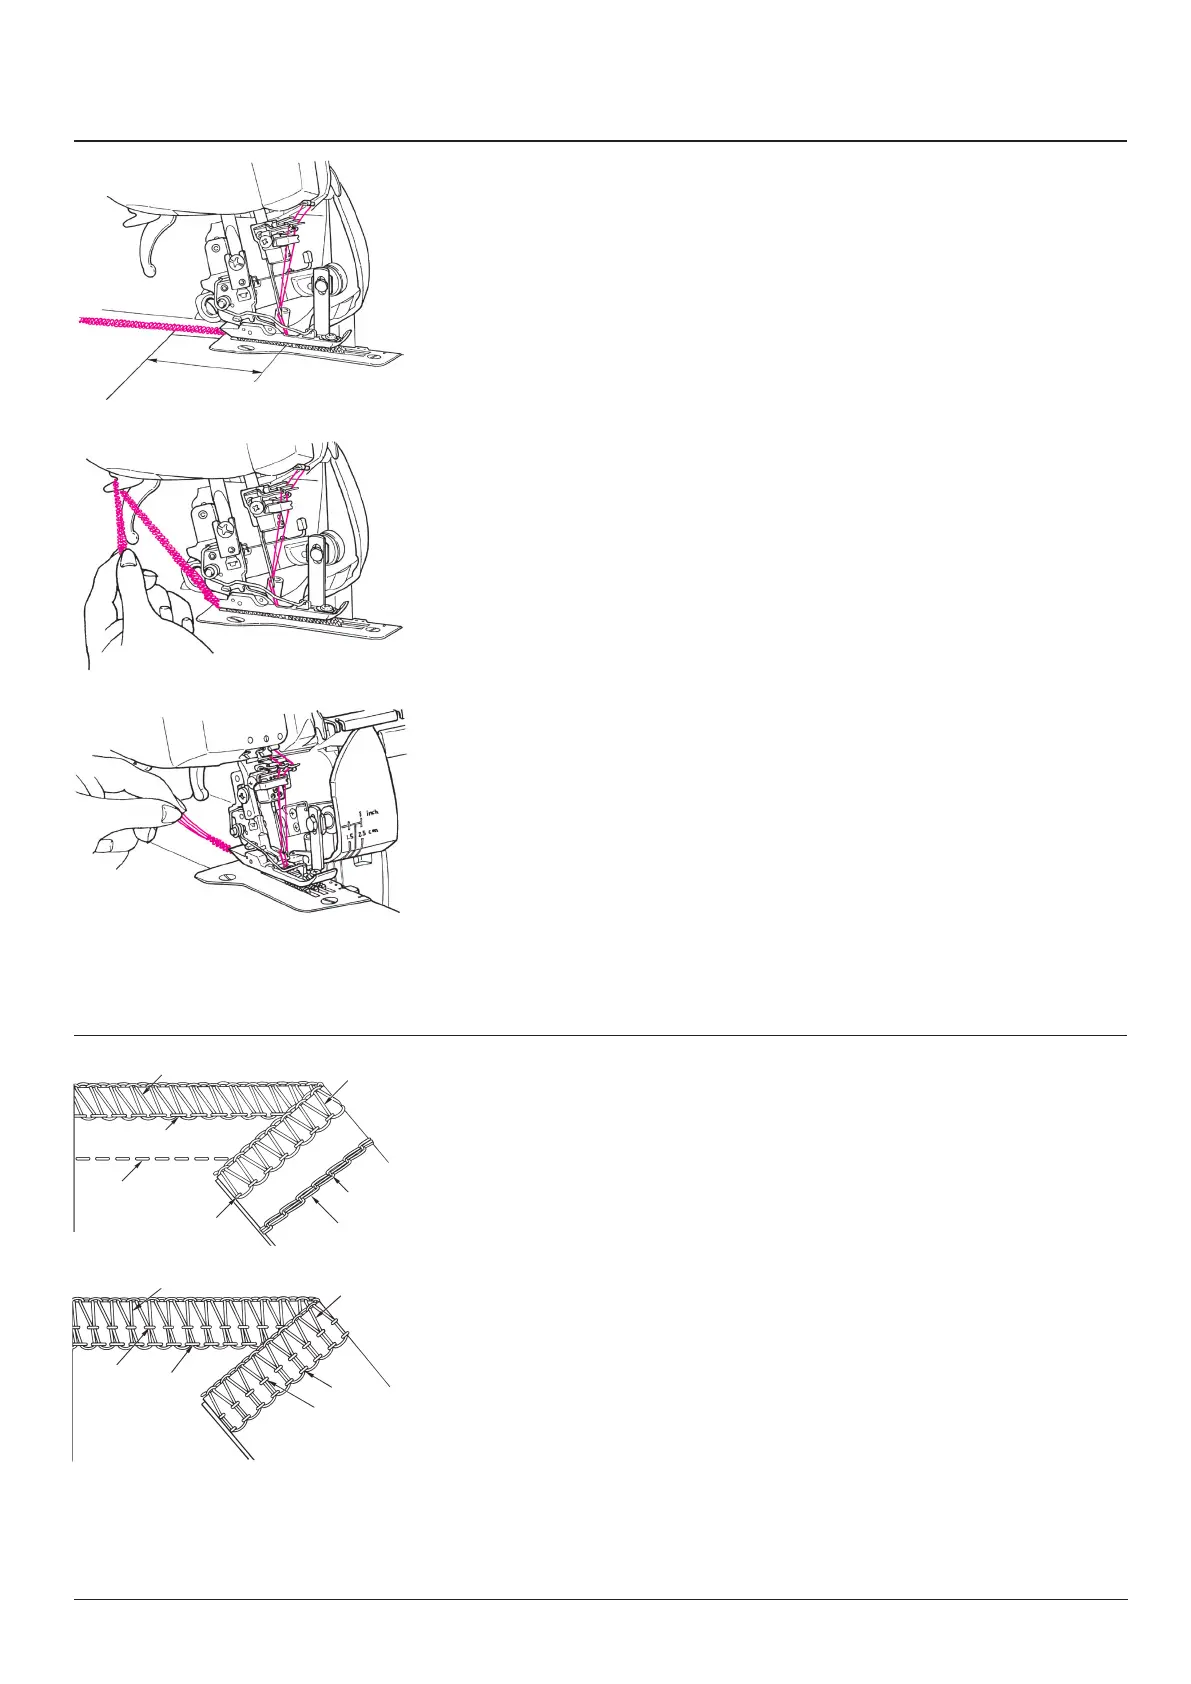
• Holding the fabric in one hand, pull the thread chain over the thread cutter (B).
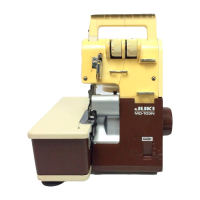
** When using cordonnet or the like, pull out the thread chain carefully (C) by
hand as it might catch in the stitch plate. Use those threads in the loopers
only.
B
C
AA
5-6 cm
Trial sewing, thread tension
Thread tension
Check your trial run
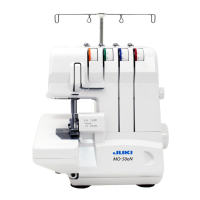
Chain stitch and OL
1. Upper looper thread (blue).
2. Lower looper thread (red).
3. Right/left-hand OL needle thread (green)
(green tension).
4. Chain looper thread (purple).
5. Chain needle thread (brown)
(yellow tension).
4/3 Thread OL
6. Upper looper thread (blue).
7. Lower looper thread (red).
8. Right-hand needle thread (green).
9. Left-hand needle thread (yellow).
Perfect stitch formation is when both looper threads meet at the fabric edge.
The needle threads form straight stitches for a stretchy and durable seam.
6
9
8
7
9
8
1
2
3
5
4
5
3
29