Sewing test and tension adjustment
Sewing Test
After threading make a sewing test on a double layer of fabric to check the stitch
formation and the thread tension.
Cover stitch sewing test
- Plug the machine in and switch it on (power switch to “I”)
- Set the tensions to 3-5.
- Set the stitch length to 3.
- Set the differential feed to N.
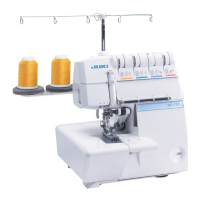
- Raise the presser foot and place the fabric under foot and needles (A).
- Lower the presser foot.
- Turn the handwheel counterclockwise for the first stitch.
- Sew.
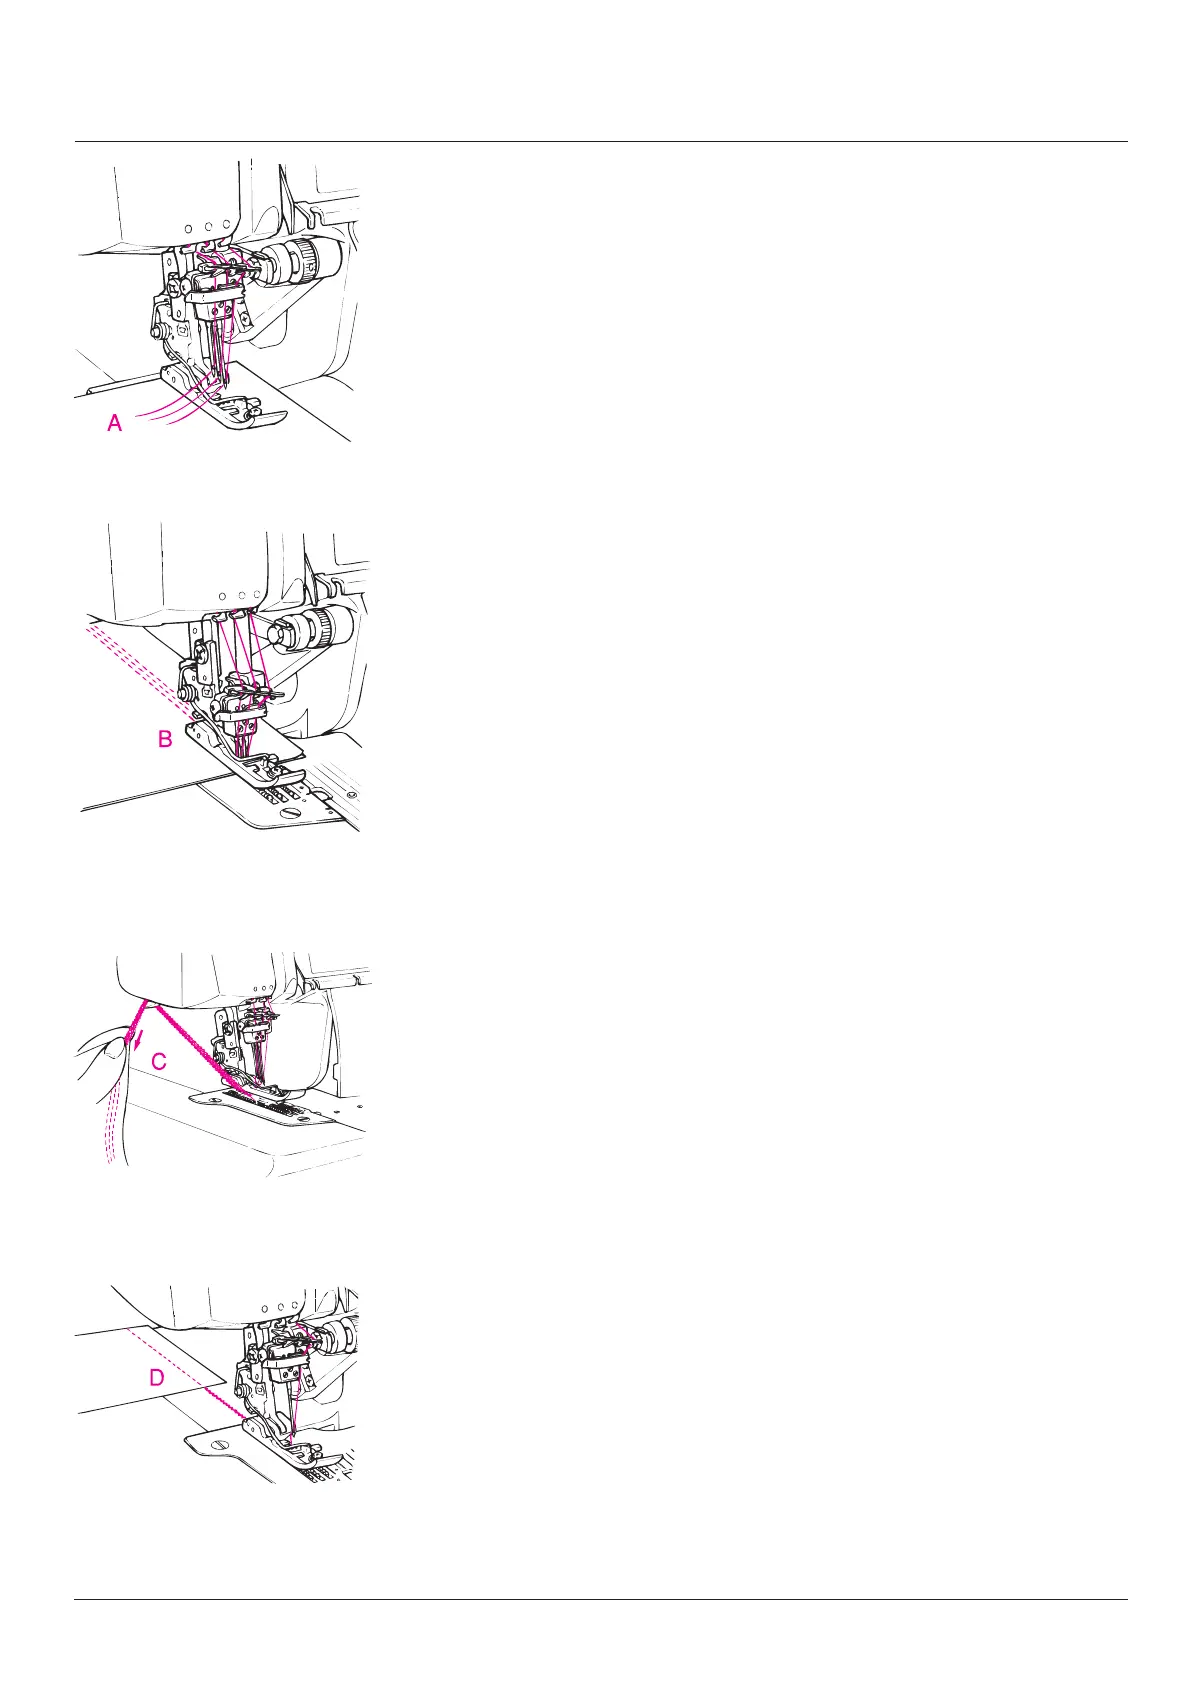
- When sewing is completed, turn the handwheel counter clockwise to bring the
needles into their low est position (B).
- Then turn the handwheel clockwise to raise the needles to their highest position.
This releases the needle threads from the looper.
- Raise the presser foot.
- Remove the work carefully towards the left.
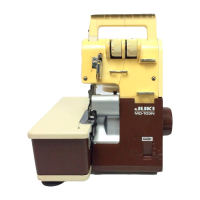
- Cut the threads over the thread cutter (C).
Chain stitch sewing test
- Plug the machine in and switch it on (power switch to “I”)
- Set the tensions to 3-5.
- Set the stitch length to 3.
- Set the differential feed to N.
- Raise the presser foot and place the fabric under foot and needle.(A)
- Lower the presser foot.
- Turn the handwheel counterclockwise for the first stitch.
- Sew.
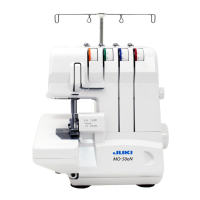
- When sewing is completed, sew over the fabric edge, to produce a chain ap-
prox. 8cm (3”) long (D).
- Remove the work carefully towards the left.
- Cut the chain-off thread over the thread cutter (C).
41