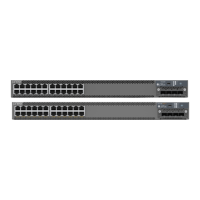
9. Secure the rear mounting brackets to the rack posts using the rack mount screws. Secure the rear mounting brackets
to the side mounting rails by using the pan head M4X8 screws.
10. Verify that the mounting brackets on each side of the rack are level.
Power On
Now that you’ve mounted your switch in the rack, you’re ready to connect it to power.
The AC-powered QFX5120-32C comes with two AC power supplies preinstalled on the rear panel.
1. Wrap and fasten one end of the ESD grounding strap around your bare wrist, and connect the other end to one of the
ESD grounding points on the switch.
2. Connect one end of the grounding cable to a proper earth ground, such as the rack.
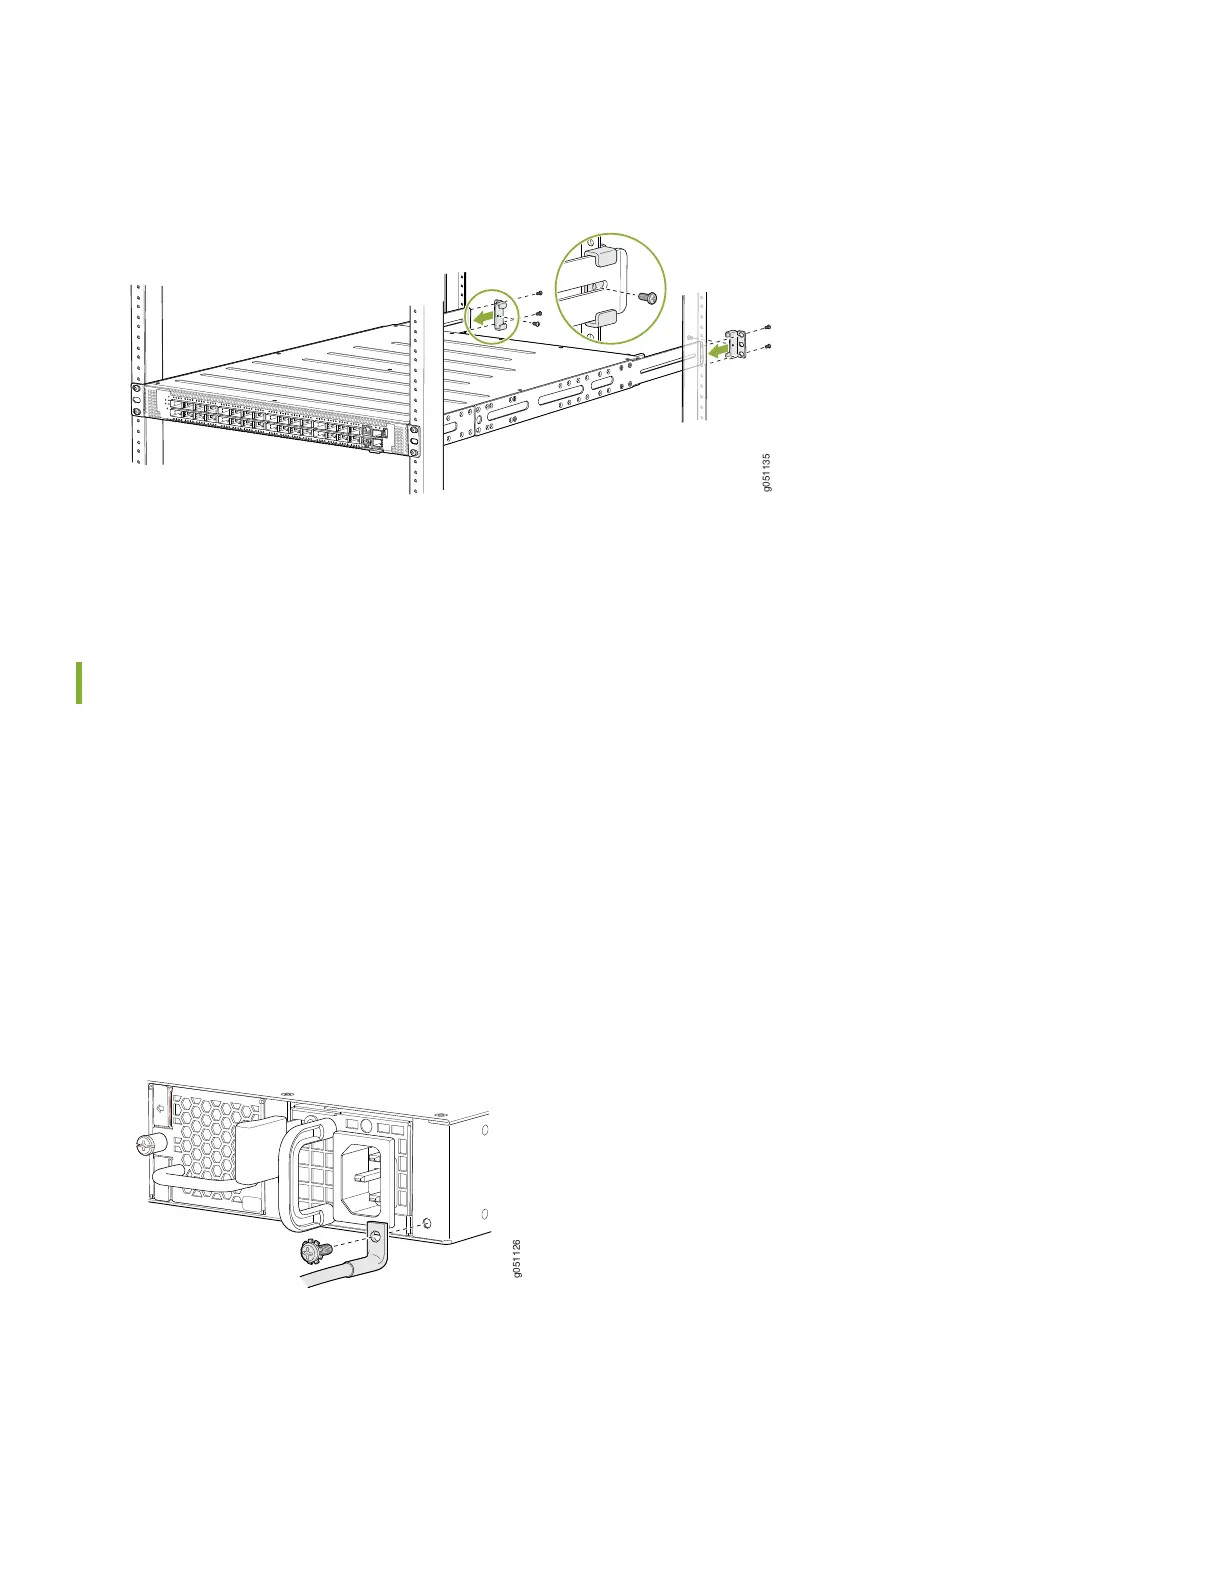
3. Place the grounding lug attached to the grounding cable over the protective earthing terminal on the rear panel.
4. Secure the grounding lug to the protective earthing terminal using the 8-mm screw.
5. Dress the grounding cable, and ensure that it doesn’t block access to or touch other device components, and that it
doesn’t drape where people could trip over it.
5