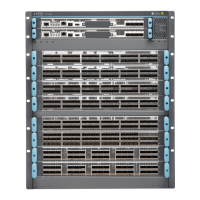
Figure 165: Removing the PSU Cover Panel on a PTX10008
Figure 166: Removing the PSU Cover Panel on a PTX10016
13. Unscrew the captive screw in the counterclockwise direction by using the Phillips (+) screwdriver,
number 1.
14. Pull the captive screw away from the faceplate of the power supply to release the latch.
NOTE: You can install the power supplies in any slot labeled PSU 0 through PSU 5 (top to
bottom) on a PTX10008 and PSU 0 through PSU 9 on a PTX10016.
15. Using both hands, place the power supply in the power supply slot on the rear of the router.
303

 Loading...