I ViewfinderAdjustment
1Set the Power Switch to 1_1"or '_' while pressing
down the Lock Button located on the switch,
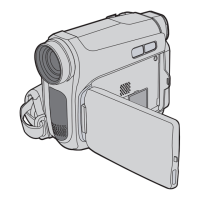
2 Make sure the LCD monitor is closed and locked, Pull
out the viewfinder fully and adjust it manually for best
viewability,
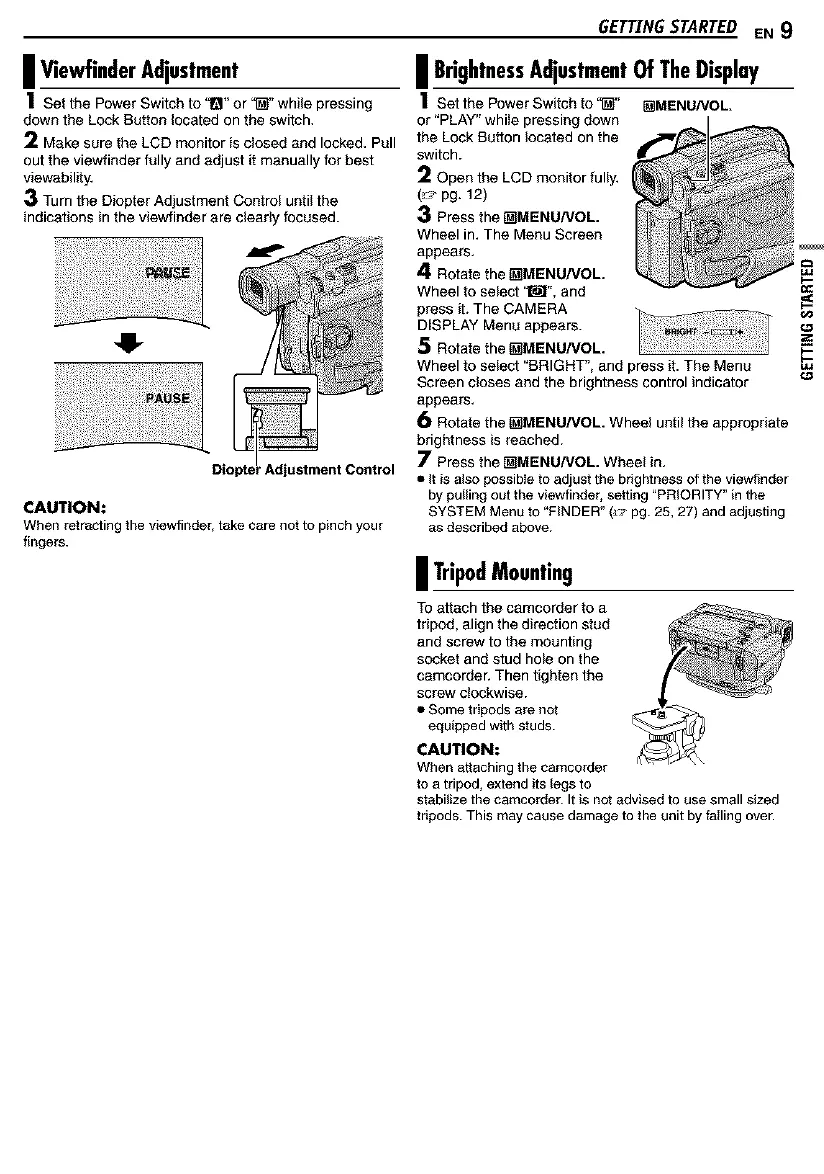
3 Turn the Diopter Adjustment Control until the
indications in the viewfinder are clearly focused.
41-
' Adjustment Control
CAUTION:
When retractingthe viewfinder, take care not to pinch your
fingers.
GETTINGSTARTED EN 9
| BrightnessAdjustmentOfTheDisplay
1setthePowerSw_fchfo"_" []MENUNOL.
or "PLAY" whffe pressing down
the Lock Button located on the
switch.
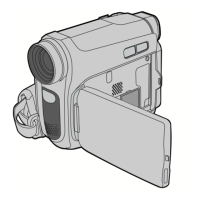
2 Open the LCD monitor fuffy,
(_,,-pg. 12)
3 Press the t_MENU/VOL
Wheel in, The Menu Screen
appears,
4 Rotate the t_MENU/VOL.
Wheel to select '_', and
press it. The CAMERA
DISPLAY Menu appears.
5 Rotate the t_MENU/VOL.
Wheel to select "BRIGHT", and press it. The Menu
Screen closes and the brightness control indicator
appears,
6 Rotate the _MENU/VOL. Wheel until the appropriate
brightness is reached.
7 Press the _MENU/VOL. Wheel in,
• It is alsopossibleto adjustthe brightness of the viewfinder
by pullingout the viewfinder, setting "PRIORITY" in the
SYSTEM Menu to "FINDER"(,,_'pg. 25, 27) and adjusting
as described above.
| TripodMounting
To attach the camcorder to a
tripod, align the direction stud
and screw to the mounting
socket and stud hole on the
camcorder. Then tighten the
screw clockwise.
• Some tripods are not
equipped with studs.
CAUTION:
When attaching the camcorder
to a tripod, extend its legs to
stabilize the camcorder. It is not advised to use small sized
tripods. This may cause damage to the unit by failing over.