EN9
ON SCREEN OFF
ONDISPLAY
4
DATE / TIME
1 . 1 . 00
00 : 00
RETURN
– – – – –6– – – – –
DEC 25 ’ 98
: 30
REC MODE
WIDE MODE OFF
64X
SP
ZOOM
GAIN UP
END
AGC
TO SYSTEM MENU
TELE MACRO
4
TO DATE / TIME MENU
OFF
Date/Time Settings
Date and time will automatically be recorded on tape at
all times. It is your choice to display it or not during
playback (Z pg. 41).
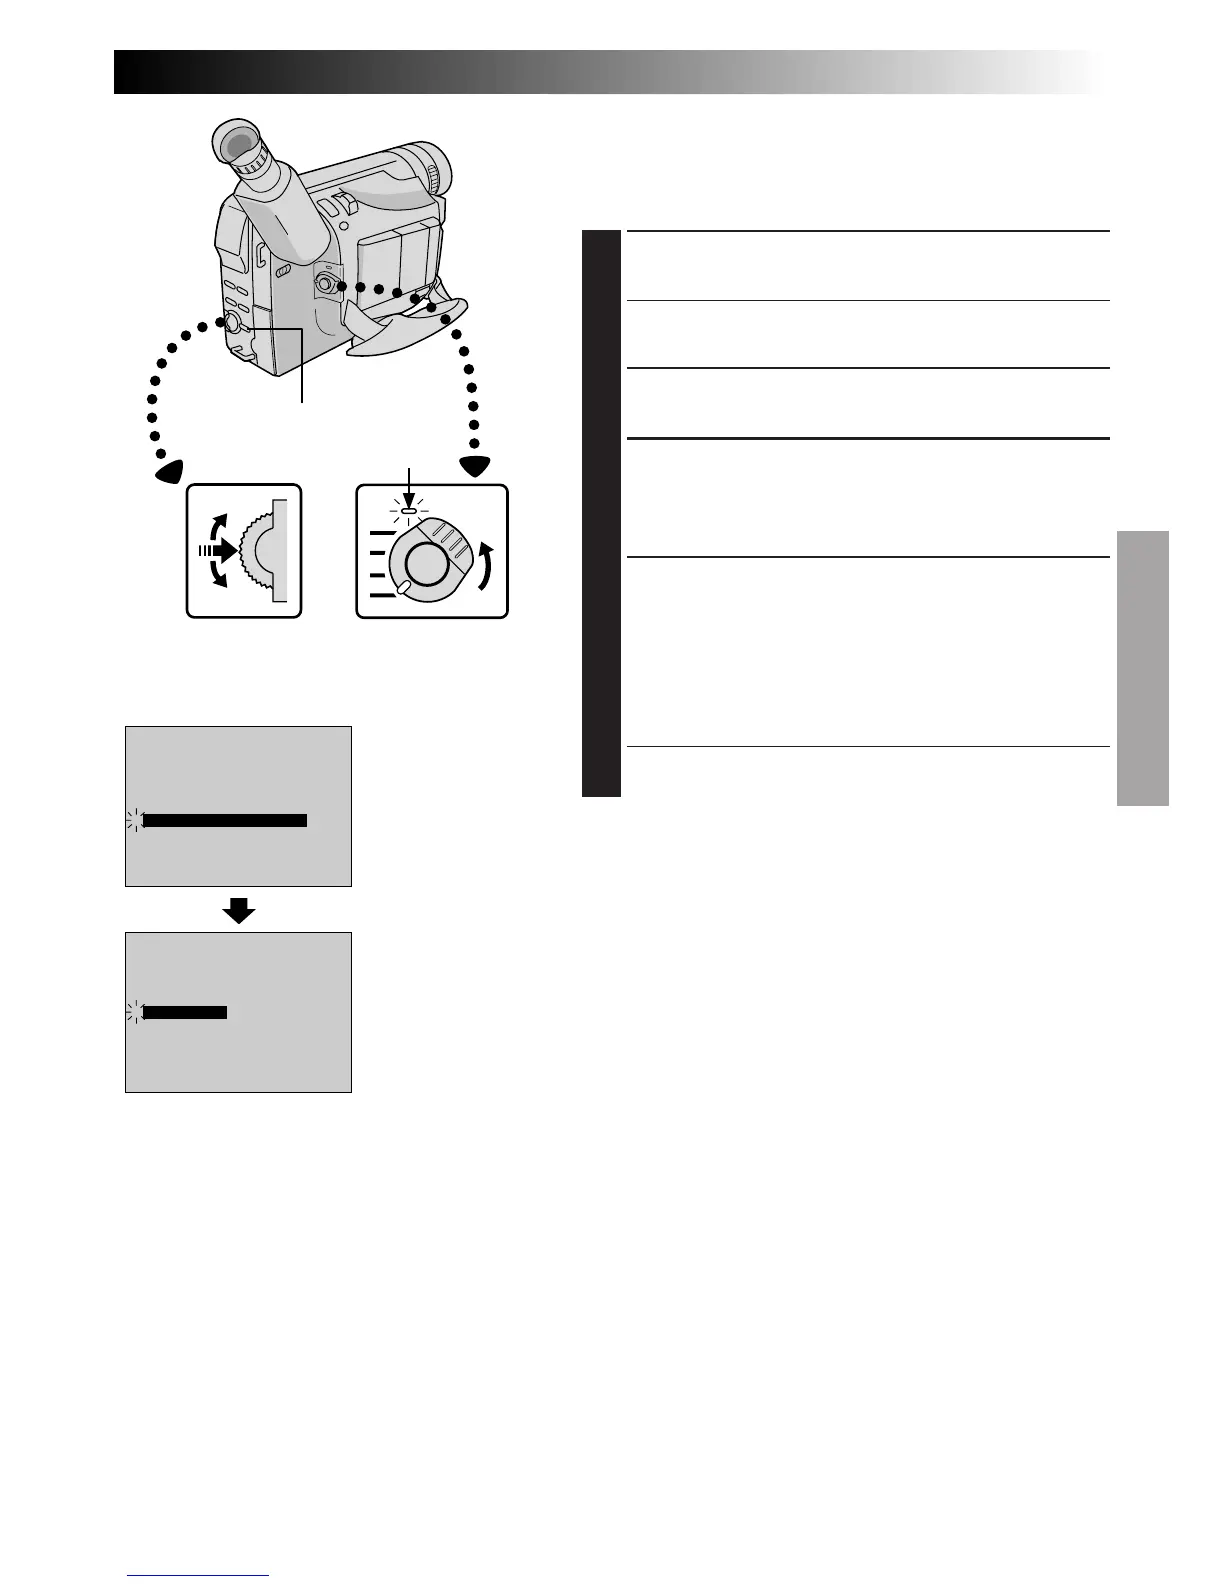
1
SELECT OPERATION MODE
Set the Power Switch to “PRO.”.
•The power lamp comes on and the camcorder is
turned on.
2
ACCESS RECORDING MENU
Press MENU. The Recording Menu appears.
3
ACCESS DATE/TIME MENU
Move the highlight bar to “TO DATE/TIME MENU”
by rotating the Select Dial. Press the Select Dial and
the Date/Time Menu appears.
4
INPUT DATE AND TIME
Move the highlight bar to “DATE/TIME” by rotating
the Select Dial. Press the Select Dial and “day” is
highlighted and begins blinking.
Rotating the Select Dial, input the day. Press the
Select Dial. Repeat the procedure to input the month,
year, hour and minute.
•Press the Select Dial twice when the highlight bar is
set to “RETURN” to exit.
NOTE:
Even if you select “DATE/TIME”, if the parameter is not
highlighted the camcorder's internal clock continues to
operate. Once you move the highlight bar to the first date/
time parameter (day), the clock stops. When you finish
setting the minute and press the Select Dial, the date and
time begin operation from the date and time you just set.
Power lamp
Recording Menu
Display
Date/Time Menu
Select Dial
MENU Button
Power Switch