LYT0957-001A
Master Page: Cover1
GR-DVX707EG_00-Cover.fm Page 2
EN
DIGITAL VIDEO CAMERA
GR-DVX707
GR-DVX507
GR-DVX407
GR-DVX400
ENGLISH
Automatic Demonstration 8
GETTING STARTED
9
VIDEO RECORDING &
PLAYBACK
18
DIGITAL STILL CAMERA
(D.S.C.) RECORDING &
PLAYBACK
26
ADVANCED FEATURES
37
REFERENCES
80
TERMS
102
Please visit our Homepage on the World Wide
Web and answer our Consumer Survey (in
English only):
For Accessories:
http://www.jvc-victor.co.jp/english/index-e.html
http://www.jvc-victor.co.jp/english/accessory
INSTRUCTIONS
The D.S.C. (Digital Still Camera) features are available on
GR-DVX707 and GR-DVX507.
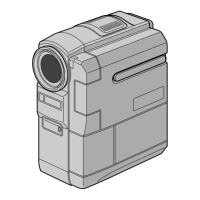
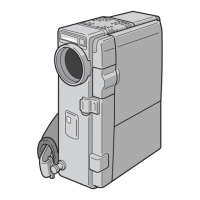
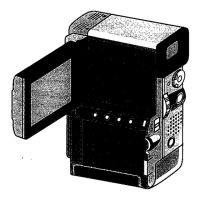
The camcorder
illustrations appearing in
this instruction manual are
of the GR-DVX707.
GR-DVX707EG_00-Cover.fm Page 2 Thursday, January 31, 2002 1:02 PM