(No.22036)1-15
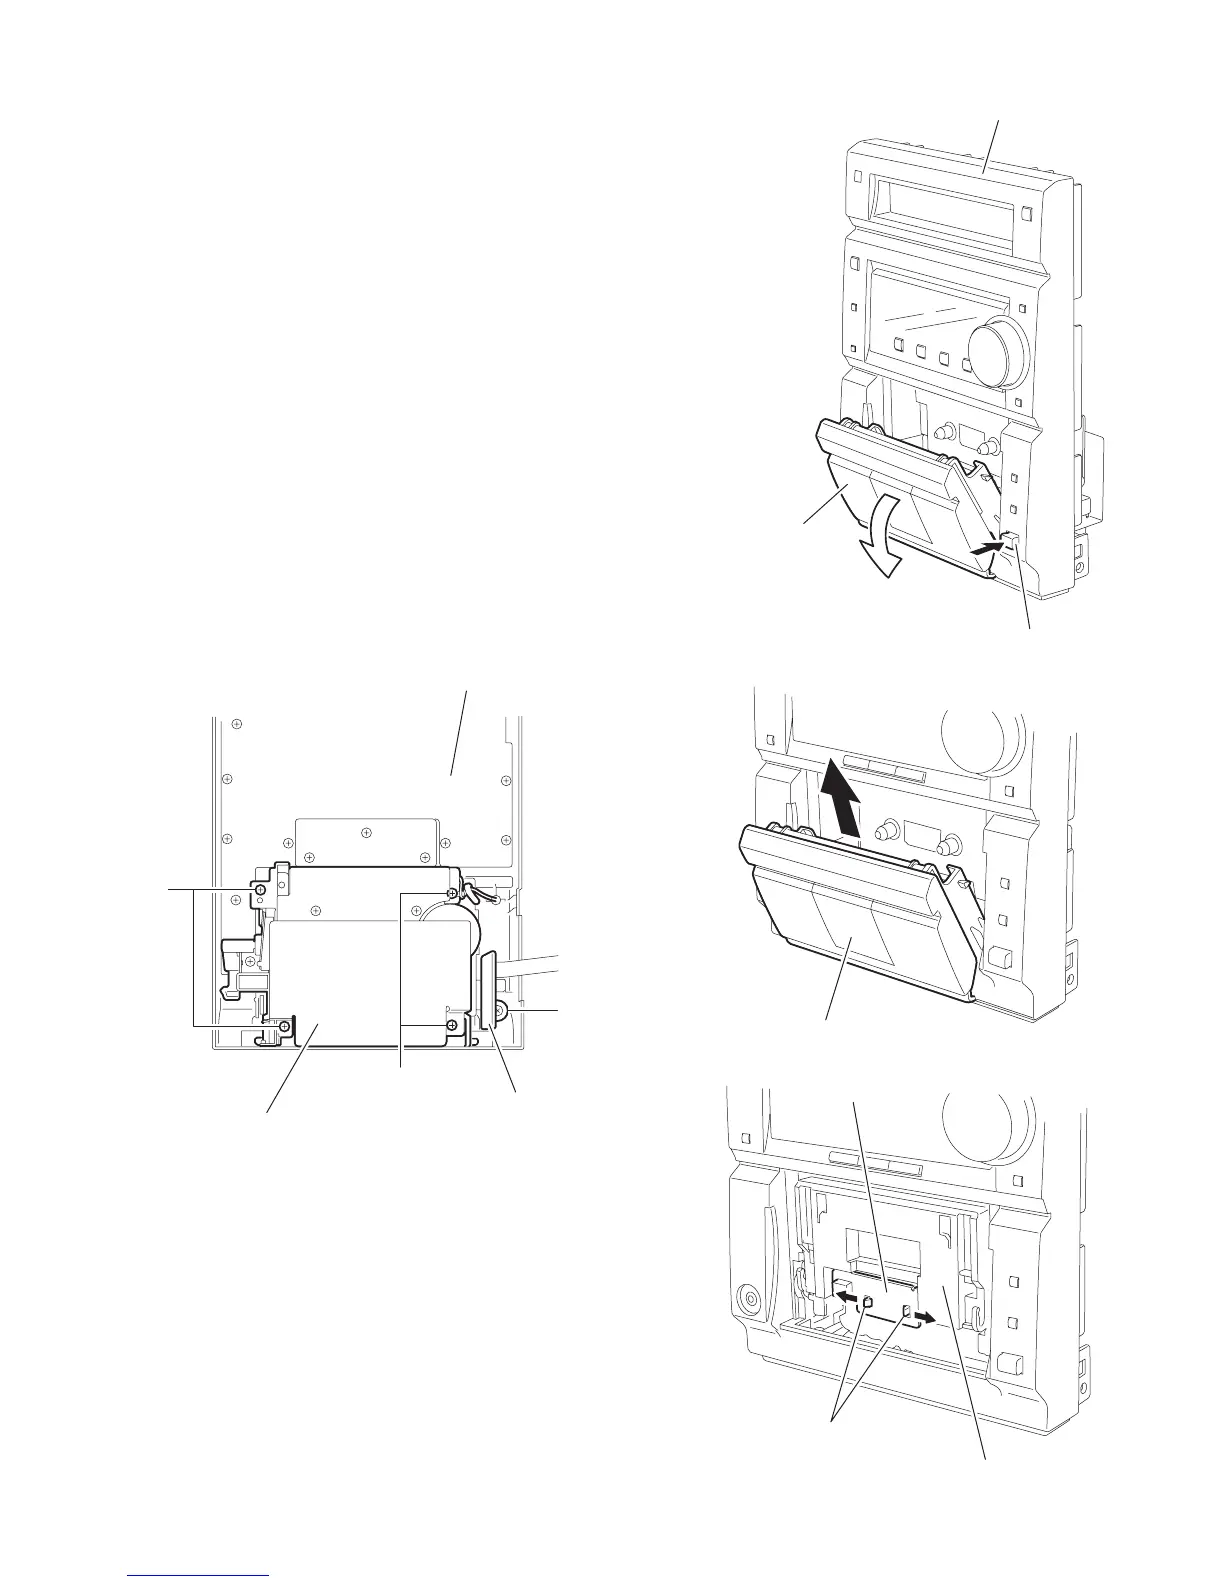
2.1.14 Removing the headphone board
(See Fig.29)
• Prior to performing the following procedure, remove the front
panel assembly.
(1) Remove the screw P on the back of the front panel.
(2) If necessary, remove the band bundling the wire extending
from the headphone board and the display board.
2.1.15 Removing the cassette mechanism assembly
(See Fig.29, 30)
• Prior to performing the following procedure, remove the front
panel assembly.
(1) Press the EJCT button on the front panel to open the cas-
sette door.
(2) Remove the four screws Q on the back of the front panel.
2.1.16 Removing the LED board
(See Fig.30 ~ 32)
• Prior to performing the following procedure, remove the front
panel assembly.
(1) Press the EJCT button on the front panel to open the cas-
sette door.
(2) Remove the cassette holder in the direction of the arrow.
(3) Release the two joint hooks g engaging the LED board with
the cassette door.
Fig.29
Fig.30
Fig.31
Fig.32
Q
Q
P
Headphone board
Display board
Cassette mechanism assembly
Front panel assembly
Cassette door
EJCT button
Cassette door holder
LED board
Hooks g
Cassette door

 Loading...