Document Number 481.093 Rev. A - 06/04
2
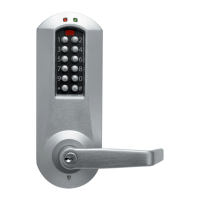
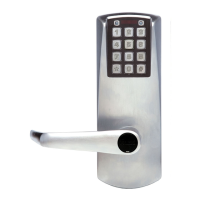
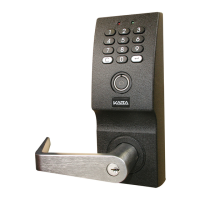
Door Handing
The PowerLever Door Lock can be installed as Right Hand Reverse or Left Hand Reverse.
Basic Tools and Materials Needed
Before beginning installation, be certain that you have the following tools readily available:
• Measuring tape
• Combination square
• Tape
• Center punch
• Electric hand drill
• 1/8” (3mm) drill bit
• 11/32” (9mm) drill bit
• 1” (25mm) hole saw
• 2 1/8” (54mm) hole saw
• File
• Wood chisel
• Hammer
• 1/4” or smaller slotted head screwdriver
• #1 Phillips head screwdriver
• #3 Phillips head screwdriver
• 1/4” hex driver handle
• T-15 security Torx bit
• Safety glasses
• Electrostatic Discharge (ESD) wrist band
• C-clamp (if using optional Drill Jig)
WARNING: PowerLever locks are well protected from Electrostatic Discharge
(ESD) damage once they are installed, but can be damaged during the
installation process if proper precautions are not observed. Follow
these precautions to avoid ESD damage when installing the lock:
• Do not remove the metal shield covering the system card on the
inside backing plate.
• For the best protection, the use of a grounded ESD wrist band
during installation is strongly recommended. The lock is protected
to greater than 25,000 V when correctly installed.
 Loading...