11
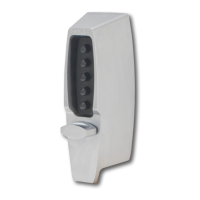
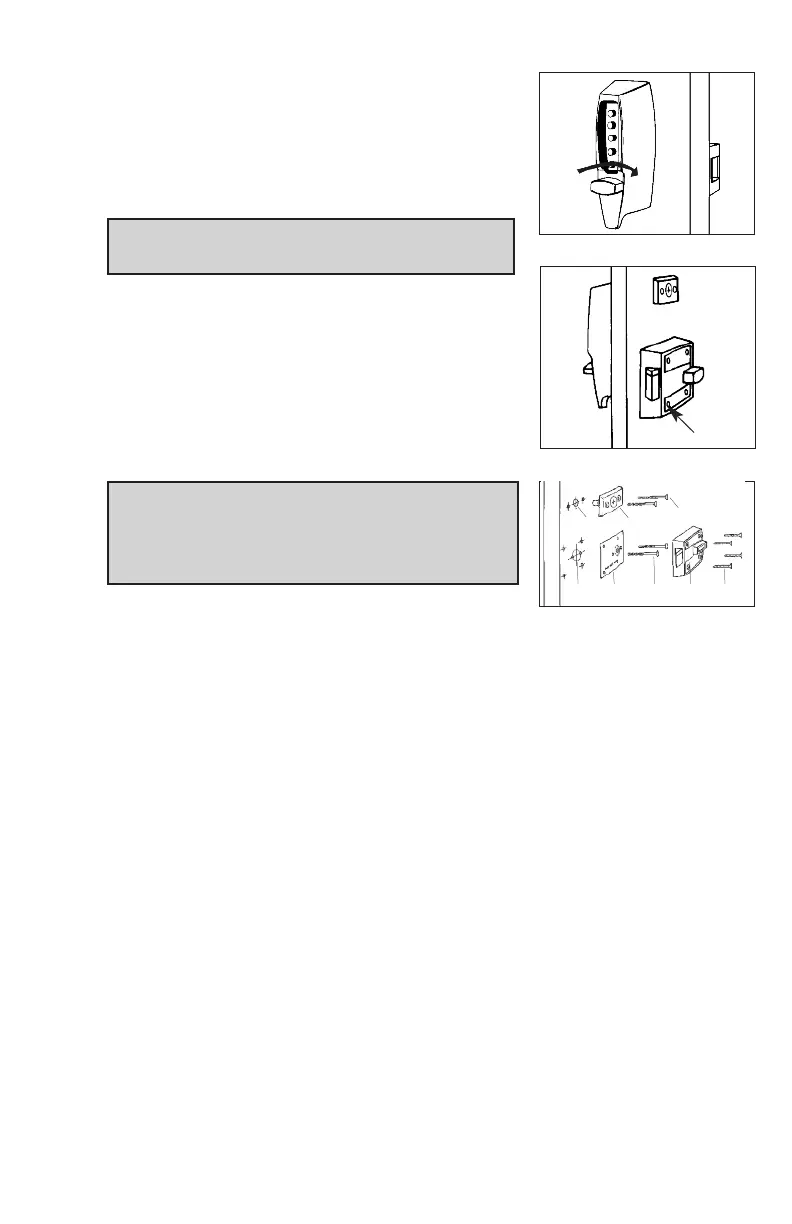
G-3 Turn the outside thumbturn to the right
(clockwise) until it stops (See Figure 7-3); the
latch should retract fully. If the latch does not
retract, turn the thumbturn to the left coun-
terclockwise until it stops, release, and repeat
Step G-2.
Note: From the outside, the only way to retract
the latch is to turn the thumbturn clockwise.
G-4 Release the outside thumbturn. The latch
should return to its completely extended
position.
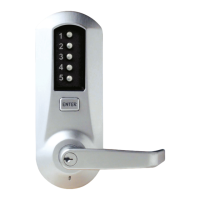
G-5 Turn the inside thumbturn to the left (coun-
terclockwise) until it stops; the latch will
retract. Release it and the latch will return to
its completely extended position
(See Figure 7-4).
Note: The inside thumbturn may be turned to
the right (clockwise) to keep the latch retracted.
Turn the thumbturn to the left to bring the latch
back to its normal extended position.
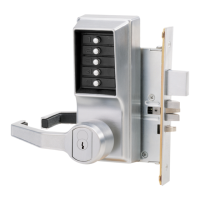
G-6 If the latch does not retract completely,
unscrew the four screws (F) (See Figure 7-4
and 7-5) and remove the latch. Loosen the two thru-bolts (D) on the
reinforcing plate (See Figure 7-5). Move the plate up or down, tighten
the thru-bolts (D), and remount the latch with the four screws (F).
Check the latch’s retraction again and repeat this operation as needed,
until the latch completely retracts.
If the latch will not extend and retract freely after performing the above
operation, loosen the two thru-bolts (H) of the combination change assem-
bly (G) (See Figure 7-5), move the lock up or down, tighten the thru-bolts
(H), and try to retract the latch again.
7-4
7-3
7-5
A
C
D
E F
B
G
H
F