4
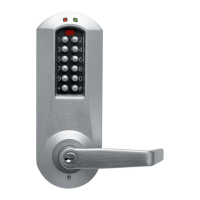
CHECKLIST
Use this checklist to make sure that
everything has been included. o
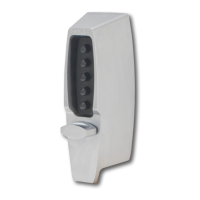
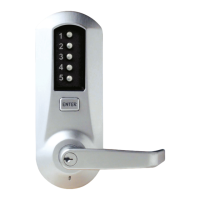
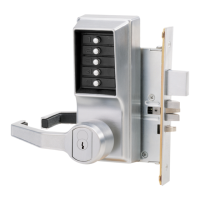
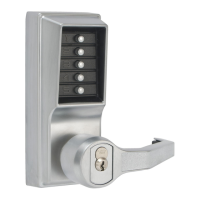
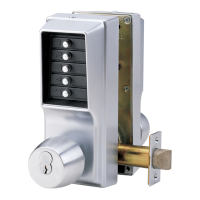
q A – Front lock
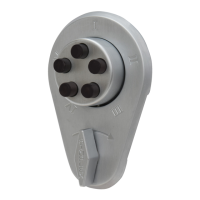
q B – Inside combination change assembly
q C – Reinforcing plate
q D – Inside rim deadlocking latch
q E – Strike box
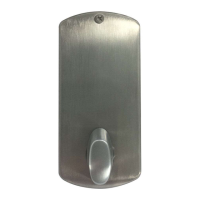
q F – Screw pack
a. Flat strike plate
b. Six 1
3
⁄4" (44 mm) screws
4 for inside rim deadlocking latch
2 for strike box
c. Three 1" (25 mm) flat head strike screws
d. Two 2
3
⁄4" (70 mm) round head break away reinforcing plate thru bolts
e. Two 3" (76 mm) flat head inside combination change assembly thru bolts
f. Two 2
3
⁄8" (60 mm) flat head inside combination change assembly thru
bolts
g. Two 2" (51 mm) flat head inside combination change assembly thru bolts
q Template (in center of booklet)
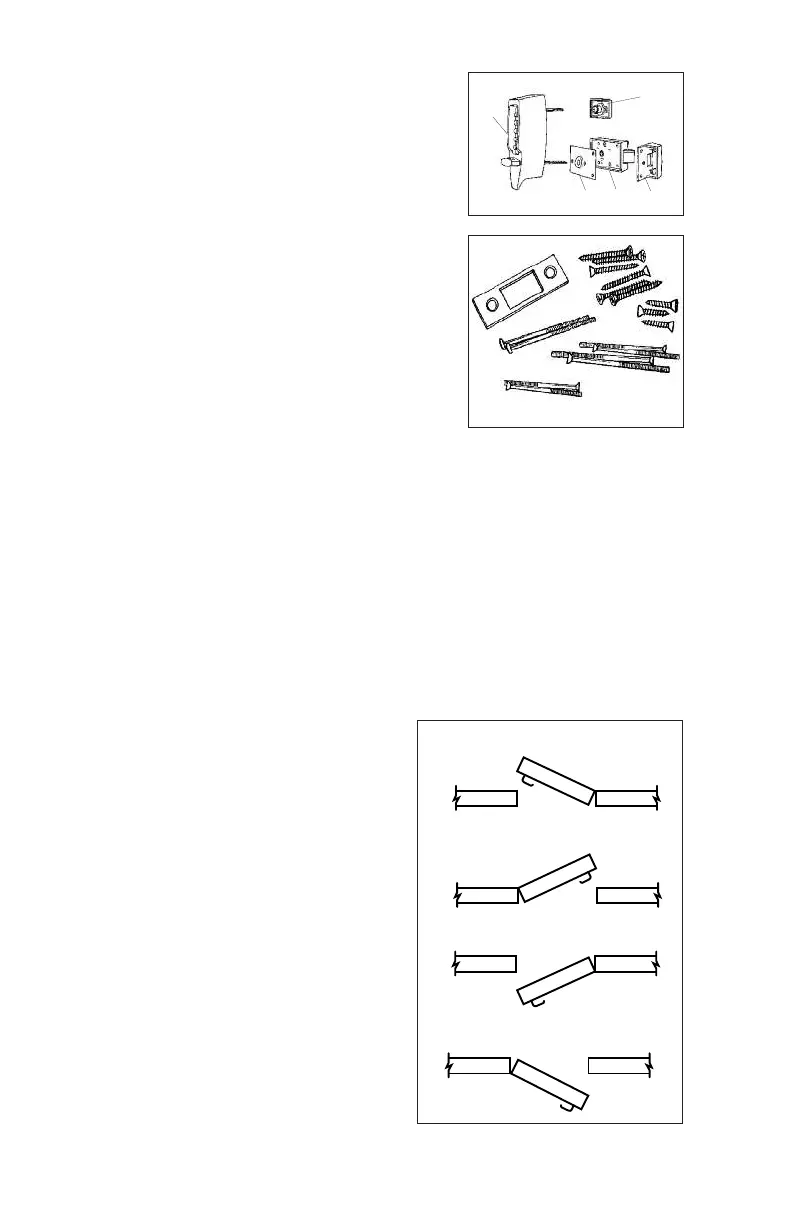
DETERMINE THE HAND OF YOUR DOOR
Many of the installation instructions refer to
the handing of your door. The hand of the
door is determined with the door in the
closed position, from the exterior or pushbut-
ton side of the door.
A) Right Hand Door. Door opens inward
(push). Hinged on the right side.
B) Left Hand Door. Door opens inward
(push). Hinged on the left side.
C) Right Hand Reverse Door. Door opens
outward (pull). Hinged on the right side.
D) Left Hand Reverse Door. Door opens out-
ward (pull). Hinged on the left side.
LH - Left Hand
RH - Right Hand
LHR - Left Hand Reverse
RHR - Right Hand Reverse
A
B
C
D
A
a
E
F
B
D
b
c
d
e
f
C
g
4