19
M5101-EN Rev. B |
5.1.1 Dry Block
Removal:
Let the calibrator cool before you remove the dry block insert.
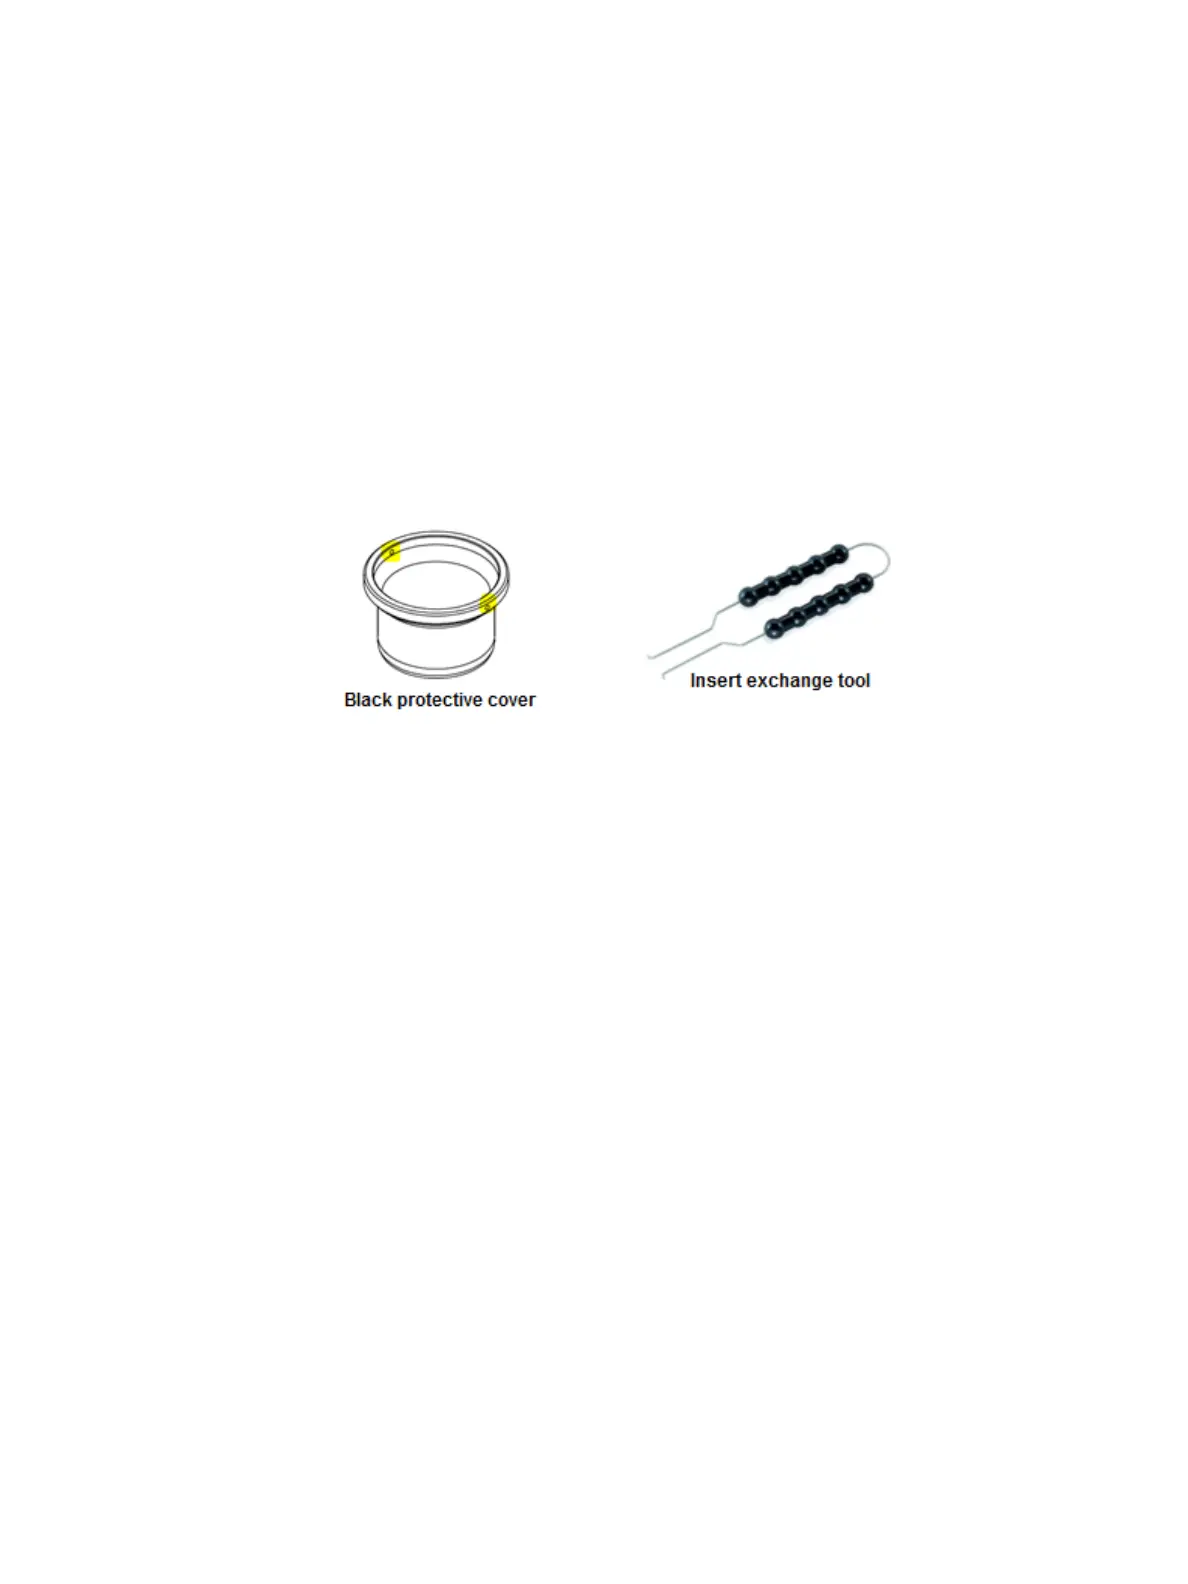
Unscrew the black protective cover by first placing the prongs of the insert exchange tool
into the holes of the cover. Apply pressure against the prongs then turn counterclockwise
to loosen the cover. Once loosened, the insert exchange tool can be removed and you
can unscrew the insert by placing a single finger from both hands against opposite sides of
the insert and pushing counterclockwise. Continue rotating insert until its top can be
securely held by your hand then continue unscrewing with one hand.
If moisture is present on the inside of the well following insert removal, then gently clean with
a dry cloth.
Place the prongs of the insert exchange tool into the holes of the dry well insert. Apply
pressure against the prongs by grasping each side of the insert exchange tool, stretch apart,
and slowly lift upwards.
If moisture is present on the sides of the dry well insert following its removal, then gently
clean with a dry cloth then turn dry well insert upside down to remove any moisture residing
within the wells.
Clean the dry block insert walls as well as the walls of the metal block. This prevents the
inserts from getting stuck in the metal block.
Installation:
Let the calibrator cool before you install the dry block insert.
Insert the dry block insert into the metal block with the help of the insert exchange tool.
Utilize the insert exchange tool, to screw in the black protective cover which sits above the
dry block insert.
Chapter 5. Preparing for Calibration
 Loading...