Basic Operations
8
Turning on the Unit
1
Press the [HOME] button.
The unit is turned on.
● To turn off the unit
1
Press the [HOME] button for 1 second.
NOTE
• If it is your first time to turn the unit on after
installation, it will be necessary to perform Initial
SETUP (P.8).
Initial Settings
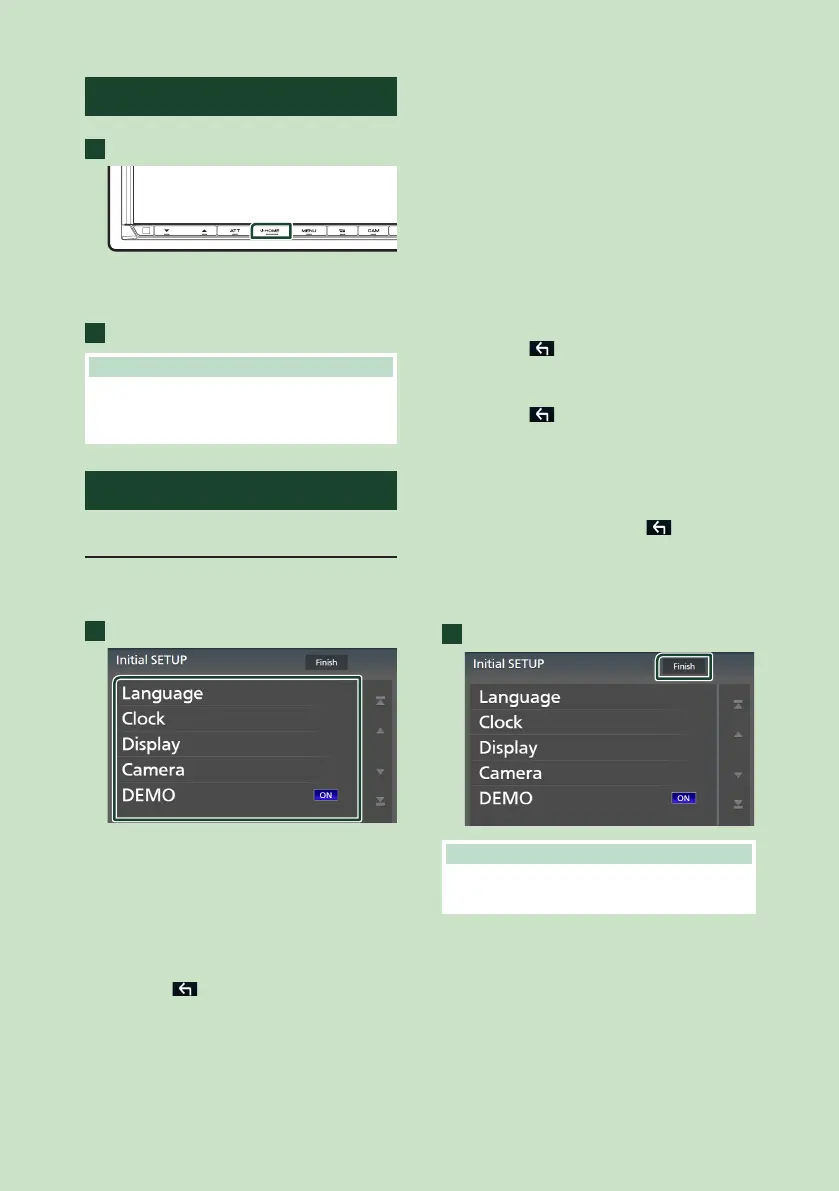
Initial SETUP
Perform this setup when you use this unit first
time.
1
Set each item as follows.
■ [Language]
Select the language used for the control
screen and setting items. Default is "British
English(en)”.
1 Touch [Language].
2 Touch [Language Select].
3 Select the desired language.
4 Touch [
].
For details, see User Interface Setup
(P.57).
■ [Clock]
Sets the synchronization of the clock and
adjusts it.
For detailed operation, see Date and clock
settings (P.10).
■ [Display]
Set the key illumination color.
If it is hard to see the image on the screen
even, adjust the viewing angle.
1 Touch [Display].
2 Touch [Key Colour].
3 Select the desired color.
4 Touch [
].
5 Touch [Viewing Angle].
6 Select a viewing angle.
7 Touch [
].
For details, see Display Setup (P.58).
■ [Camera]
Set the parameters for the camera.
1 Touch [Camera].
2 Set each item and touch [
].
For details, see Camera Setup (P.52).
■ [DEMO]
Set the demonstration mode. Default is “ON”.
2
Touch [Finish].
NOTE
• These settings can be made from the SETUP
menu. See Setup (P.56).

 Loading...