4Service
56 Keysight E-Series E9300 Operating and Service Guide
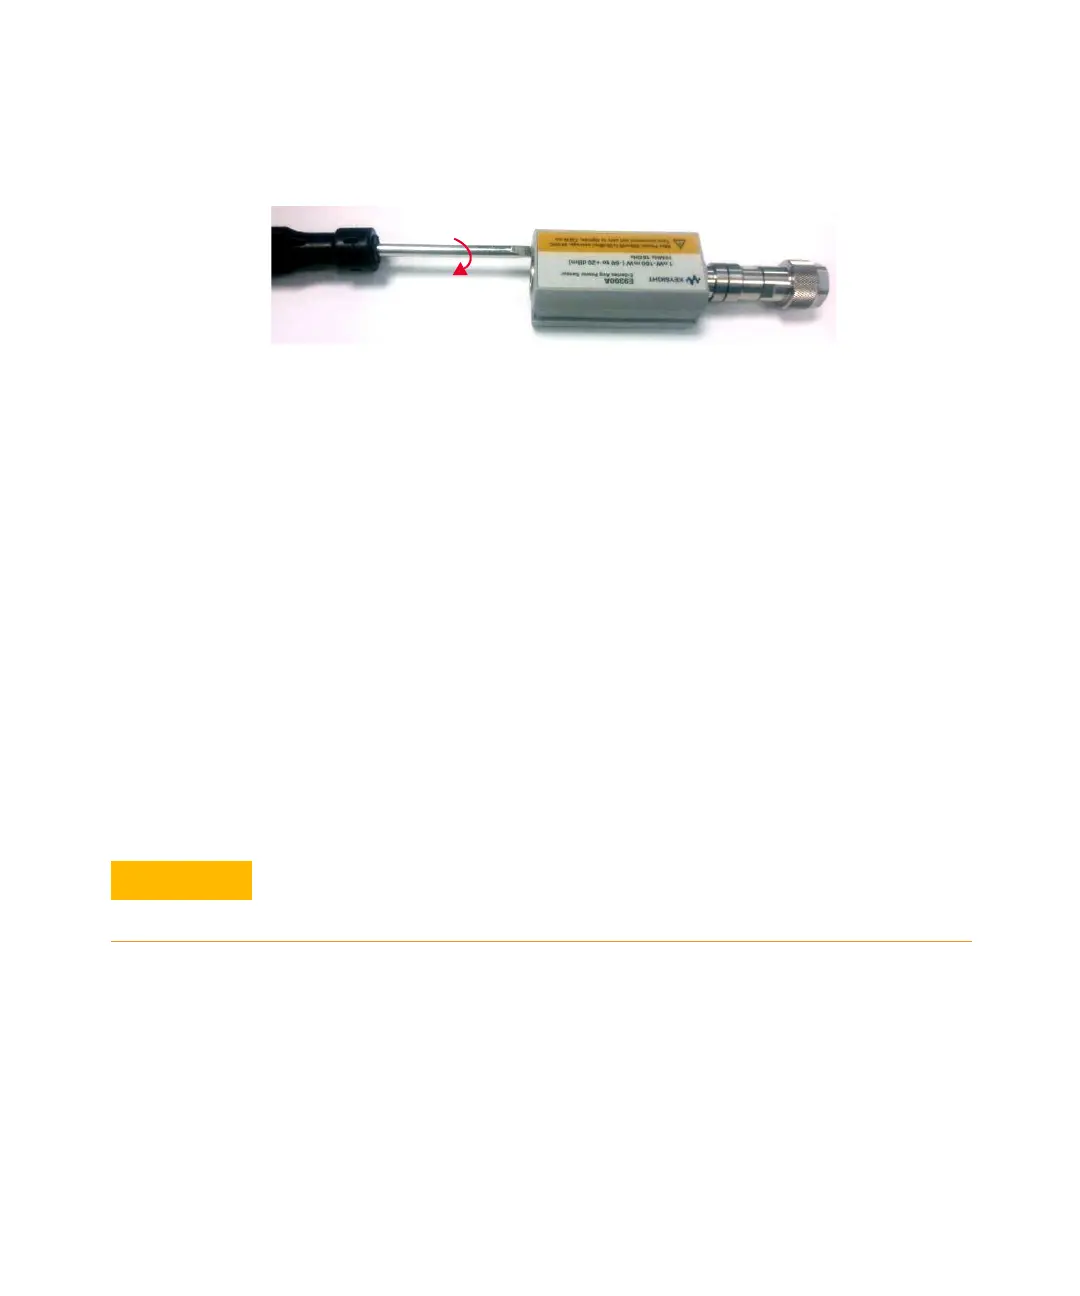
Figure 4-3 Removing power sensor shell
1 At the rear of the power sensor, insert the blade of a screwdriver between the
plastic shells (See Figure 4-3). To prevent damage to the plastic shells use a
screwdriver blade as wide as the slot between the two shells.
2 Pry alternately at both sides of the connector J1 until the plastic shells are
apart. Remove the shells and the magnetic shields.
Reassembly procedure
Replace the magnetic shields and the plastic shells as shown in Figure 4-2. Snap
the plastic shells together.
Repair and Adjustments
Do not attempt to repair or adjust the power sensor. Due to the extreme static
sensitivity of the power sensor, customer repair is not recommended. If your
power sensor should fail or need calibration, return it to Keysight Technologies.
Adjustments are usually required on a yearly basis. They are normally performed
only after a performance verification has indicated that some parameters are out
of specification. Performance verification must be completed after any repairs that
may have altered the characteristics of the E-Series E9300 power sensors. The
E-Series E9300 power sensors can be returned to Keysight for adjustments. To
arrange the return, contact the Keysight Service Center.
Do not disassemble the power sensor. The power sensor is extremely static
sensitive and can be easily damaged. If the power sensor shows evidence of
attempted customer repair, the warranty may be voided.