42 DSOX1204A/G Oscilloscopes Service Guide
4 Troubleshooting
Verifying Basic Operation
To power-on the oscilloscope
1 Connect the power cord to the rear of the oscilloscope, then to a suitable ac
voltage source.
The oscilloscope power supply automatically adjusts for input line voltages in the
range of 100 to 240 VAC. Ensure that you have the correct line cord. The power
cord provided is matched to the country of origin.
• Press the power switch.
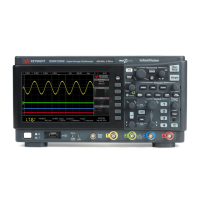
• When the oscilloscope is turned on, the front panel LEDs will briefly light up
in groups from bottom to top.
• Next the Keysight logo appears on the display.
• Next a message will appear with tips on getting started using the
oscilloscope. At this time you can press any key to remove the message and
view the display. Or you can wait and the message will automatically
disappear.
• It will take a total of about 20-30 seconds for the oscilloscope to go through
its basic self test and power-up routine.
2 Proceed to “To perform hardware self test" on page 42.
To perform hardware self test
Pressing [Utility] > Service > Hardware Self Test performs a series of internal
procedures to verify that the oscilloscope is operating properly.
It is recommended you run Hardware Self Test:
• After experiencing abnormal operation.
• For additional information to better describe an oscilloscope failure.
• To verify proper operation after the oscilloscope has been repaired.
AVOID INJURY.
Always operate the oscilloscope with an approved three conductor power cable. Do not negate the
protective action of the three conductor power cable.
 Loading...


