Calibration Procedures 1
Keysight U1281A/U1282A Service Guide 53
Adjustment procedure
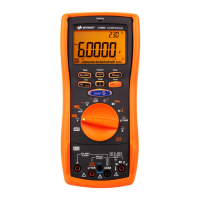
1 Turn the rotary switch to the respective test function position as shown in
Table 1-19 detailing the adjustment input values.
2 Unsecure the multimeter to enter the adjustment mode. See “Unsecuring the
Multimeter for Calibration” on page 38
3 Verify that the security code you entered is correct. If the security code you
entered is correct, the multimeter will display the reference input value of the
next calibration item. will appear briefly on the secondary display. See
Table 1-19 for the list and sequence of all the calibration items.
4 Input the same value as reference value on primary display to the correct
terminals. Then press to start calibration.
5 Check whether the right standard value has been applied, or see “Calibration
Error Codes” on page 57.
6 Repeat step 4 and step 5 until calibration is complete for all calibration values.
7 Press or rotate the rotary switch to select other values to be calibrated.
Repeat step 6 and step 8.
Review the “Test Considerations” on page 26 and “Adjustment considerations”
on page 45 before beginning the adjustment procedures.
During the calibration period, the uncalibrated value is indicated on the primary
display and bar graph with indicated on the secondary display. The
multimeter will automatically check whether or not to save the calibration value. If
the calibration value passes the check, will appear briefly on the secondary
display and saved before moving on to the next step. If the value is out of the
acceptable range, it will continue to display the current calibration value after an
error code is indicated briefly.
 Loading...
