Servicing
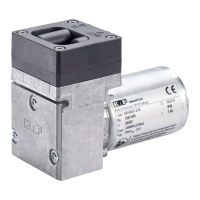
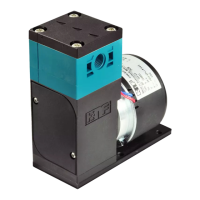
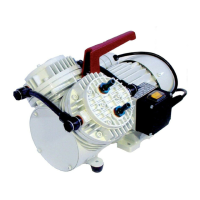
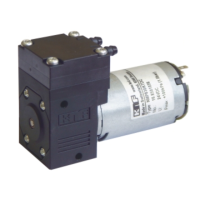
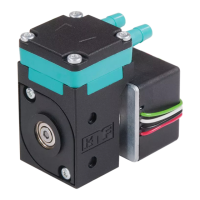
Diaphragm pump N838_E
38
Translation of Original Operating and Installation Instruction, KNF
347394-347605 09/23
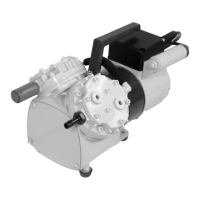
2. Loosen the four fastening screws and remove the cover
(1). In all the following instructions, where turning or hold-
ing the fan wheel is recommended, but if no fan is present
than holding the counterweight is the alternate.
Remove pump head
1. Mark the head plate (3), the intermediate plate (2) and the
housing (5) with a continuous felt-tip pen line (M). This
helps to avoid incorrect assembly later.
2. Loosen the four head plate screws (4) and remove the
head plate (3) from the pump housing together with the in-
termediate plate (2).
For two-headed pumps:
3. Loosen the head plate screws (4) on both pump heads
and remove both head plates (3) together with the con-
nection (13) and the intermediate plate (2).
Replacing the diaphragm
1. Turn the fan wheel to move the diaphragm (7) to the upper
reversal point.
2. Lift the diaphragm (7) on opposing side edges. Then
grasp the diaphragm (7) and remove it by turning it coun-
terclockwise.
3. Remove the shim(s) (8) from the stud bolt of the di-
aphragm (7) and keep them in a safe place.
4. Check all parts for contamination and clean them if neces-
sary (see 8.2.2. Cleaning the pump).
5. Push the shim(s) (8) onto the stud bolt of the new di-
aphragm (7).
6. Move the connecting rod to the upper reversal point by
turning the fan wheel.
7. Screw the diaphragm (7) with shim(s) (8) clockwise onto
the connecting rod and tighten finger-tight.
8. Perform steps 1 to 7 for the second pump head.
Replacing the valve plates/seals
1. Loosen the screw (9) with a small screw driver.
2. Separate the head plate (3) from the intermediate plate
(2).