Home
Kodak
Printer
4000 series
Kodak 4000 series User Manual
5
of 1
of 1 rating
27 pages
Give review
Manual
Specs
To Next Page
To Next Page
To Previous Page
To Previous Page
Loading...
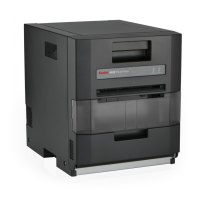
Kodak Professional large format 4000
series
printers
6
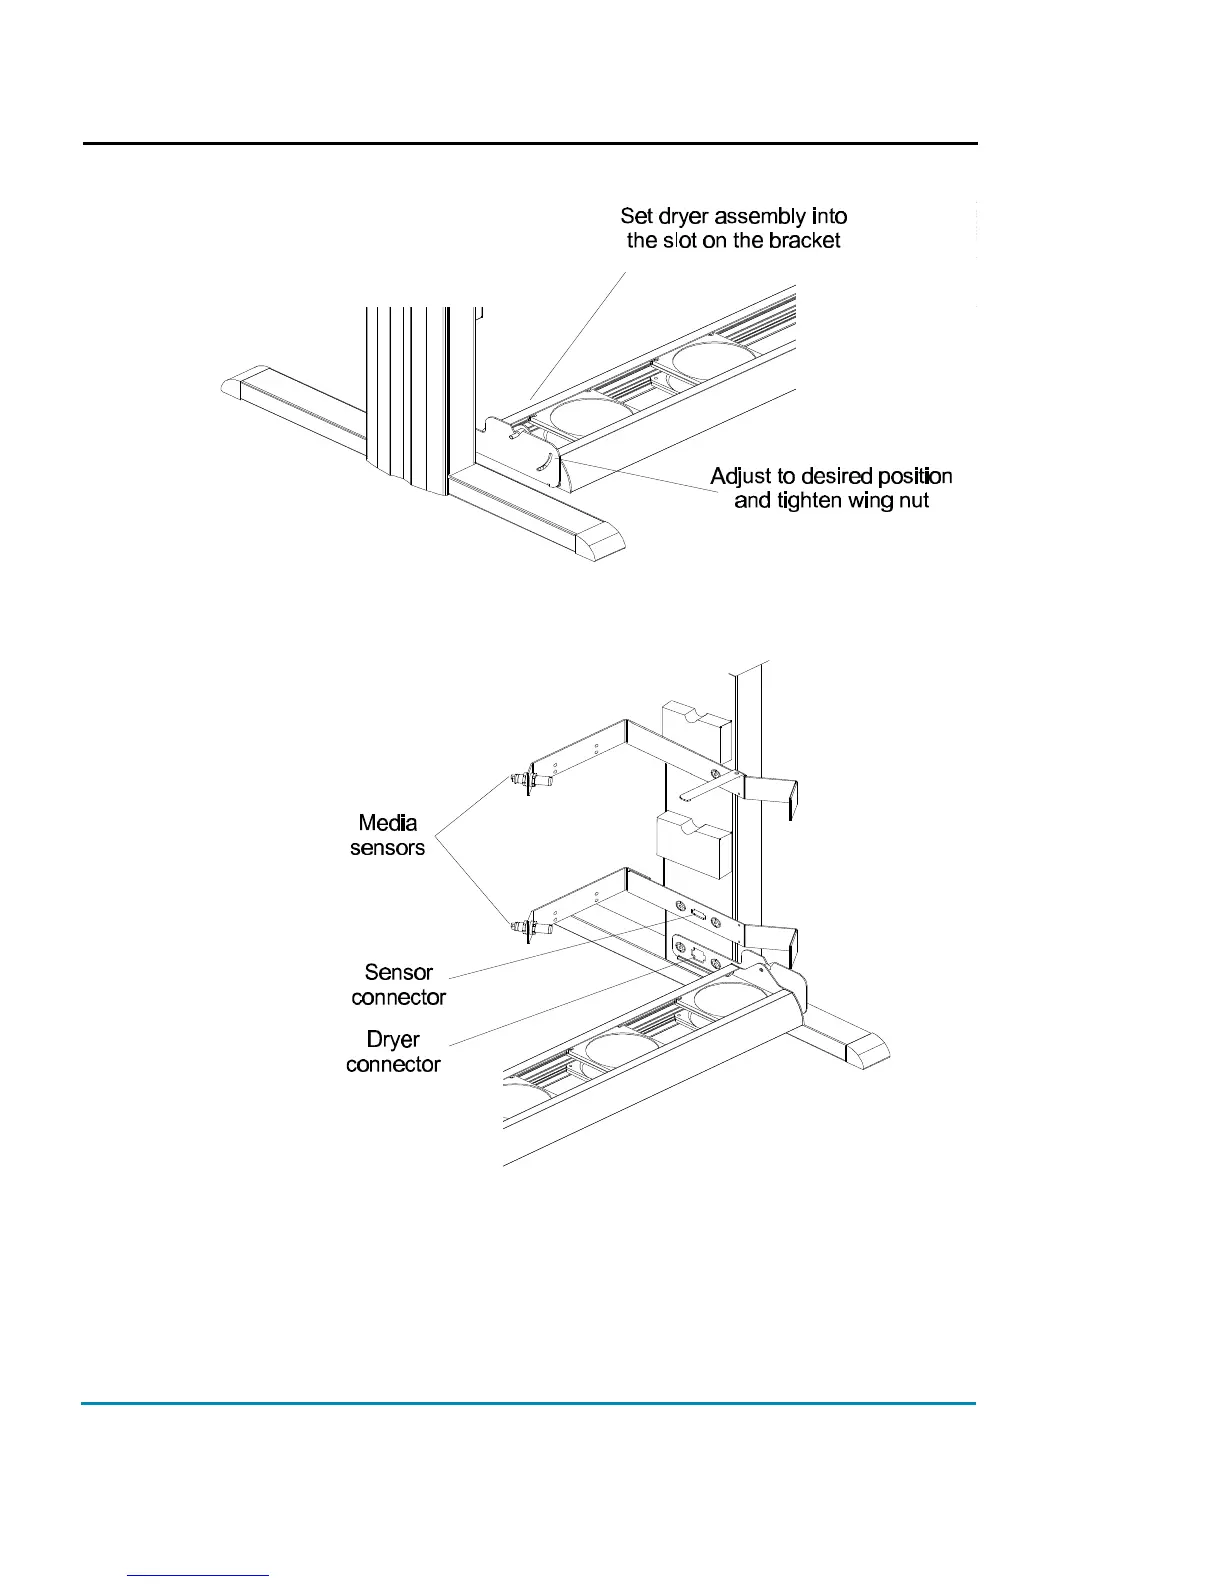
7
Plug the dryer
connector into the receptacle on the right stand leg.
8
Attach the clamp for the grounding strap to the right lower rear edge
of the dryer assembly bracket and tighten the thumbscrew securely
so that the paint is penetrated, ensuring a good ground.
5
7
Table of Contents
Quick Start
1
Table of Contents
2
Unpacking Your Printer
3
Assembling the Printer
4
Removing Protective Shipping Material
8
Connecting Power and Your Computer
8
Using the Control Panel
9
Choosing Menu Functions
9
Setting the Language
10
Loading Media
10
Using the Second Feed Roll
11
Using the Takeup Roll
12
Moving the Carriage
14
Installing the Cutter
14
Filling the Ink Reservoirs
15
Inspecting the Ink Cartridges
16
Installing the Ink Cartridges
16
Priming the Ink Delivery Lines
17
Printing the Color Test
20
Printing the Prime Pattern
21
Clogged Jets
22
Aligning the Ink Cartridges
23
Paper Axis Calibration
26
Cartridge Recognition
26
Pausing the Printer
27
Canceling a Print
27
5
Based on 1 rating
Ask a question
Give review
Questions and Answers:
Need help?
Do you have a question about the Kodak 4000 series and is the answer not in the manual?
Ask a question
Kodak 4000 series Specifications
General
Resolution
300 DPI
Print Technology
Thermal
Functions
Printer
Max. print resolution
300 dpi
Connectivity
USB
Related product manuals
EasyShare Printer Dock 4000
2 pages
Kodak STEP
16 pages
Kodak Mini
1 page
Kodak 6900
72 pages
Kodak Printer
67 pages
Kodak ESP C310
20 pages
Kodak STEP Slim
16 pages
Kodak SMILE PRINTER
12 pages
Kodak verite 50 eco
69 pages
Kodak EasyShare G600
76 pages
Kodak Verite 55W Eco
2 pages
EasyShare Photo Printer 500
71 pages