Projection-Lamp
Tips
•
Rough
treatment of the projector
may
dam-
age
the projection lamp_
• Allow for unrestricted flow of air to the
in
-
take vents
on
the bottom
and
side of the
projector,
and
the exhaust vent at the rear.
• Projector operation
on
line voltages above
the range specified greatly reduces the
lamp
life_
• Unplug power cord before changing
lamp_
•
See
"Projection Lamp
Warranty_
"
SETTING
UP
POWER
AND
REMOTE-CONTROL
CORDS
Place the projector, bottom side up,
on
a table_ Slide the latch
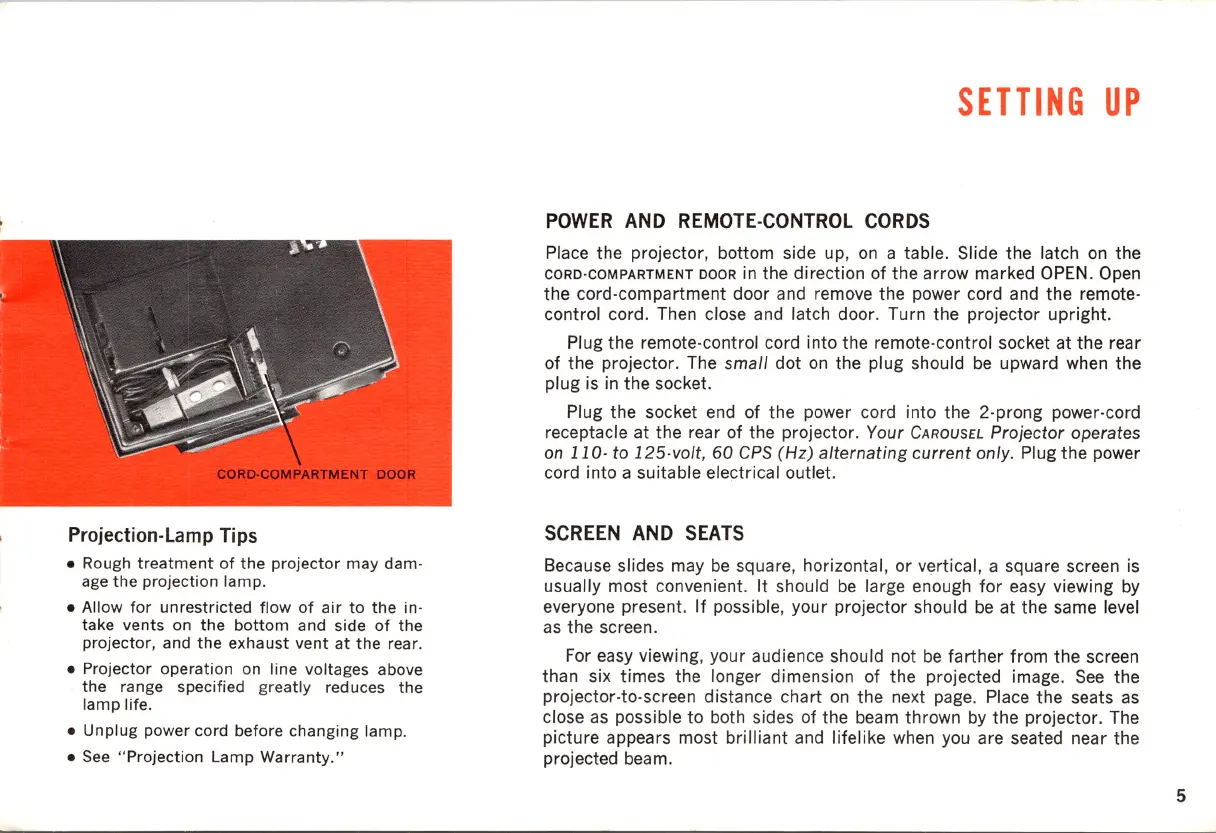
on
the
CORD-COMPARTMENT DOOR in the direction of the arrow marked
OPEN
_ Open
the
cord-compartment door and remove the power cord and the remote-
control
cord_
Then close and latch
door_
Turn the projector upright_
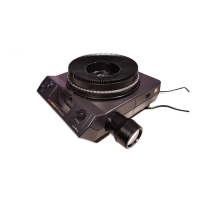
Plug the remote-control cord into the remote-control socket at
the
rear
of the projector_ The
small
dot
on
the plug should
be
upward when the
plug is in the socket_
Plug the socket end of the power cord into the 2-prong power-cord
receptacle at the rear of the projector_
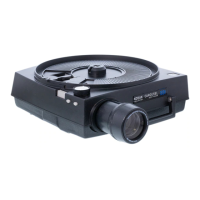
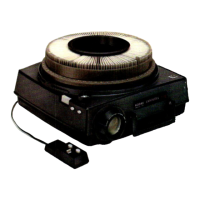
Your CAROUSEL
Projector
operates
on
110-
to 12S-volt,
60
CPS
(Hz)
alternating
current
only_
Plug the power
cord into a suitable electrical outlet_
SCREEN
AND
SEATS
Because slides may
be
square, horizontal, or vertical, a square screen is
usually most convenient_
It
should
be
large enough
for
easy viewing
by
everyone present_
If
possible, your projector should
be
at the same level
as
the
screen_
For easy viewing, your audience should not
be
farther
from the screen
than six times the longer dimension of the projected image_
See
the
projector-to-screen distance chart
on
the next
page_
Place
the
seats
as
close
as
possible
to
both sides of the beam thrown
by
the projector_ The
picture appears most
brilliant
and lifelike when you are seated near the
projected
beam_
5