Chapter 6
11
When you have finished scanning, you can enhance your scanned pictures before selecting an
output option by clicking Edit
(see Enhance Picture).
12
Click Continue to select output options.
13
Make sure File is selected in the Destinations list box.
14
Select a folder for saving the file from the Location drop-down list, or click Browse to select a
folder from the Open dialog.
15
Enter a name for the file in the Filename edit box.
16
Select a graphic file format from the File type drop-down list.
17
If you selected JPEG .(jpg) as the File type, select the quality of the output file from the Quality
drop-down list. The higher the quality the larger the file size.
18
Click Send to Destination to save the scanned picture(s) to the selected location. If you select all
the scanned pictures, they are saved in separate files.
Scan to Printer
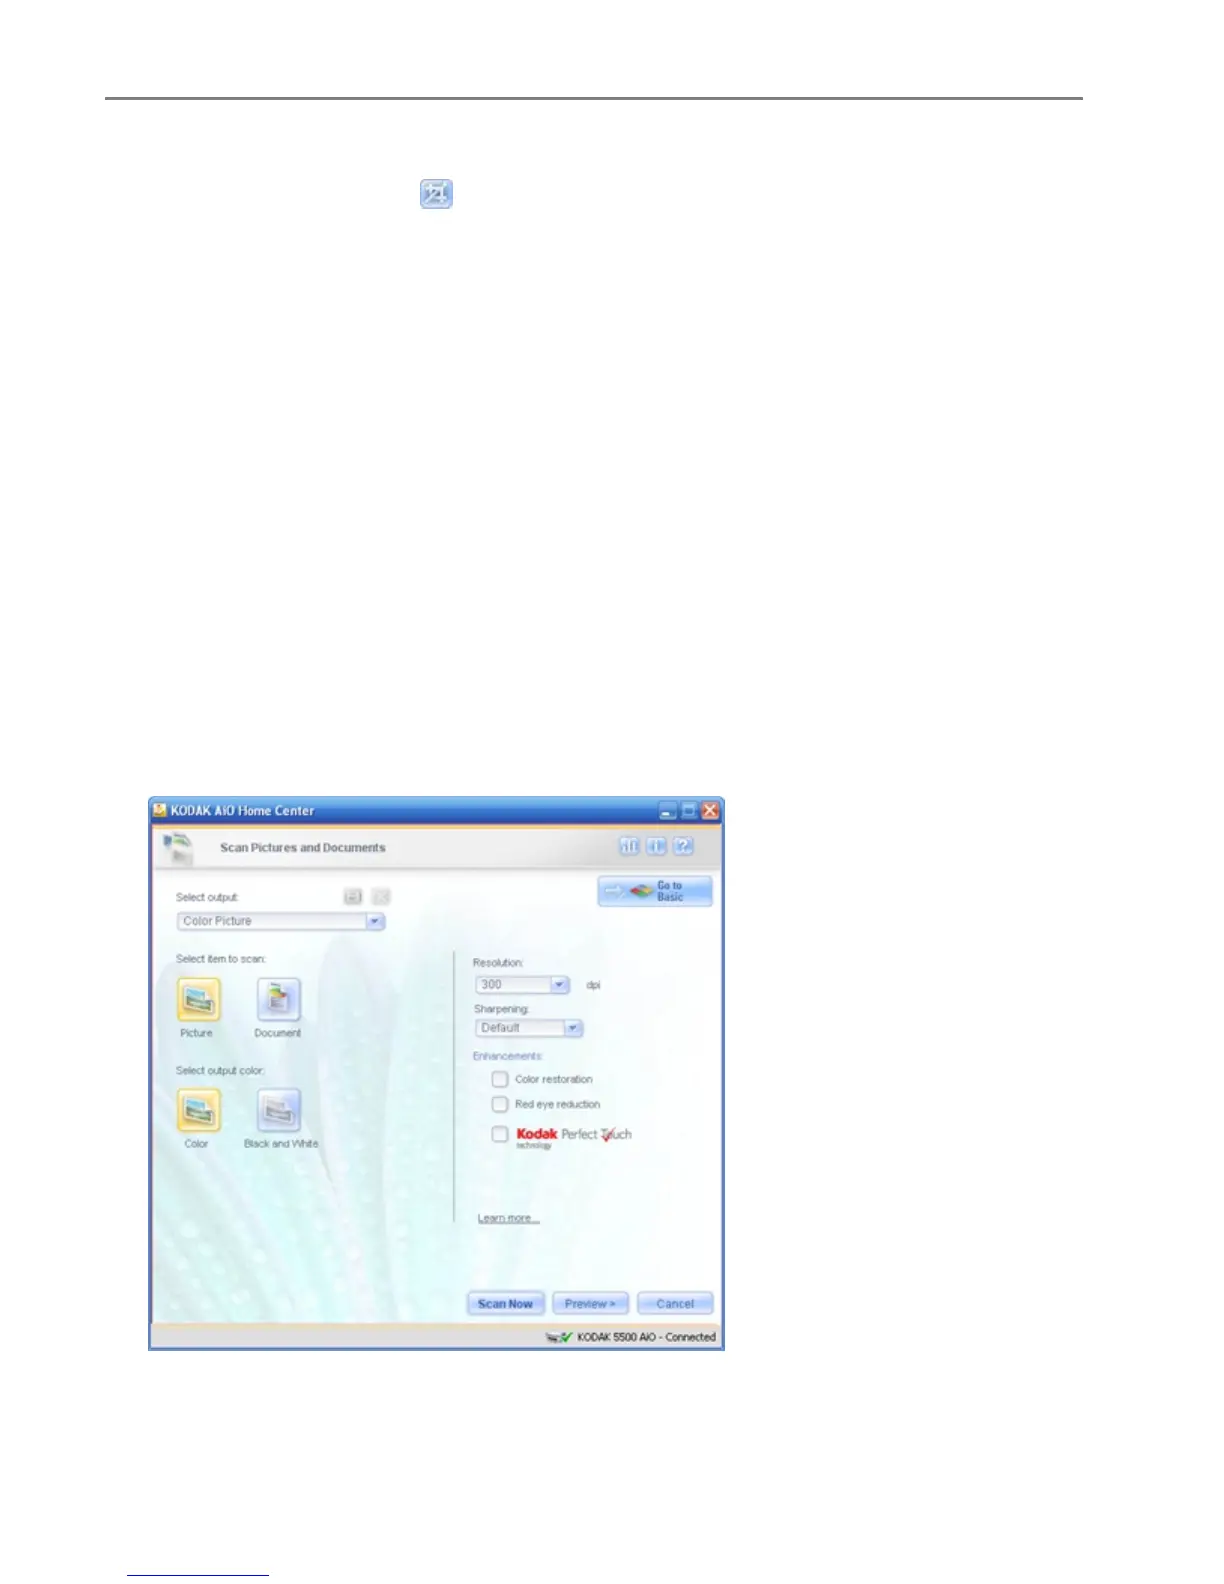
1
Place your photo or photos face down on the scanner glass. Your Kodak All-in-One Printer can
detect multiple photos.
2
On the main Home Center window, click Scan Pictures and Documents to open the Basic Scan
window.
3
Click Go to Advanced to open the Advanced Scan window.
4
Select Picture.
5
Select Color or Black & White.
82 Kodak EasyShare 5300 AiO