KONE Maintenance Method
MX10 / MX20 MCP Procedures - ASME A17.1-2013 / CSA B44-13
© 2014 KONE Corporation PSK8-604-MX10/MX20
All rights reserved.
38 (-) 2014-12-15
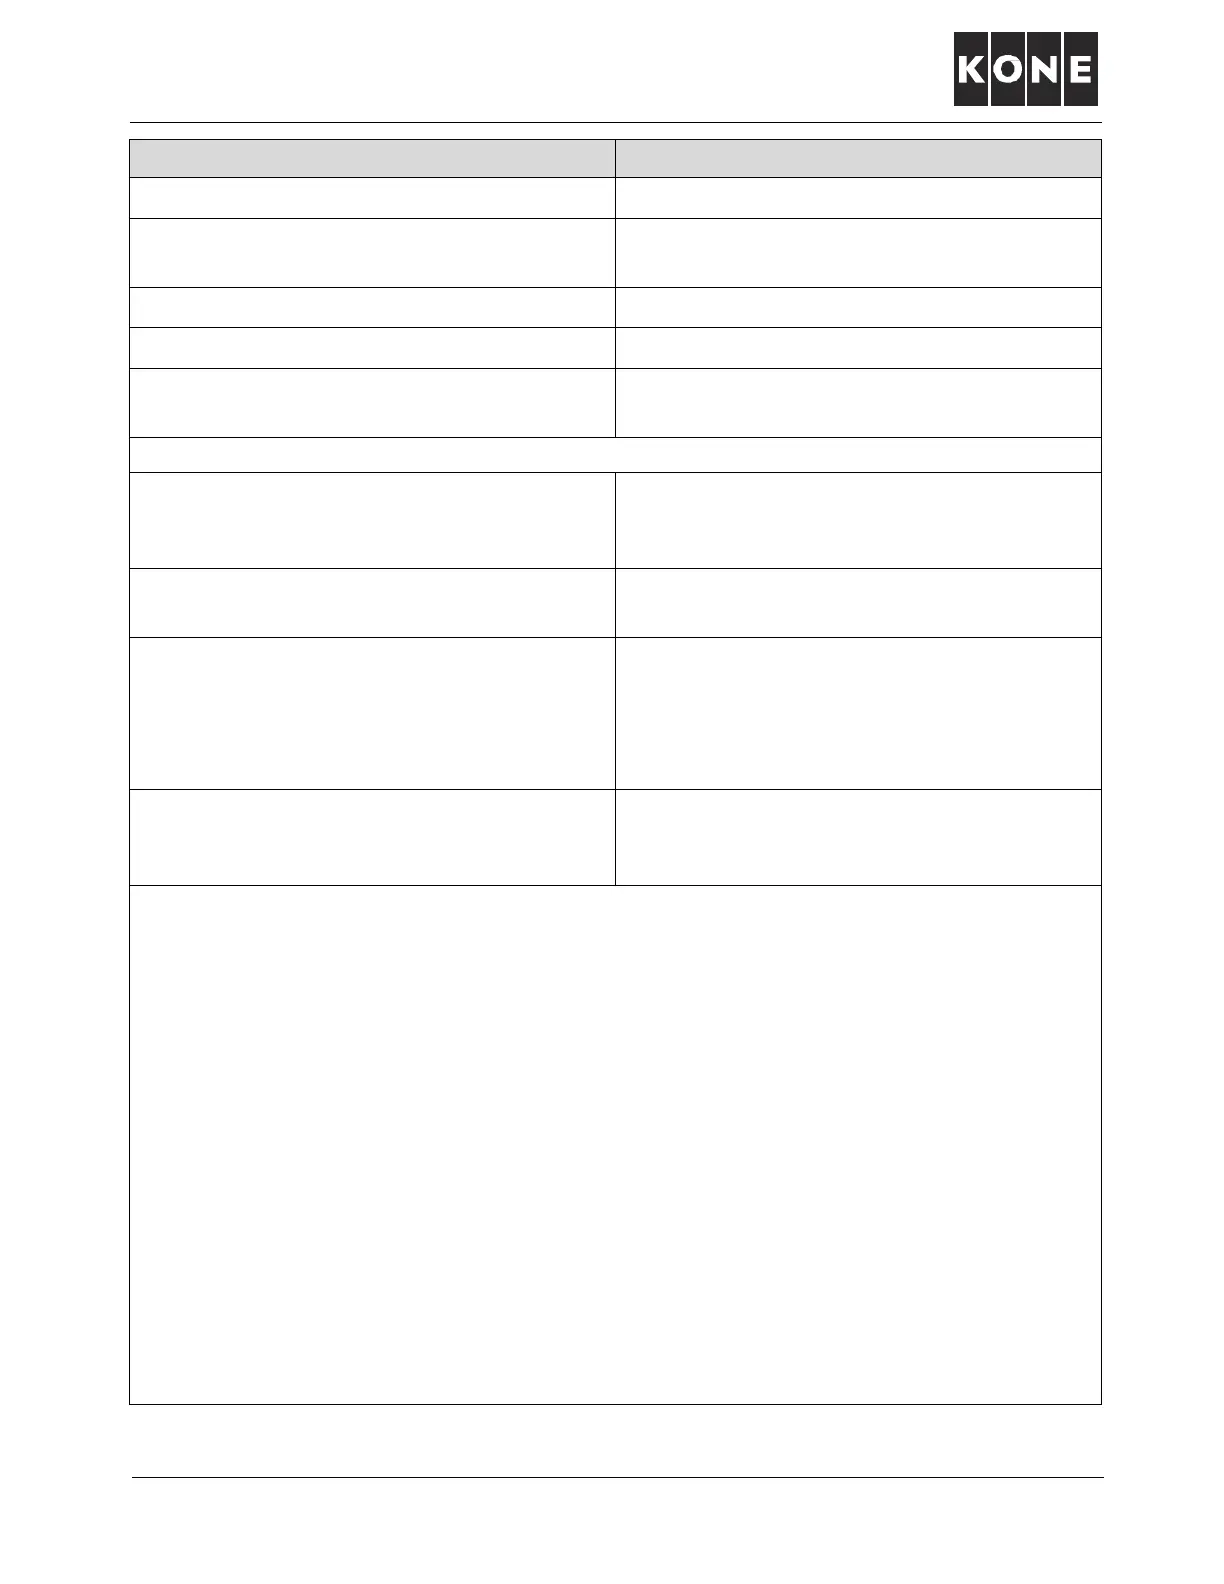
Procedure Note
14. Wait one minute.
15. Release brake. There must not be visible movement of the
traction sheave (car).
16. Open other brake electrically.
17. Wait one minute.
18. Release brake. There must not be visible movement of the
traction sheave (car).
Note: If brake fails to hold 125%, burnish the brake as follows.
1. Remove weights from the car until it is
approximately 75% loaded. (For 2500 lb
capacity this will be about 1900 lbs.)
2. With car on inspection operation move it up
to approximately mid-hoistway.
3. Operate manual brake release to let the car
slowly slide through the brake for one or
two floors. The action of the brake shoe
sliding against the brake drum will burnish
the brake.
4. After burnishing is complete, re-check brake
adjustment and perform brake test with
125% load again.
A list of possible reasons that could cause a brake test failure follow:
• Incorrect brake adjustment
• Center nut of brake too tight
• Brake release wire too tight
• Dirt on brake pads
• Worn-out brake pads
• Damaged brake shoe bearing
• Incorrect balancing (counterweight too heavy)
If the failure is not caused by lubricant contamination, order new parts.
If the brake drum and brake pads are contaminated by lubricant leakage:
• Source of lubricant leakage is other than the machine (for example guide rail or rope oil) –
order new parts and remove the source of lubricant leakage
• Source of lubricant leakage is the machine – order complete new machine