E-23
XXIV. Performing Non-Image Area Erase
Check
Note:
Perform the below at the site where customer
uses the machine.
1. Make sure that the Service Mode screen is dis-
played.
2. Select the Non-Image Area Erase Check function
as follows:
Machine → Non-Image Area Erase Check.
Note:
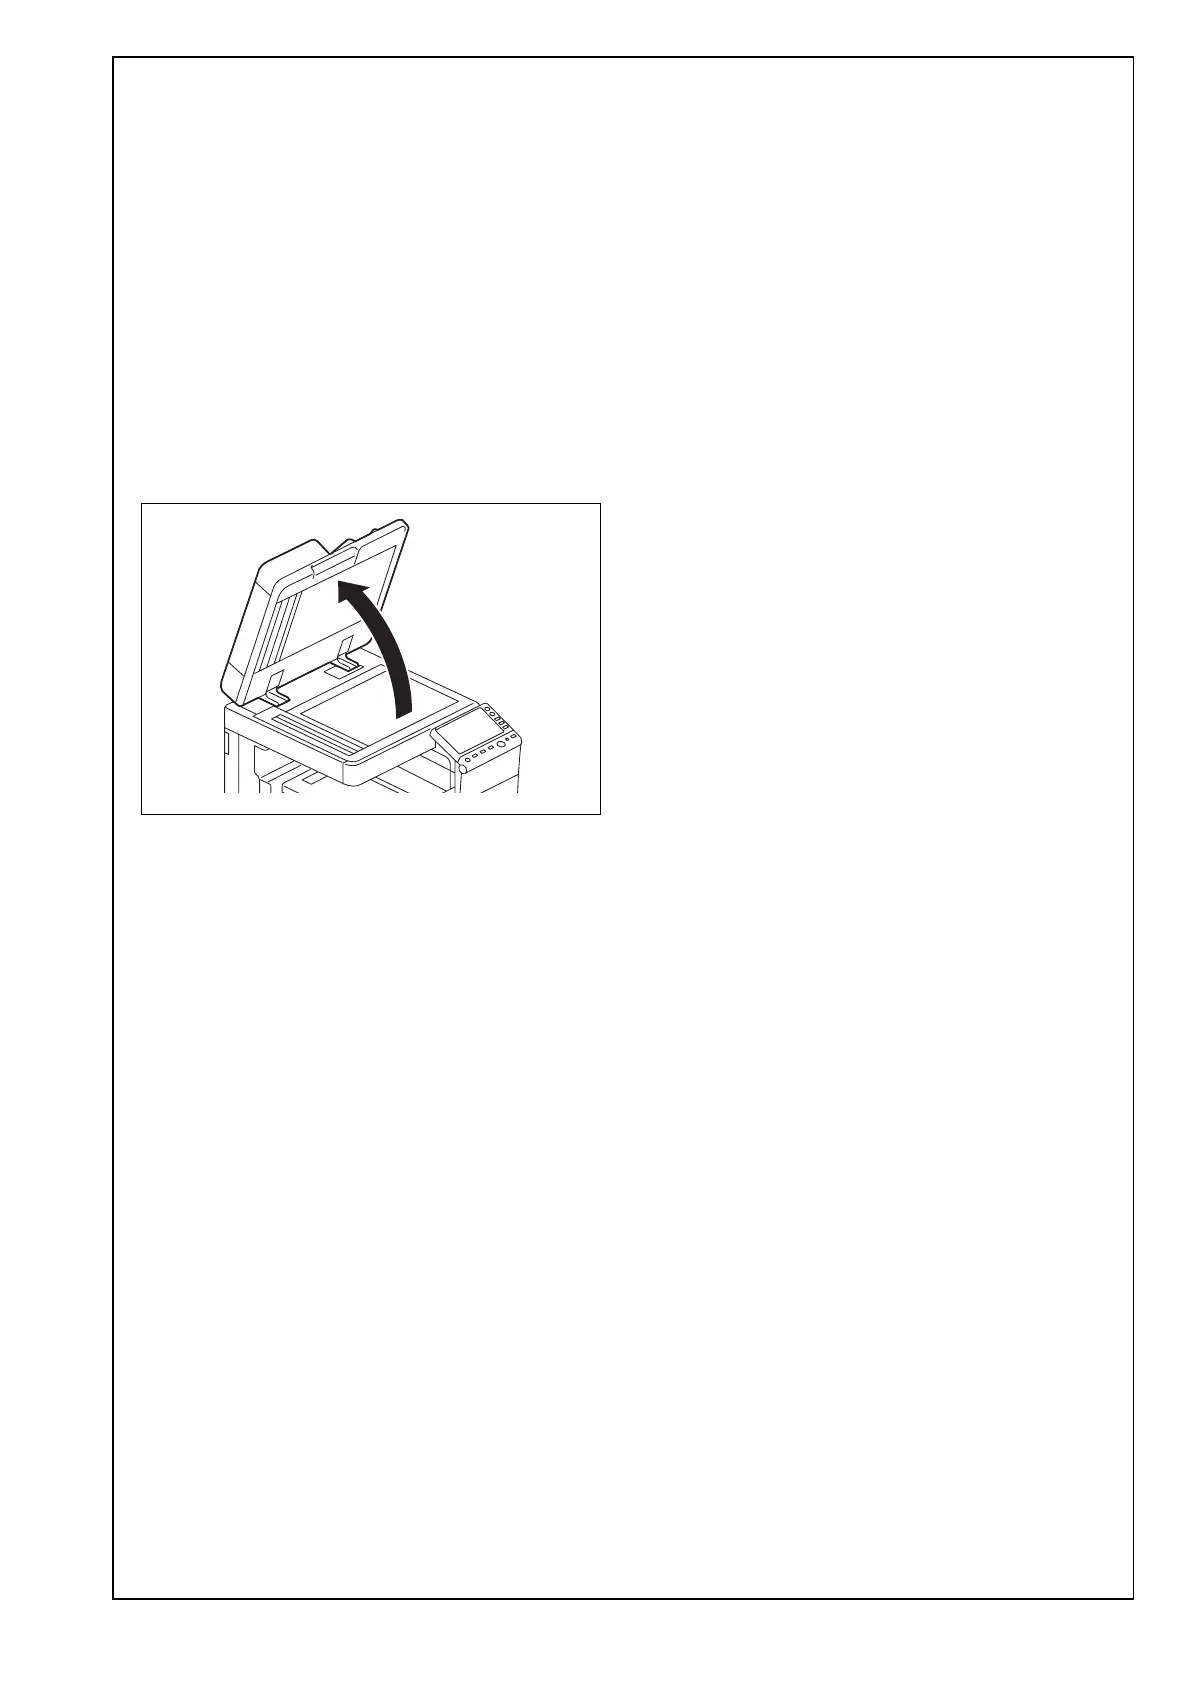
• Open fully the reverse automatic document
feeder.
• Do NOT place a document on the document
glass.
• Clean the document glass if dirty.
3. Press the Start key.
4. Make sure that “Result” is “OK.”
Note:
If “Result” is “NG1” or “NG2”, review the place and
direction of installation, or take measures to block
the light source (by covering it, etc.), then perform
installation checking again.
(If a fluorescent light or other bright light sources
exist right above the machine, the light source can
hinder installation checking and cause operation
errors in the Non-Image Area Erase Check. For
detailed information, see the service manual.)
5. Touch “OK.”
6. Touch “Exit” on the Service Mode screen.
7. Turn OFF and ON the Main Power Switch.
Note:
When displayed the Service Mode screen, be sure
to turn off the main power after exiting the Service
Mode screen and wait for 10 seconds or more
before turning on.
XXV. Date/Time setting
1. Display the Service Mode screen.
(For details of how to display the Service Mode
screen, see the service manual.)
2. Display the Date & Time Setting screen.
(To display the Date & Time Setting screen, press
Stop → 1 → 1 → 4 → 4 → Clear on the operation
panel.)
3. Press the clear key.
4. Enter the data for the year, month, day, and time-
of-day from the ten-key pad.
5. Touch “Entry.”
Note:
Touching the Entry key returns the figures in the
Date & Time Setting screen to 0 and Date & Time
Setting has been completed.
6. Touch “END.”
7. Touch “Exit” on the Service Mode screen.
8. Select the Date/Time Setting function as follows:
Menu → Utility → Administrator Settings → Enter
the Administrator Password (Default setting:
1234567812345678) → System Settings → Date/
Time Settings.
9. Select the item you want to set and press the
clear key.
10. Enter the data for the year, month, day, and
time-of-day from the ten-key pad.
11. Touch “OK.”
12. Touch “Close” three times.
XXVI. Install date
1. Display the Service Mode screen.
(For details of how to display the Service Mode
screen, see the service manual.)
2. Select the Install Date function as follows:
System 1 → Install Date.
3. Press the clear key.
4. Enter the data for the year, month, and day from
the 10-key pad.
5. Touch “Entry.”
Note:
Touching the Entry key returns the figures in the
Install Date screen to 0 and Install Date has been
completed.
6. Touch “END.”
A2X0IXC042DA
 Loading...