E-28
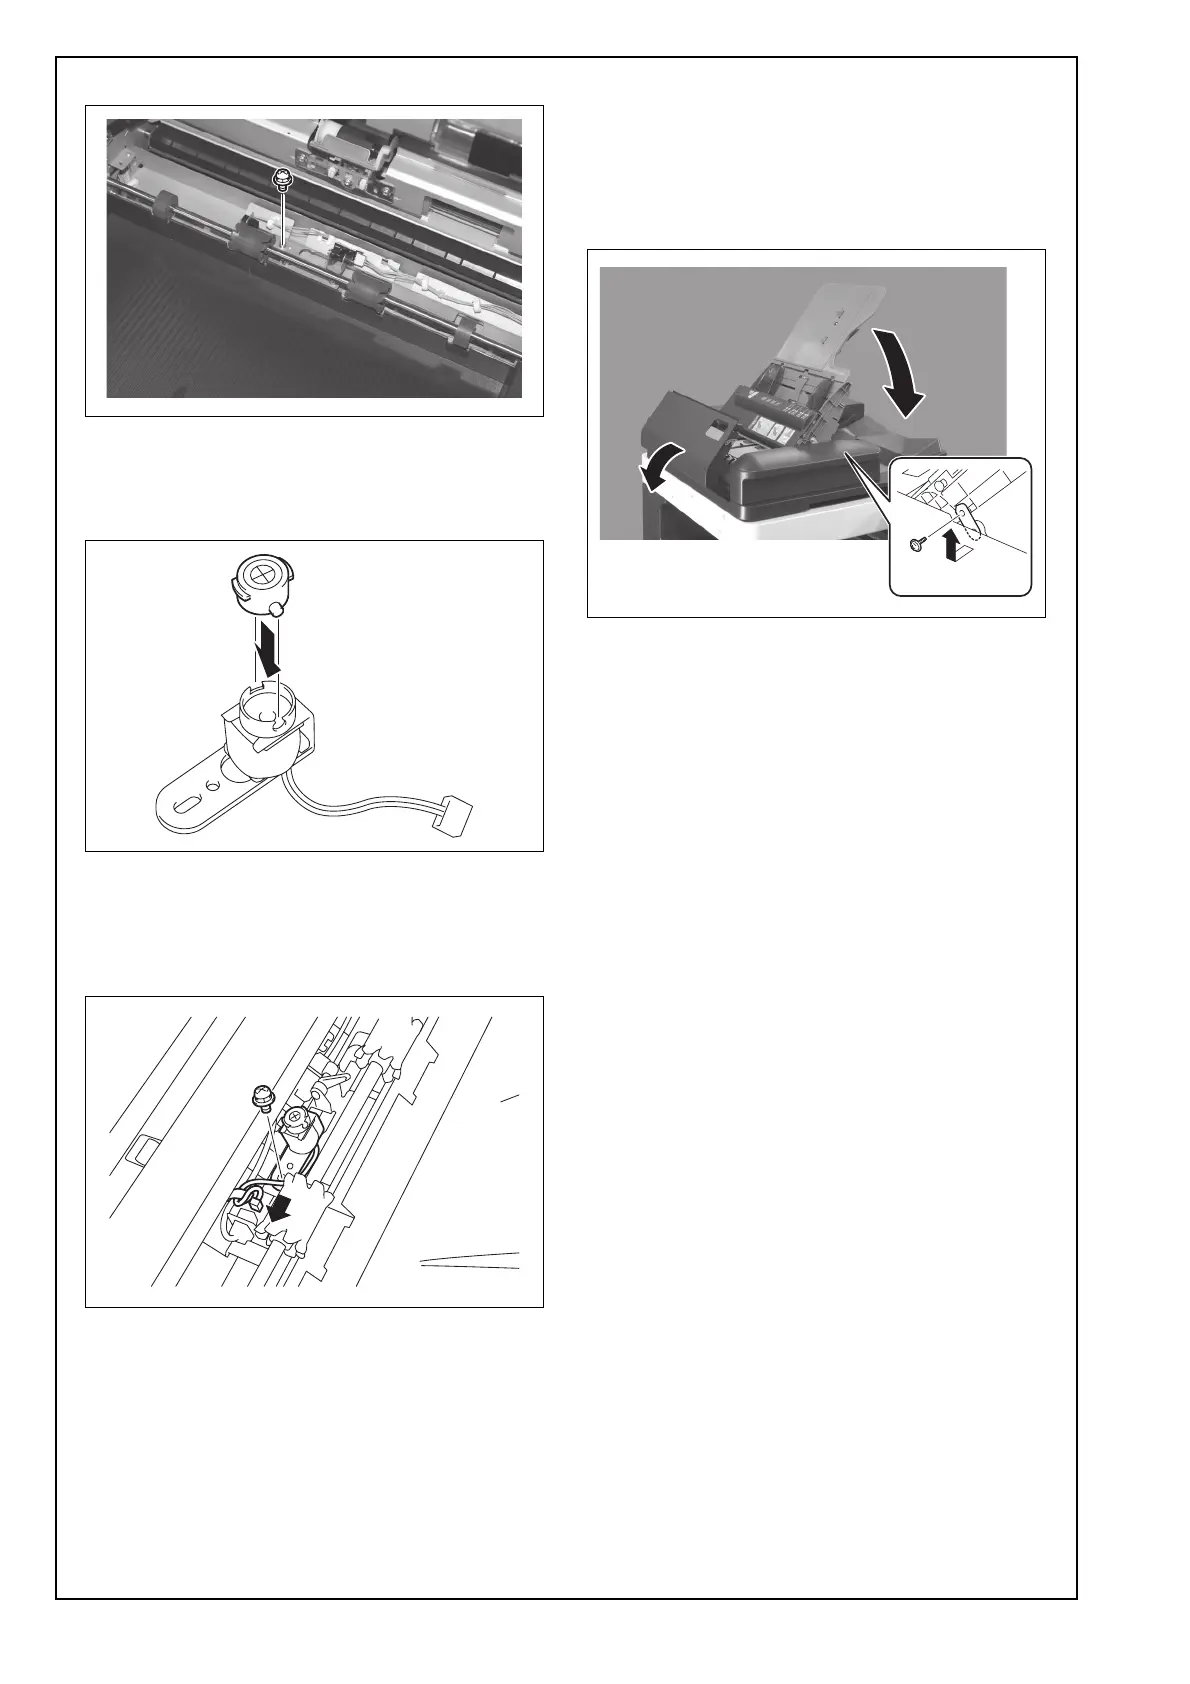
6. Remove the screw shown on the illustration.
7. Mount the stamp in stamp unit.
Note:
Align the round pin of the stamp with the slit in the
stamp unit side.
8. Connect the hookup harness connector of the
stamp unit.
9. Install stamp unit. (One screw that has been
removed in step 6)
10. Set the harness to the cord clamp.
11. Mount the plate cover that has been removed in
step 5. (Two screws)
12. Mount the mounting plate removed in step 3.
(One screw)
13. Set the document feeding tray down.
14. Close the left cover of the reverse automatic
document feeder
III. Setting
1. Plug the power cord into the power outlet and
turn on the machine.
2. Display the Service Mode screen.
(For details of how to display the Service Mode
screen, see the service manual.)
3. Touch “System 2.”
4. Touch “Stamp.”
5. Touch “Set.”
6. Touch “END.”
7. Touch “Exit” on the Service Mode screen.
A2X0IXC048DA
4614IXC007DA
A2X0IXC072DA
A2X0IXC050DA
 Loading...