
M
Molly WoodsAug 15, 2025
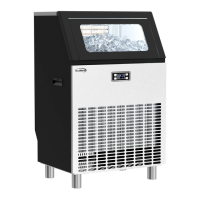
What to do if the “ ” indicator is on for my KoolMore Ice Maker?
- DDonna RossAug 15, 2025
If the “ ” indicator is illuminated on your KoolMore Ice Maker, it means that the ice storage bin is full. Simply remove some of the ice cubes to resolve this.