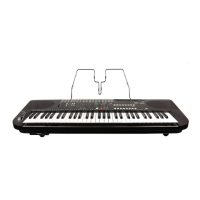
Recording your performance
21
Recording your performance
You can record your playing along with the auto-accompani-
ment as MIDI data (user song). You can also easily connect a
USB flash drive to record your performance as audio data (WAV
format).
Recording as MIDI data
A maximum of 999 songs can be recorded on the i3.
1.
Select the sound set and style you wish to record in Per-
formance mode, and make changes to the parts, tempo
and other settings as need be.
The settings for the keyboard parts and accompaniment
parts are recorded in the user songs.
Note:
Parts that are muted will not be recorded. Make
sure that muting is canceled for the part to record (see
page 13, 19).
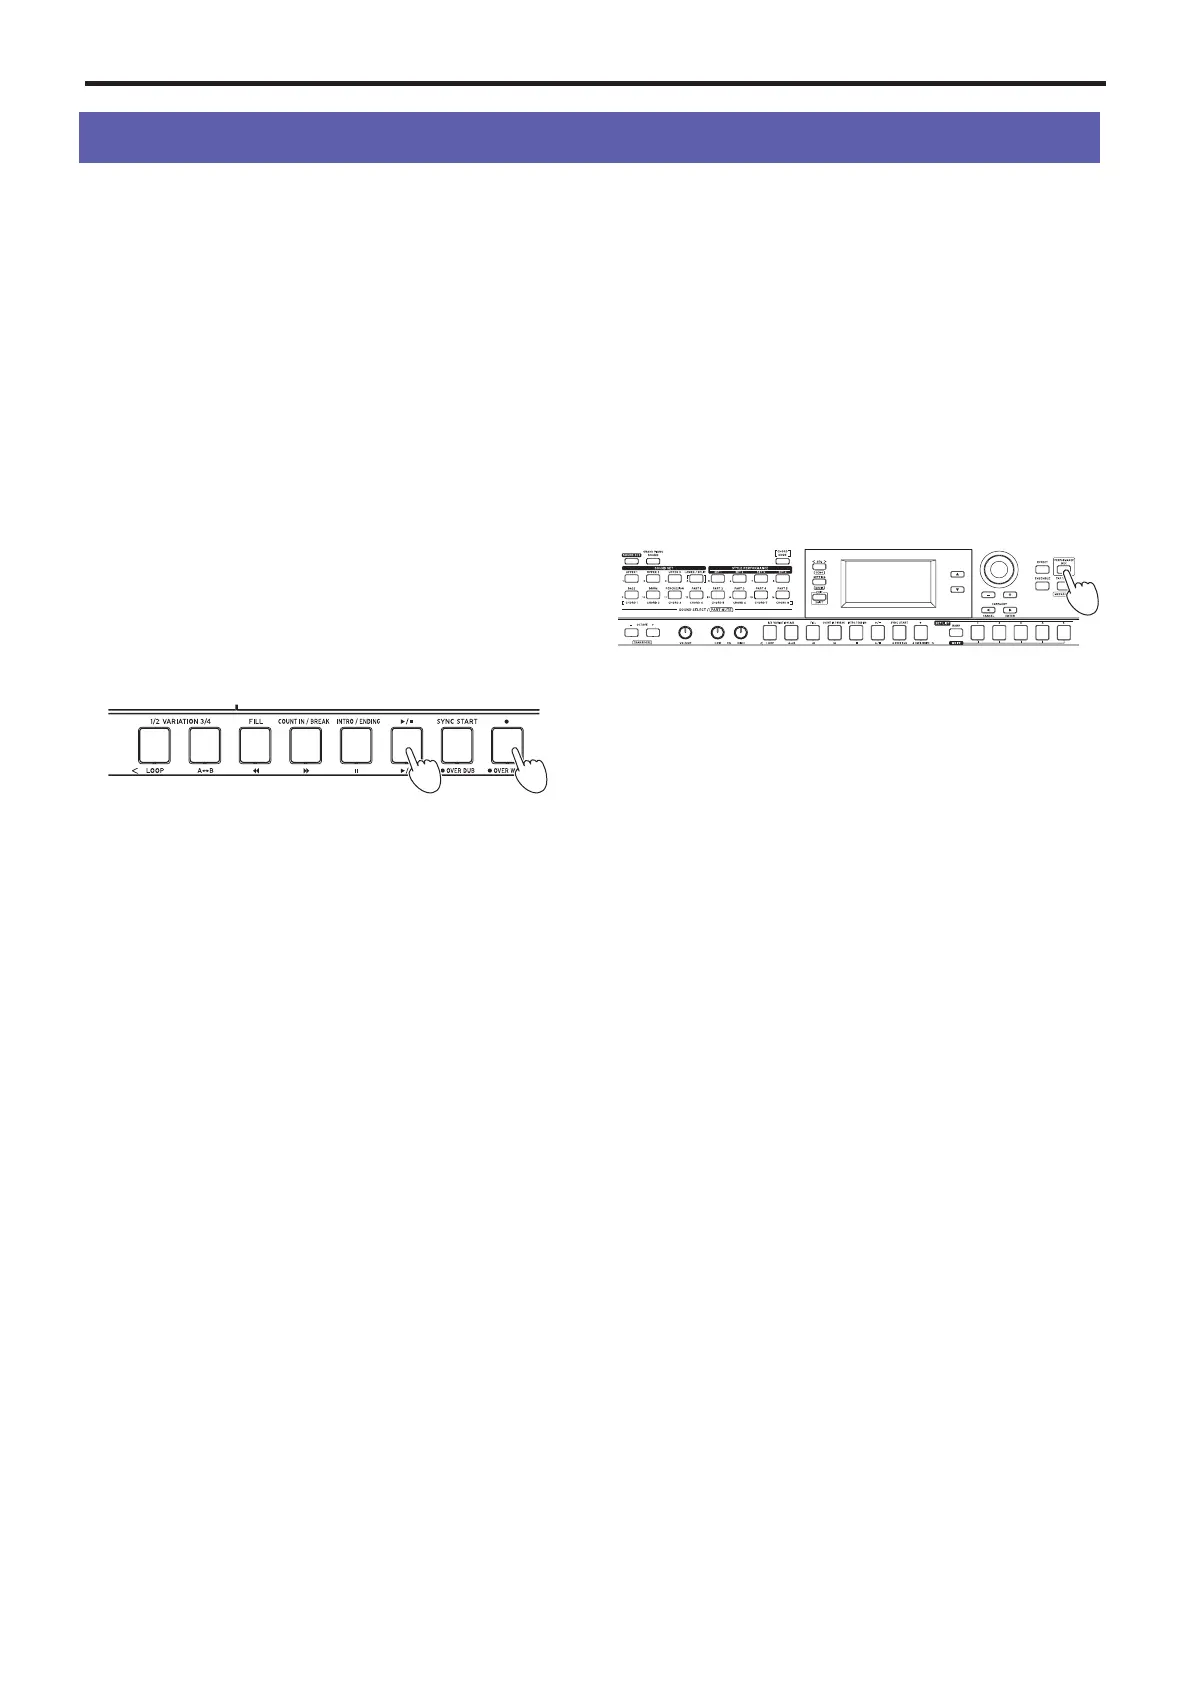
2.
Press the button to put the i3 in record standby mode
(the button will light red).
The
u
/
button blinks.
3,4
2
3.
Press the u/ button to make it light up. Recording will
begin.
Play a melody in your right hand while playing chords with
your left hand. Add a fill or break to the accompaniment
pattern (page 18).
4.
Press the u/ button to stop recording. The button will
go dark.
The contents that you recorded will automatically be saved
as a user song.
Tip:
User songs are saved with the name “UserSong,” and
a sequential number corresponding to the number of the
recording is added to the end.
Tip:
User songs can be converted to SMF (Standard MIDI
File) format. See “UserSong Convert” (page 29) in Media
mode for details.
Tip:
To delete user songs you have recorded, see “Deleting
a user song” (page 24).
Tip:
To play back your recorded performance, see “Playing
Back and Editing Songs” (page 22). You can also easily
edit the user songs.
Recording as audio data
(performance recording)
You can record your performance on the i3 at any time as au-
dio data (a WAV file), regardless of what mode the i3 is in.
Note:
You will need to connect a USB flash drive to the i3 in
order to record audio.
Tip:
When recording as audio data, you can also record sounds
at the same time that are inputted from the AUDIO IN jack on
the rear panel.
1.
Connect a USB flash drive (page 8).
2.
Press the PERFORMANCE REC button to begin recording
(lights up red), and start playing.
3.
Press the PERFORMANCE REC button to stop recording.
The button will go dark.
The audio data that you recorded will be saved with the
name “AudioSong” on the USB flash drive.
Note:
Recording will automatically stop after one hour af-
ter you start recording.
Note:
Note that you may not be able to correctly record
the data when using certain USB flash drives. For details,
see the Korg website.