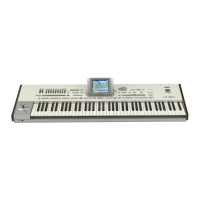
330
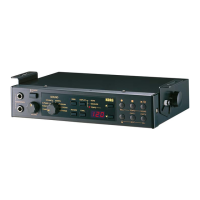
Installing the Video Interface (VIF4)
Connections and setup
5. Replace the cover (e) to the original position, being very
careful to make the protruding side of the circuit board (a)
slide in before any other side.
6. Slide the cover (e) up to the original position. The video
connector protruding from the circuit board (a) will pass
through the corresponding hole on the back of the instur-
ment. Attach the cover (e) to the bottom of the instrument
by using the four previously removed screws (d).
Connections and setup
1. Connect the instrument’s video output to the video input
of the television set. Depending on the type of television
set, you can use a cable of the type “RCA-to-RCA” (if the
television set is equipped with a Video Composite input),
or “RCA-to-SCART” (if the television set is equipped with
a SCART connector). You can buy the needed cables at a
store that sells television equipment.
2. Turn the instrument on, and press the GLOBAL button to
gain access to the Global edit mode. Go to the “Video Inter-
face: Video Out” page, and select the video standard (PAL
or NTSC).
3. Select the “Write Global-Global Setup” command from the
page menu to save the settings in memory. The Write Glo-
bal-Global Setup dialog box will appear. Touch OK to con-
firm.
4. Turn the television set on, and tune it on the AV1 or AV2
input.
5. In the same page of the Global, use the Colors parameter to
choose the preferred set of colors for the lyrics and the
background.
RCA
RCA
SCART