Kramer Electronics Ltd.
KT-107, KT-107RB - Mounting the KT-107, KT-107RB
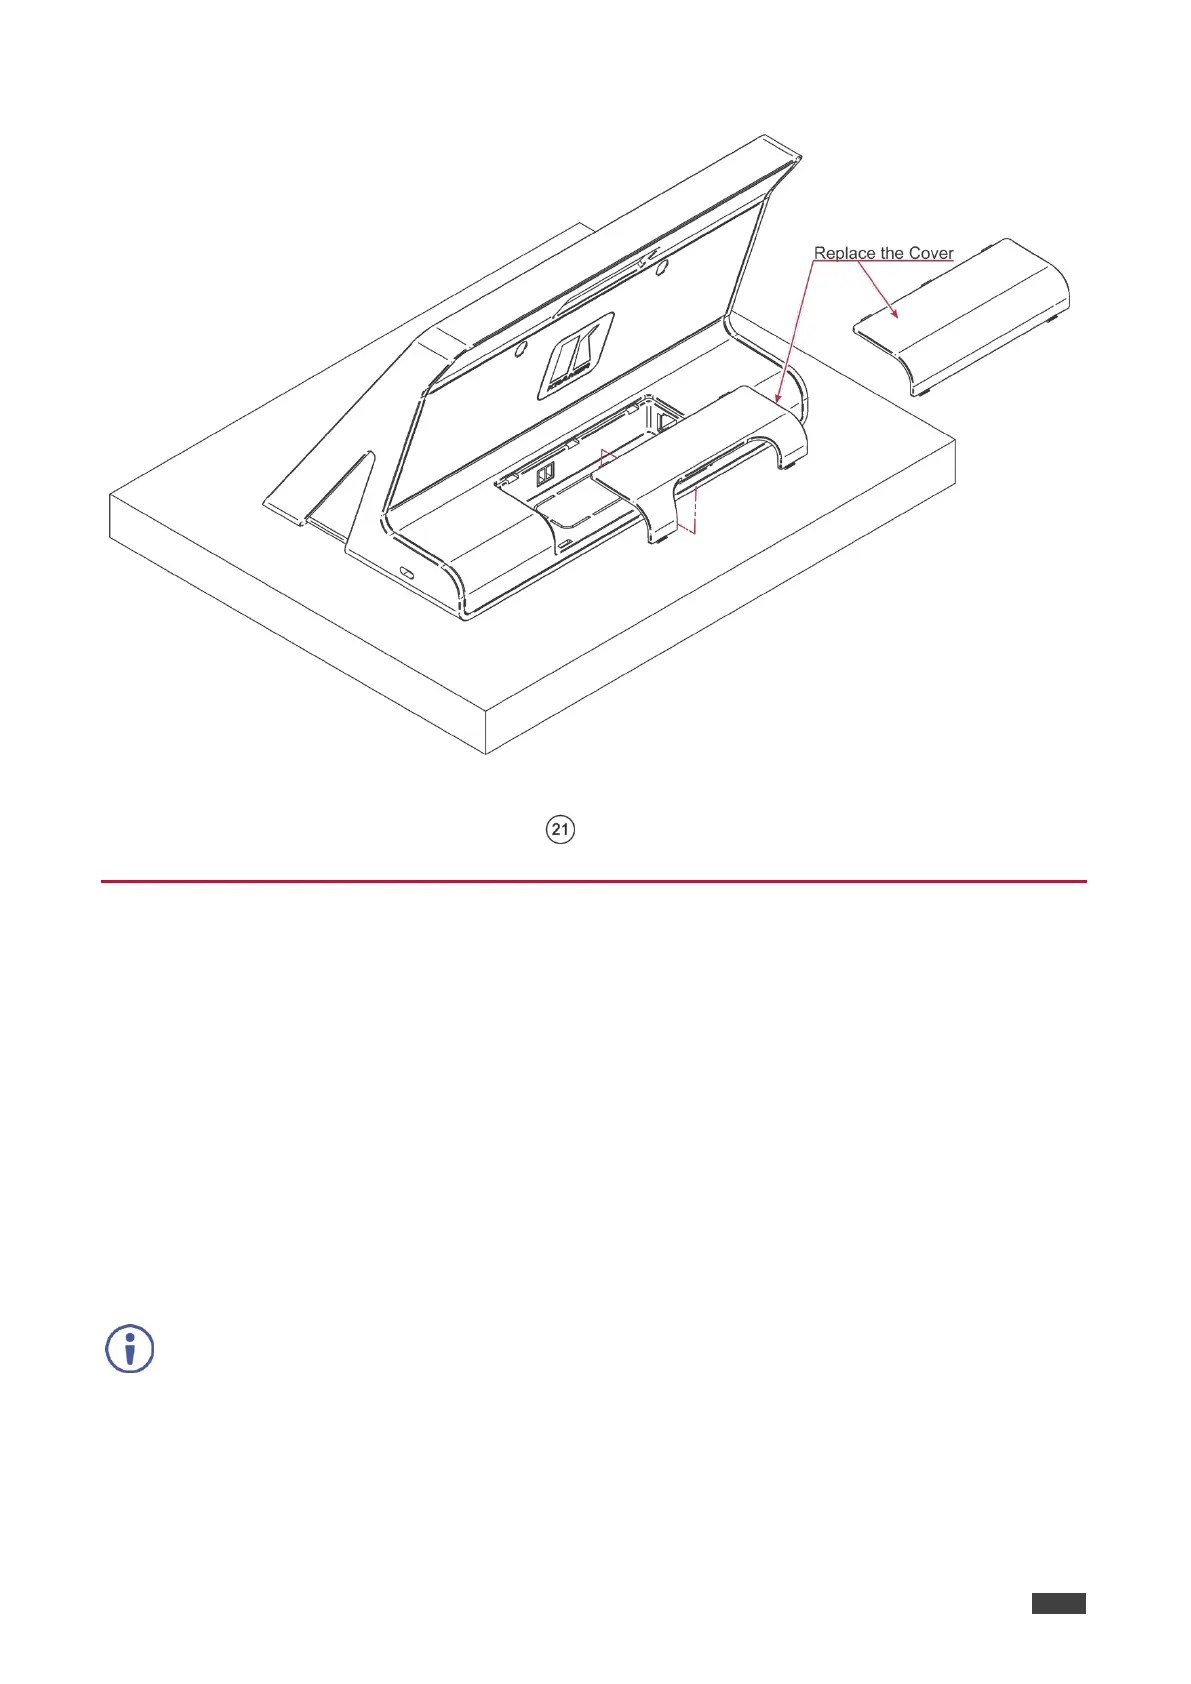
8. Replace the appropriate cover (for under-the-table or over-the-table installation).
Figure 10: Replace the Cover
9. Optionally, lock the tabletop mount with a Kensington locker (not supplied).
Mounting the KT-107 on a Wall
KT-107 can be safely installed on a wall using standard 2 Gang in-wall junction boxes. The
cables are passed inside the wall and then connected to the rear side of the on-wall mount
unit.
Before mounting the KT-107 on a wall, you need to install a standard 2 Gang in-wall junction
box.
We recommend that you use any of the following standard 2 Gang in-wall junction boxes:
USA: 2 Gang electrical junction boxes.
Europe: 2 Gang in-wall junction box, 47mm minimum depth (DIN 49073).
UK: 2 Gang in-wall junction box, 137x75mm, 41mm minimum depth (BS 4662).
Other popular in-wall mounting boxes may also be available in the market (such as the
GEWISS 4 Gang 144x85x50mm box (GW 24 404)).