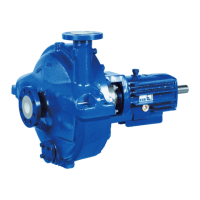
7.4.5.2 Loosening the impeller — for bearing brackets B06 and B07
✓ The notes and steps stated in (⇨ Section 7.4.1 Page 46) to (⇨ Section 7.4.4 Page
47) have been observed/carried out.
✓ The back pull-out unit has been placed in a clean and level assembly area.
1. Unscrew and remove impeller hub cap 260 (right-hand thread).
For versions with auxiliary impeller:
Unscrew and remove impeller hub cap
260.01 (right-hand thread).
2. Remove and dispose of joint ring 411.31.
For versions with auxiliary impeller: Remove and dispose of joint ring 411.59.
3. Bend open lock washer 931.02.
4. Remove impeller screw 906 with lock washer 931.02 and disc 550.87.
For versions with auxiliary impeller: Pull auxiliary impeller 23-2 off the shaft.
Remove keys 940.03 from shaft 210. Remove and dispose of joint ring 411.31.
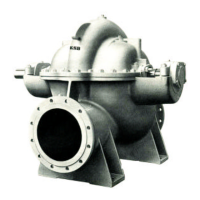
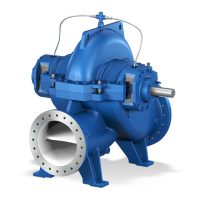
7.4.5.3 Removing the impeller — for all bearing bracket sizes
✓ The notes and steps stated in (⇨ Section 7.4.1 Page 46) to and (⇨ Section 7.4.5.2
Page 48) have been observed/carried out.
1. Remove impeller 230 with an impeller removal tool.
2.
Place impeller 230 on a clean and level surface.
3. Remove keys 940.01 from shaft 210.
4. If throttling bush 542.02 is fitted, undo grub screws 904.38.
5. Remove throttling bush 542.02, if any.
7.4.6 Removing the cartridge seal
✓ The notes and steps stated in (⇨ Section 7.4.1 Page 46) to (⇨ Section 7.4.5.3 Page
48) have been observed/carried out.
✓ The back pull-out unit is kept in a clean and level assembly area.
1. If assembling jigs are provided, loosen the hexagon head bolts for fitting the
assembling jigs.
2.
Engage assembling jigs, if any, in the groove of shaft protecting sleeve 524.01
and re-tighten the hexagon head bolts.
3. Loosen hexagon head bolts 920.15 at casing cover 161.
4. Use forcing screws 901.31 to remove bearing bracket 330.
At the same time, pull shaft protecting sleeve 524.01 (if any) with complete
cartridge seal 433 off shaft 210.
5. Take care not to damage O-rings 412.01/.31, if any.
6. Undo hexagon nut 920.02 and remove seal cover 471.01 and/or the seal
cartridge.
Observe the seal installation drawing of the mechanical seal.
7.4.7 Dismantling the bearings
✓ The notes and steps stated in (⇨ Section 7.4.1 Page 46) to (⇨ Section 7.4.6 Page
48) have been observed/carried out.
✓ The bearing bracket has been placed in a clean and level assembly area.
1. Undo the hexagon socket head cap screw in the coupling hub.
2.
Pull the coupling half off the pump shaft with a puller.
3. Remove key 940.02.
4. Remove fan hood 882, fan hub 485.02 and fan wheel 831.02, if any.
5. Undo hexagon nut 920.02 and remove seal cover 471.01 and/or the seal
cartridge.
6. Undo grub screws 904.41/.42 and remove throwers 507.01/.02.
7 Servicing/Maintenance
48 of 76
RPH