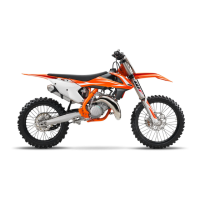
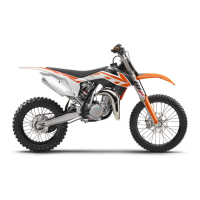
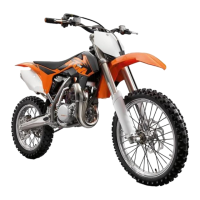
5-6
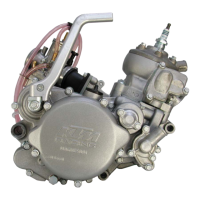
Repair manual KTM 85 SX Art No 3.206.008-E
Cylinder exhaust control system
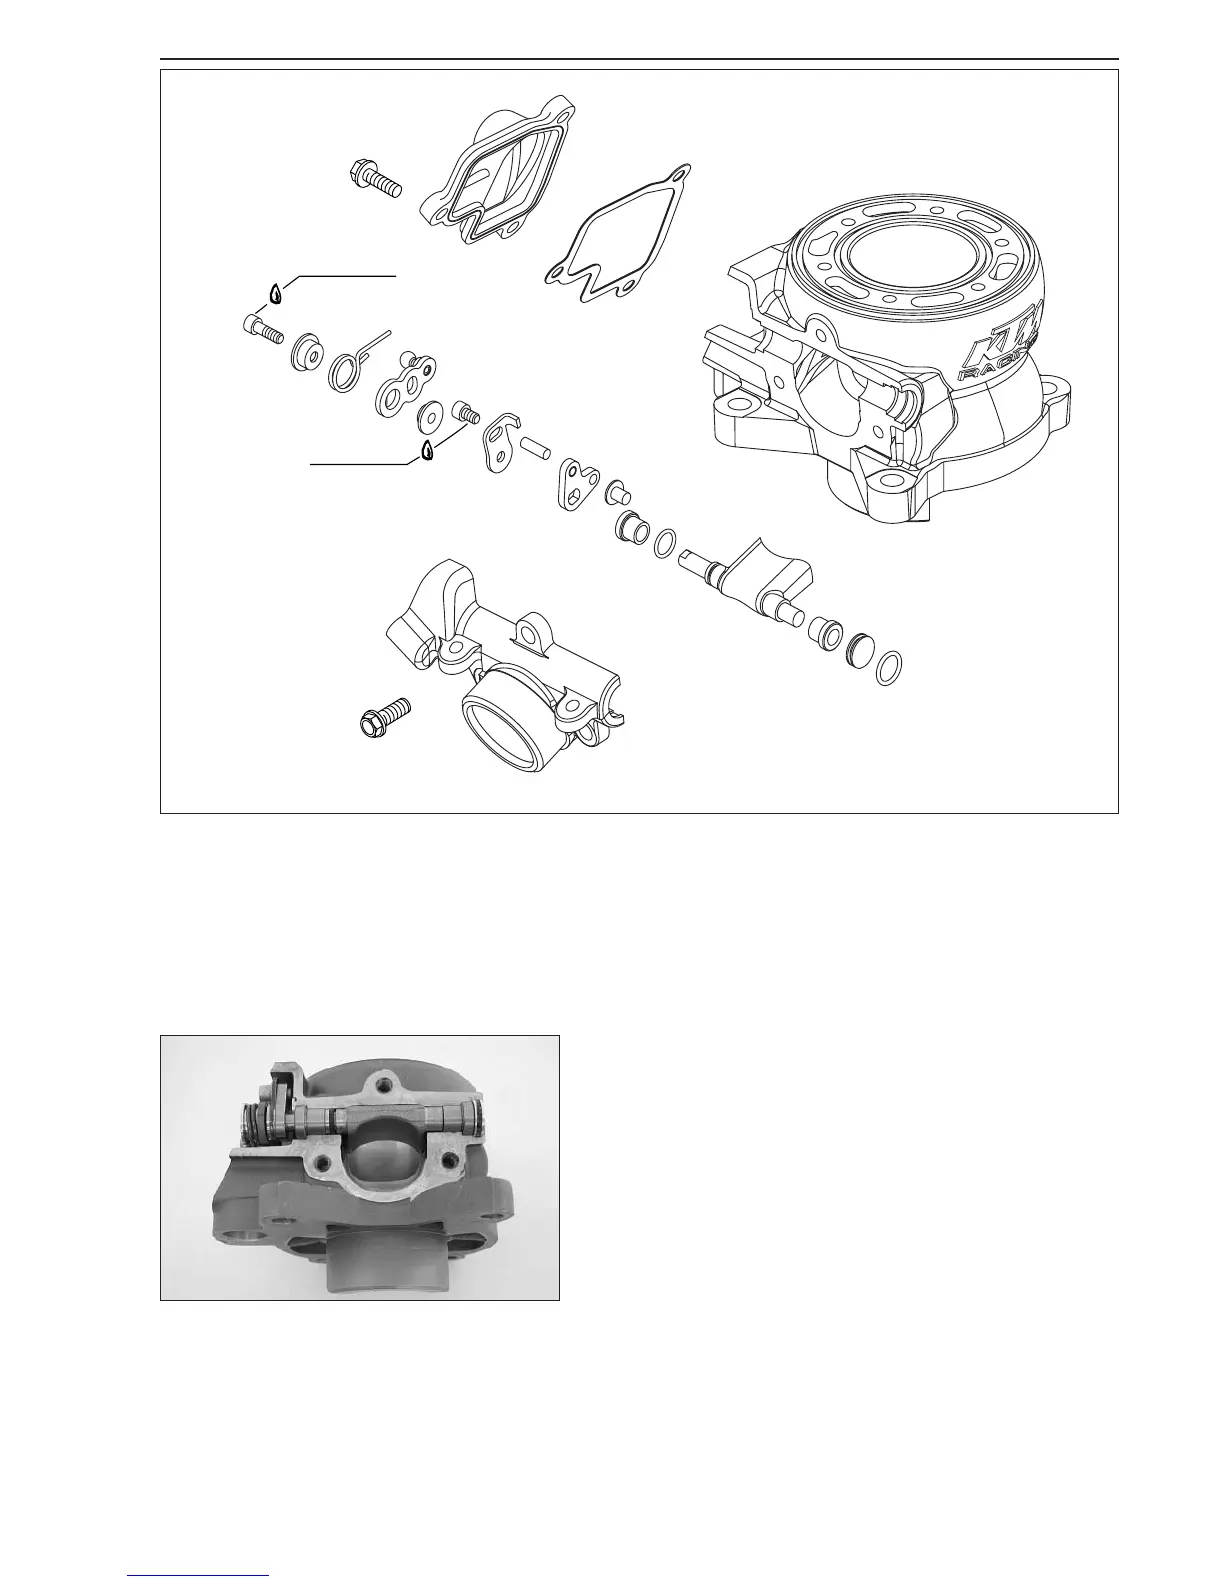
Dismantle and clean all exhaust control components, check for signs of wear and damage.
Bearing sleeves
1 – Check bearing sleeves of the control flap for play and easy operation.
Control flap
2 – Clean the control flap. The control flap must not graze inside the exhaust port.
Check the silicone O-ring in the closing cover
3 and the control flap 4 for wear and replace if necessary.
Preassembling the control flap and the cylinder
– Mount the silicone O-ring (8.03x1.78) 4 on the control flap and
grease.
–Push the bearing sleeve
1 onto the right side with the collar facing
outwards.
– Fasten the driving disk
5 with the bolt facing outwards and the stop
plate
6 with the stop facing inwards with the bolt 7. Do not tighten
yet since this bolt will also be used to adjust the exhaust control
(measurement Z).
– Position the bearing sleeve
8 with the collar facing outwards and
mount the control lever
9 with the ball head facing outwards.
– Mount the overload spring
bk with the long shank facing downwards.
Apply Loctite 243 to the thread of the AH bolt
bl and screw in the
bolt and the spring sleeve
bm several turns. Attach the short shank of
the overload spring to the cylindrical pin and tighten the AH bolt.
– Push the bearing sleeve
1 onto the left side with the collar facing
outwards.
– Insert the preassembled control flap and closing cover
bn including
the O-ring (12x2)
3 in the cylinder.
– Apply a thin layer of silicone to the sealing areas and mount the
flange
bo.
–Finally, check the exhaust control system for smooth operation.
NOTE: It should be possible to press the control lever
9 further up
against the spring force.


 To Next Page