54-0274-01 Rev. A 10 © 2005 KVH Industries, Inc., All rights reserved.
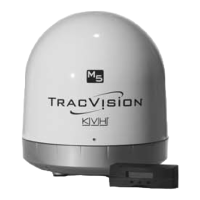
Once all cables are connected,
install the receiver inside the
vessel.
1. If you wish to mount the
receiver, attach the two
mounting brackets to the
sides of the receiver using three
#2-56 screws. Simply screw these
fasteners into the receiver’s vent slots.
2. If you are using the mounting
brackets, secure the brackets to the
mounting surface using appropriate
1
⁄4" fasteners (not supplied).
3. Place the RF converter at least 3 feet
(1 meter) away from the receiver. If it
is too close to the receiver, the remote
control might not operate properly.
Also avoid placing the RF converter
behind a metal surface or in an area
surrounded by metal.
4. If desired, mount the RF converter
using the supplied Velcro fasteners.
Install the Receiver
9
To avoid overheating,
do not block the
receiver’s vents.
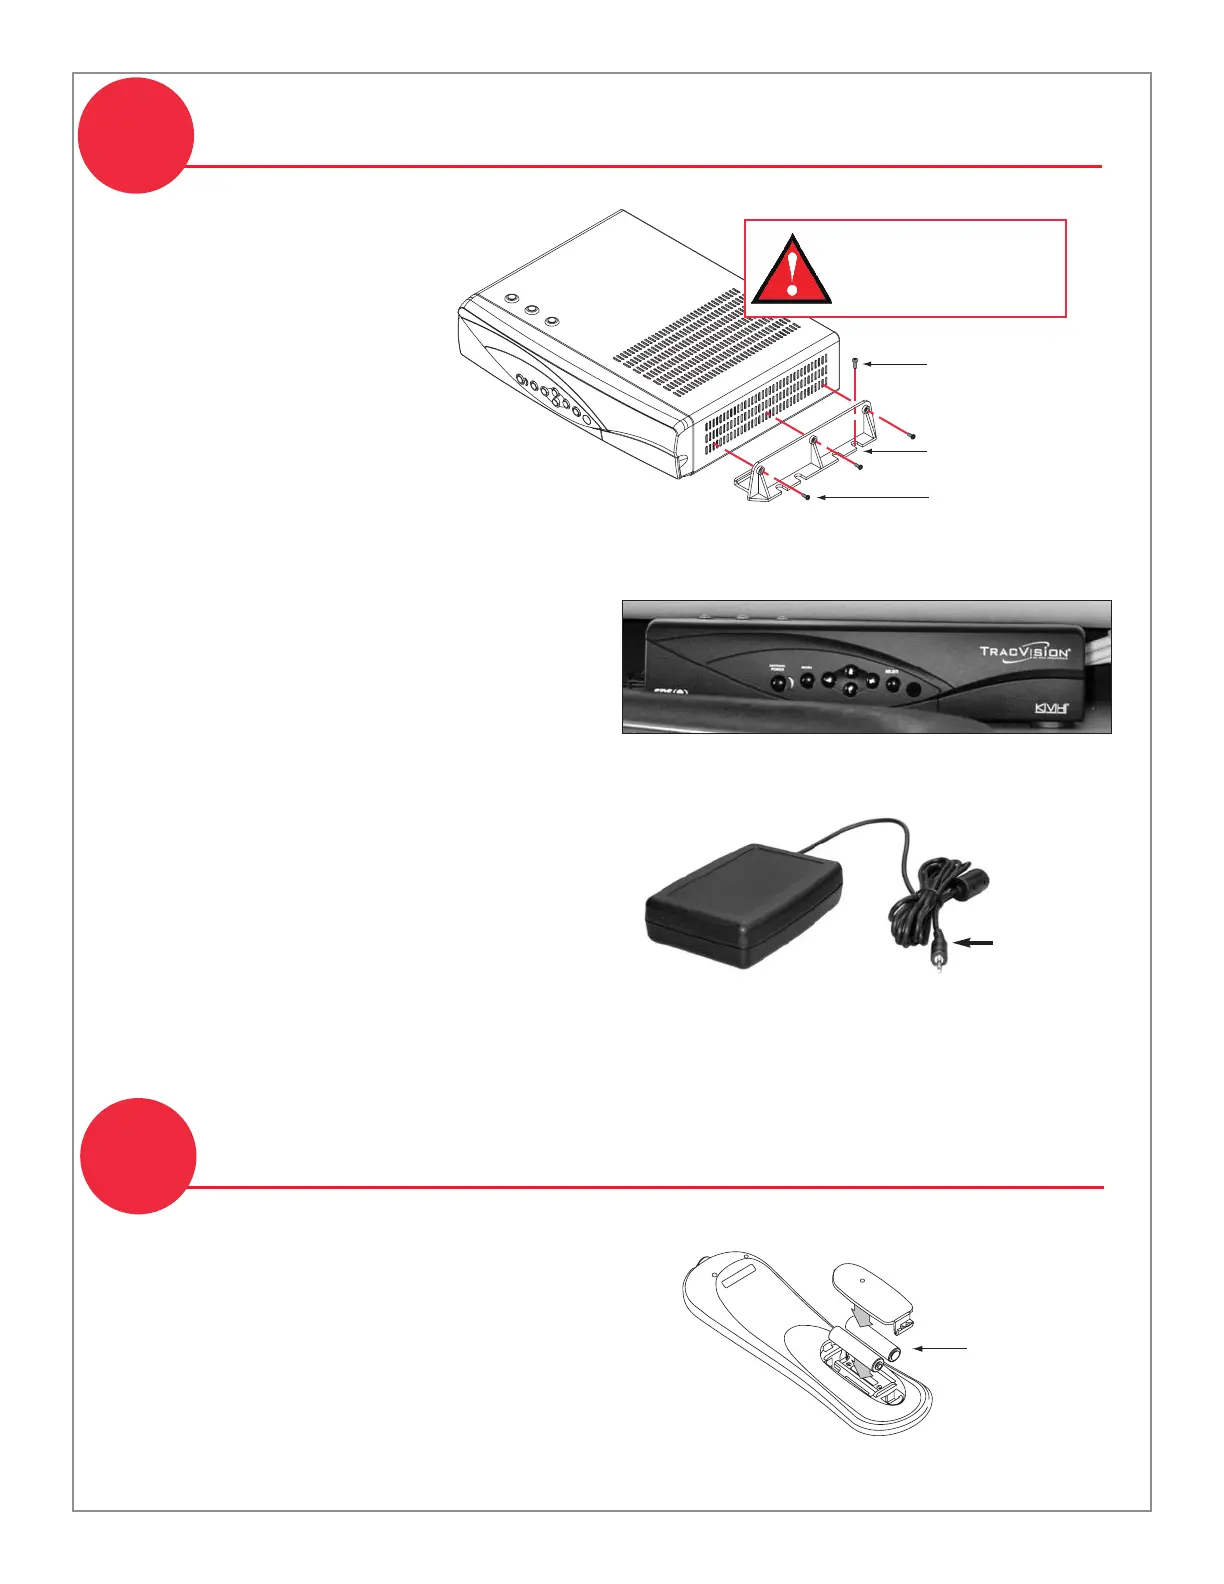
1. Remove the battery compartment cover from
the back of the remote control.
2. Insert two AAA batteries (supplied in the kit).
Be sure to observe the correct polarity.
3. Replace the battery compartment cover.
 Loading...